Social media in this modern era is definitely high on the list of things that we’re obsessed about, from posting selfies every hour to achieving that desired level of engagement for a brand. Here, we’ll guide you on how you can create your own Facebook cover – whether it’s for a timed sale, seasonal offer, or greeting. Choose your own adventure!
Without further ado, here’s how you can design a Facebook cover:
Things you’ll require:
★ An image-editing program (we used Pixlr Pro for this tutorial)
★ A ready-made template, or a design of your own
★ Font: Blessing Script (or choose one of your own)
★ Note: the size of a Facebook cover is 1200 x 628 px
Upon opening Pixlr Pro’s editor, you’ll start out with a blank art space. As always, click on the image to zoom in if you’re unsure. Click on the top right where the “Browse Templates” tab is located. You’ll be led to a new tab where you can choose a pre-made template of your preference. Alternatively, you can choose to browse templates on the main page of Pixlr Pro, where you’ll also be able to load the pre-made choices for your creations.

Because we’re about to design a quick social media post, we went with the one below; a bright, floral-themed design that’s perfect for the fall season.
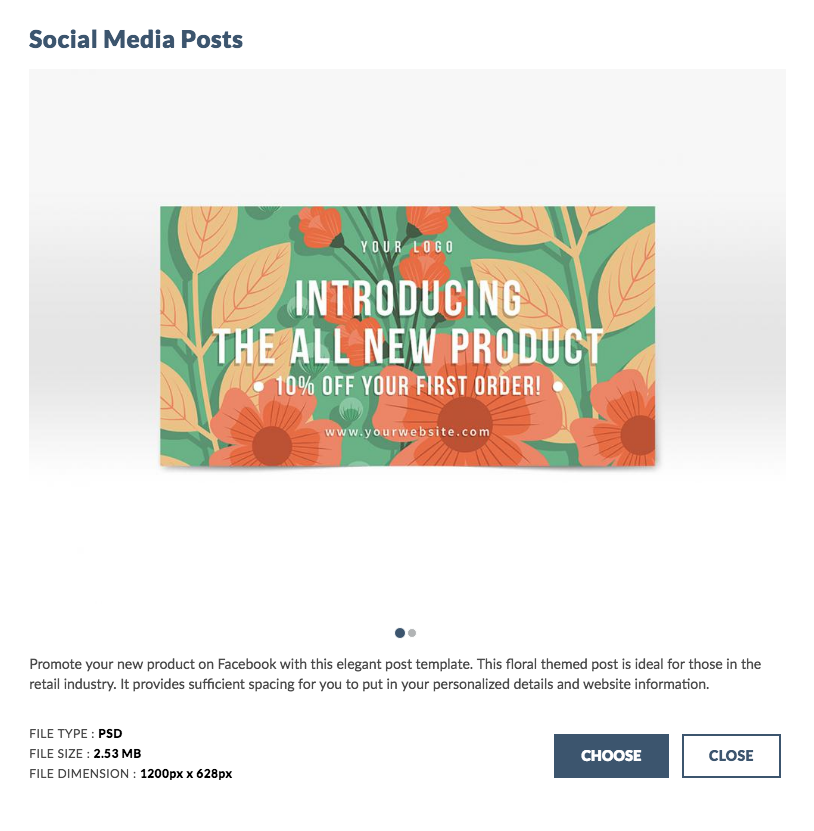
Click on “Choose” and you’ll land on Pixlr Pro’s editing interface. Let your chosen template load. You’ll be able to see the fully editable template on display within the art space.
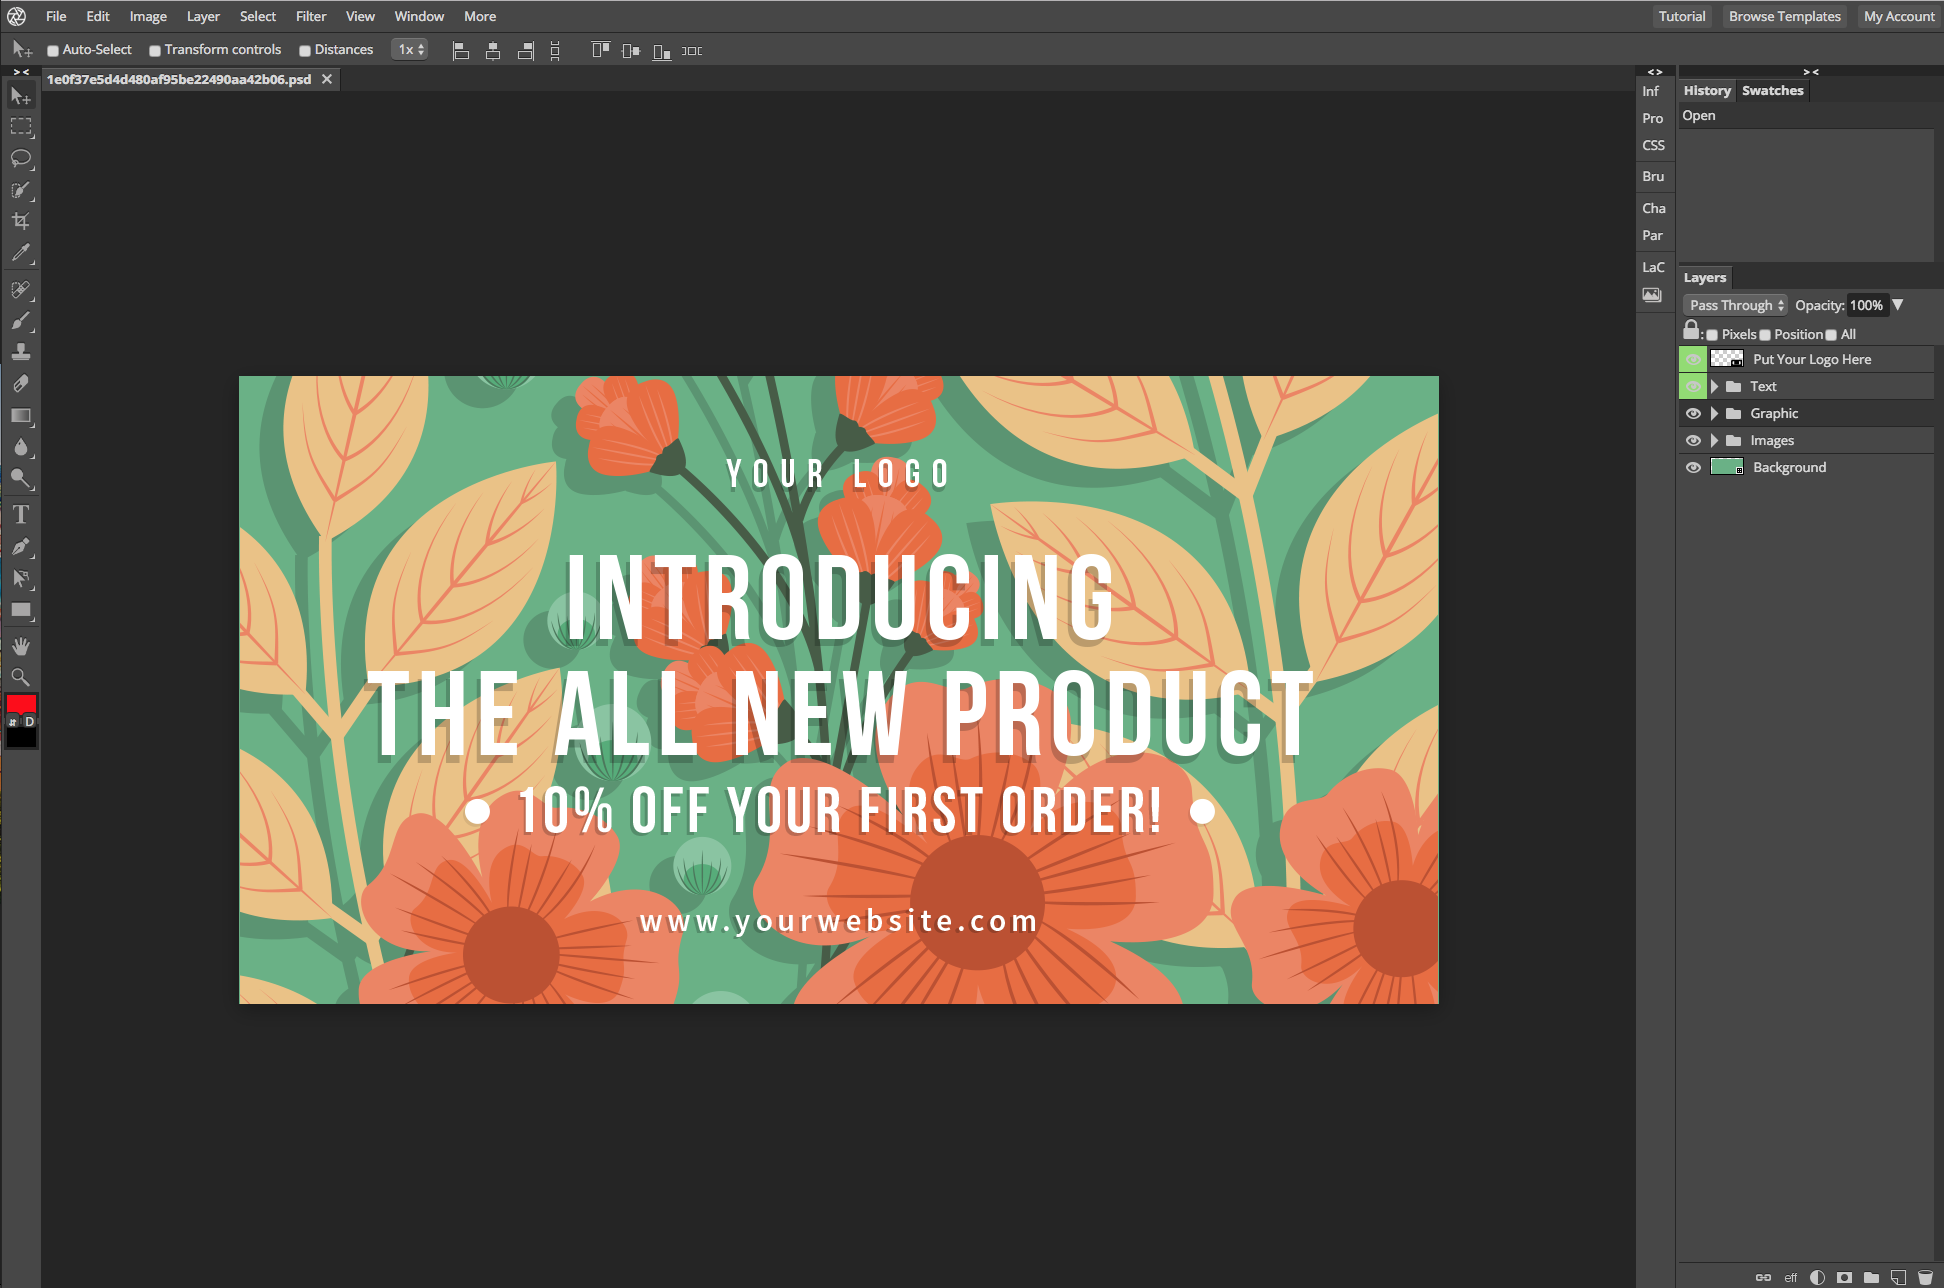
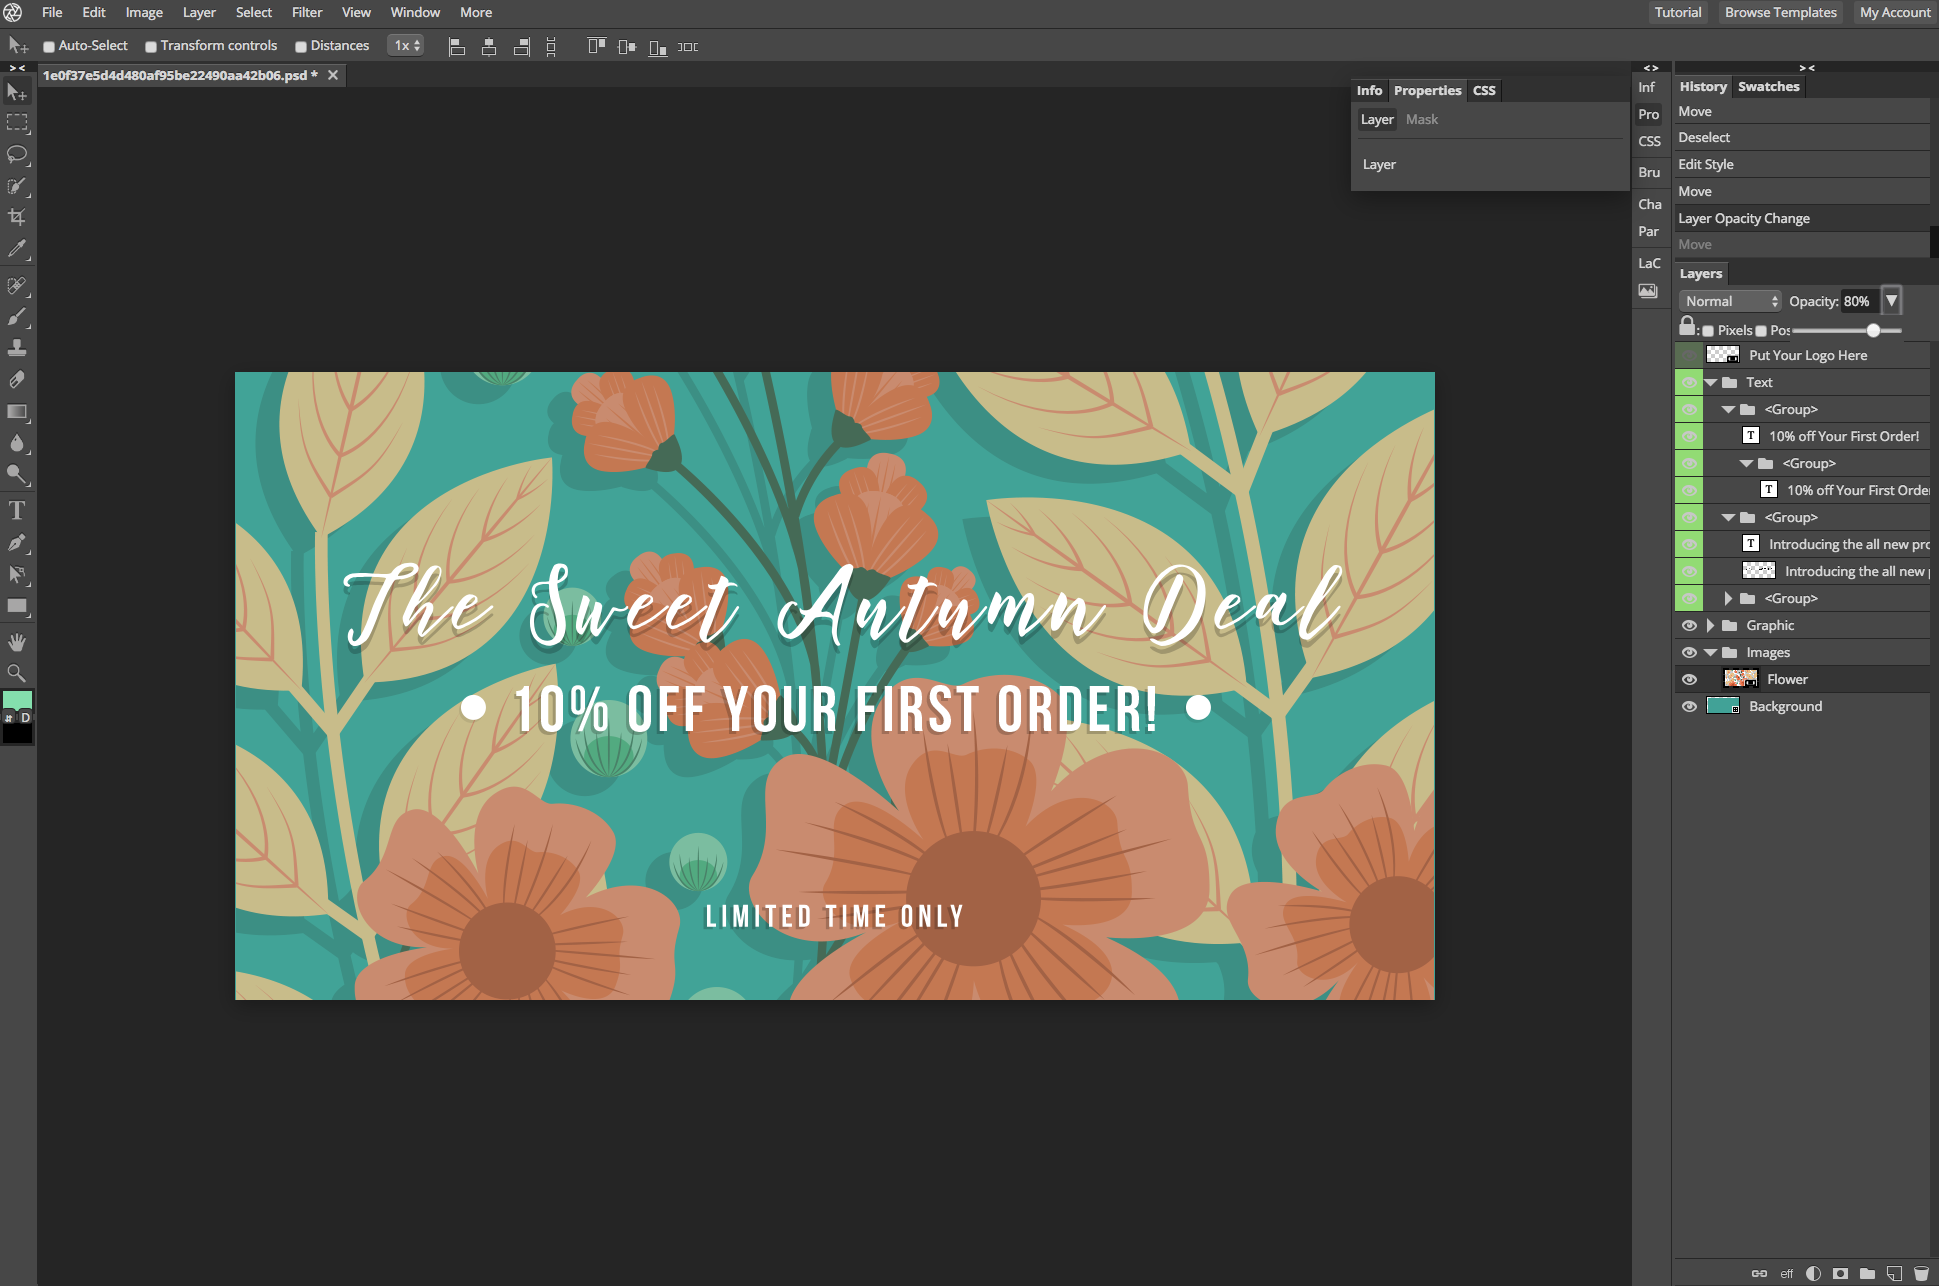
So the first section that we’re going to be editing would be the text. As you can see, if you click on the “eye” icon in the Layers toolbar, you’ll be able to remove all of the text with their shadows and replace them with your own if it’s necessary. Or you could retain a couple of them and add your own font to give the design your very own twist.

Expand the text layers to check out which text layer goes where. There are duplicate text layers grouped together for the shadow effect, and every layer is completely editable.
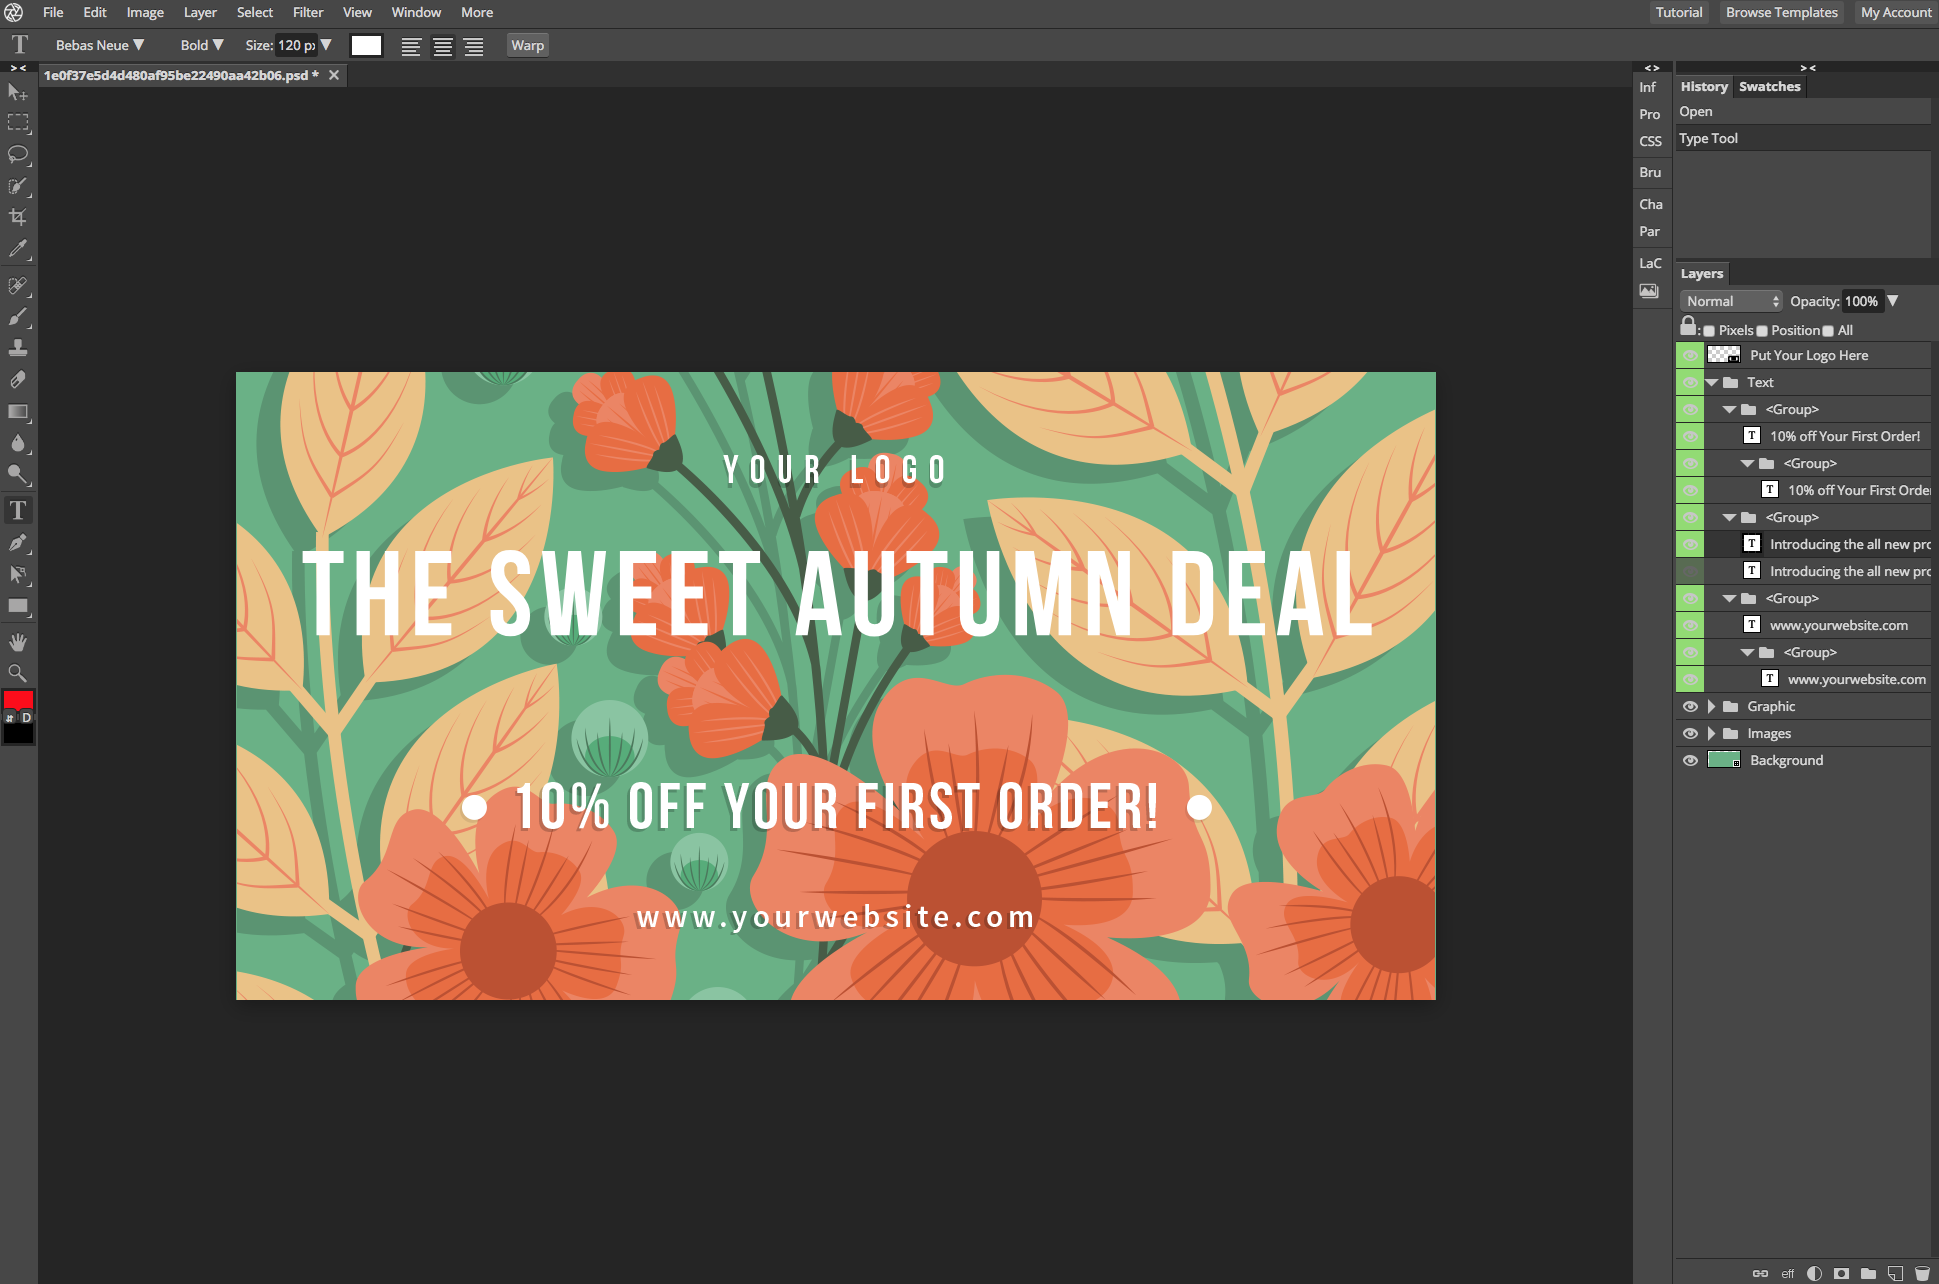
We’re going to use a font of our own, Blessing Script, a product by Great Studio. You can create a similar version with any font of your own, too. After you’ve downloaded and located the font file (OTF or TTF), simply drag and drop it anywhere into Pixlr Pro’s art space. It’ll automatically appear in the font library. To begin using it, click the font option on the toolbar in the top left while you have the text layer that you want to edit selected. Look for the font you’ve just placed into Pixlr Pro by typing in the search bar. Click it after you’ve located it.
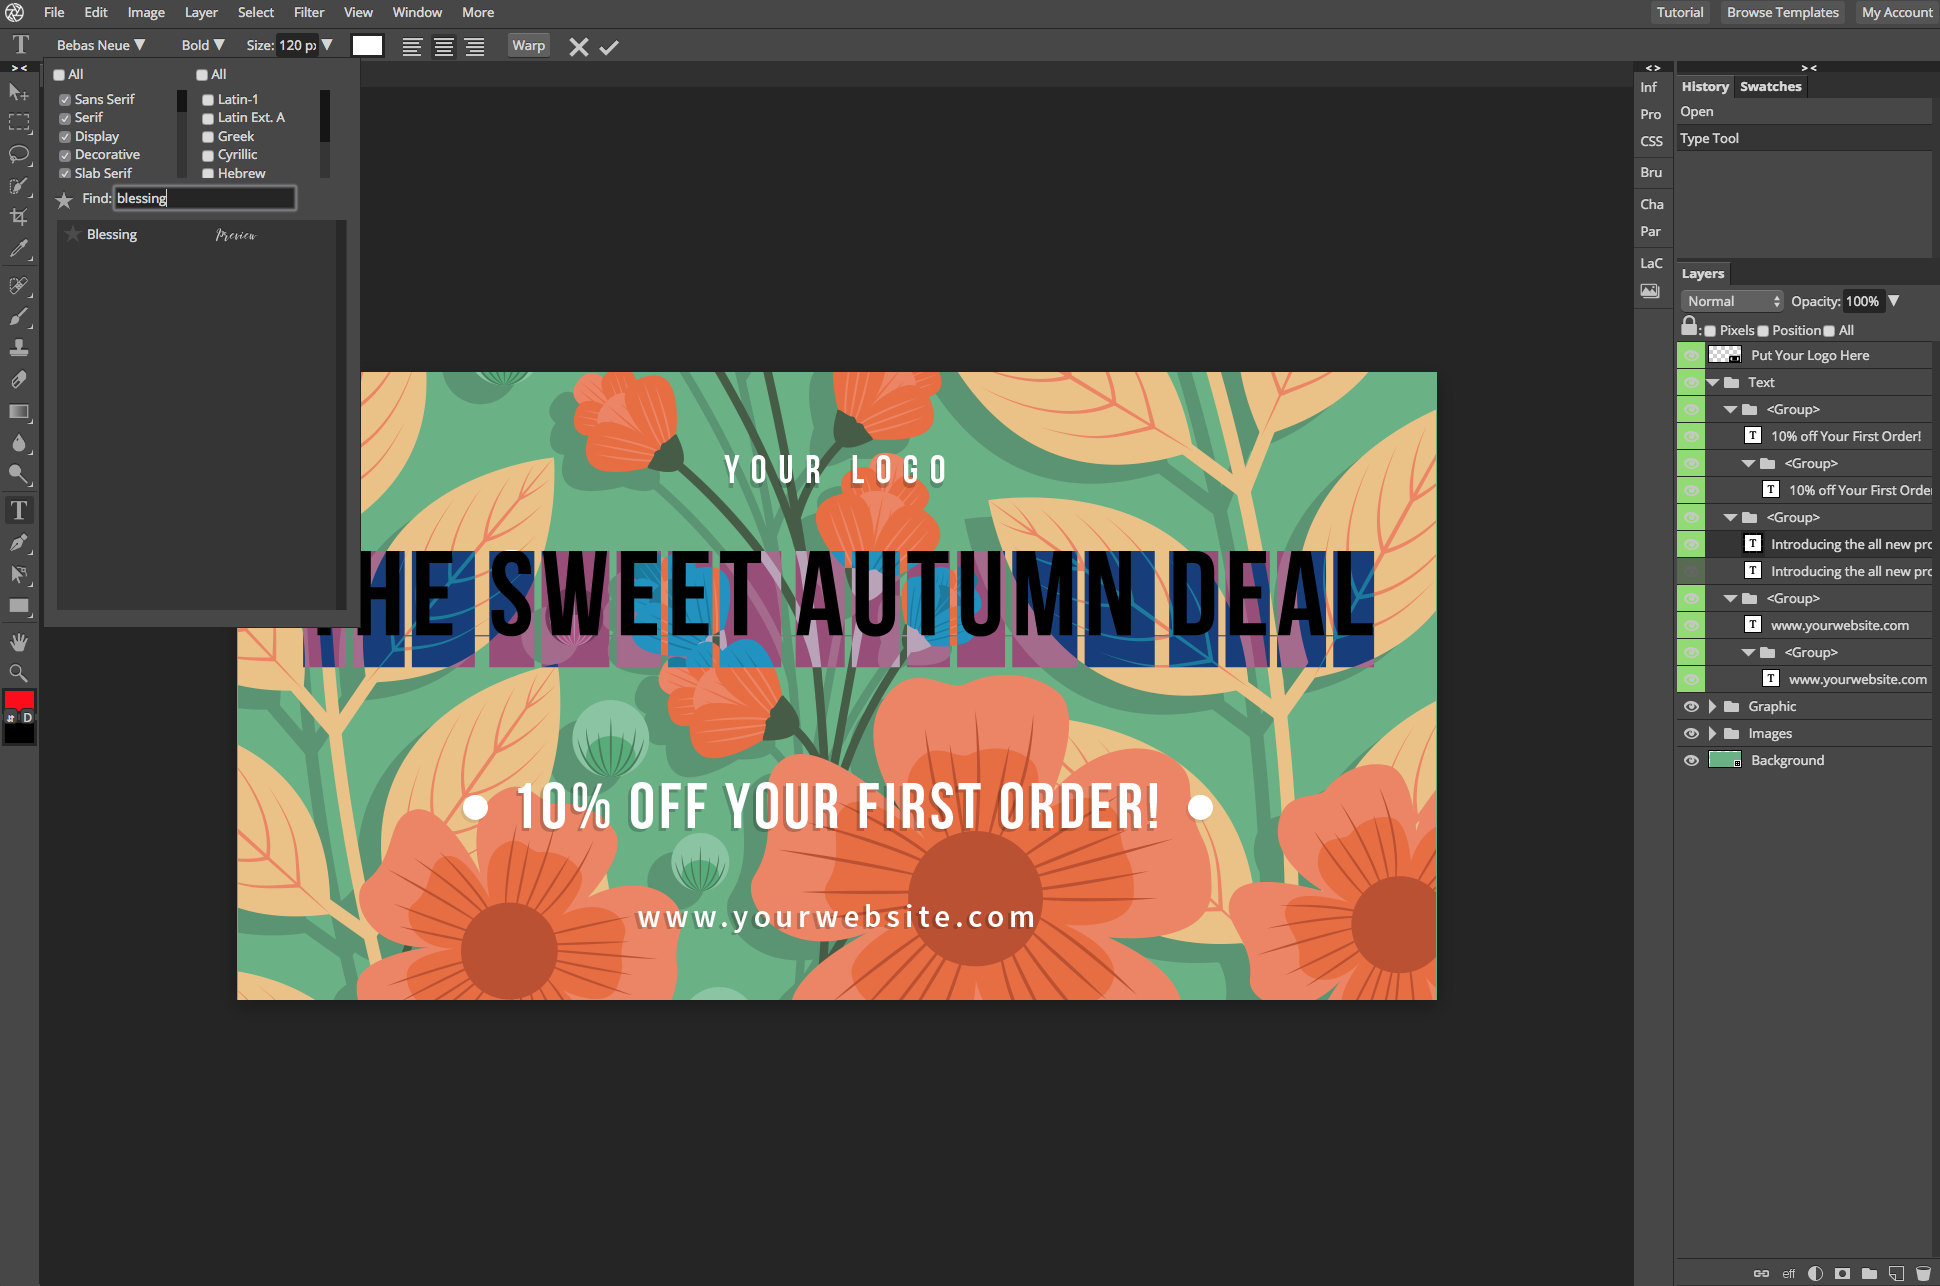
You’ll probably get something like this. That means your font has been loaded and you’re free to edit away! Note that the font settings will follow the one previously created with pre-made template.
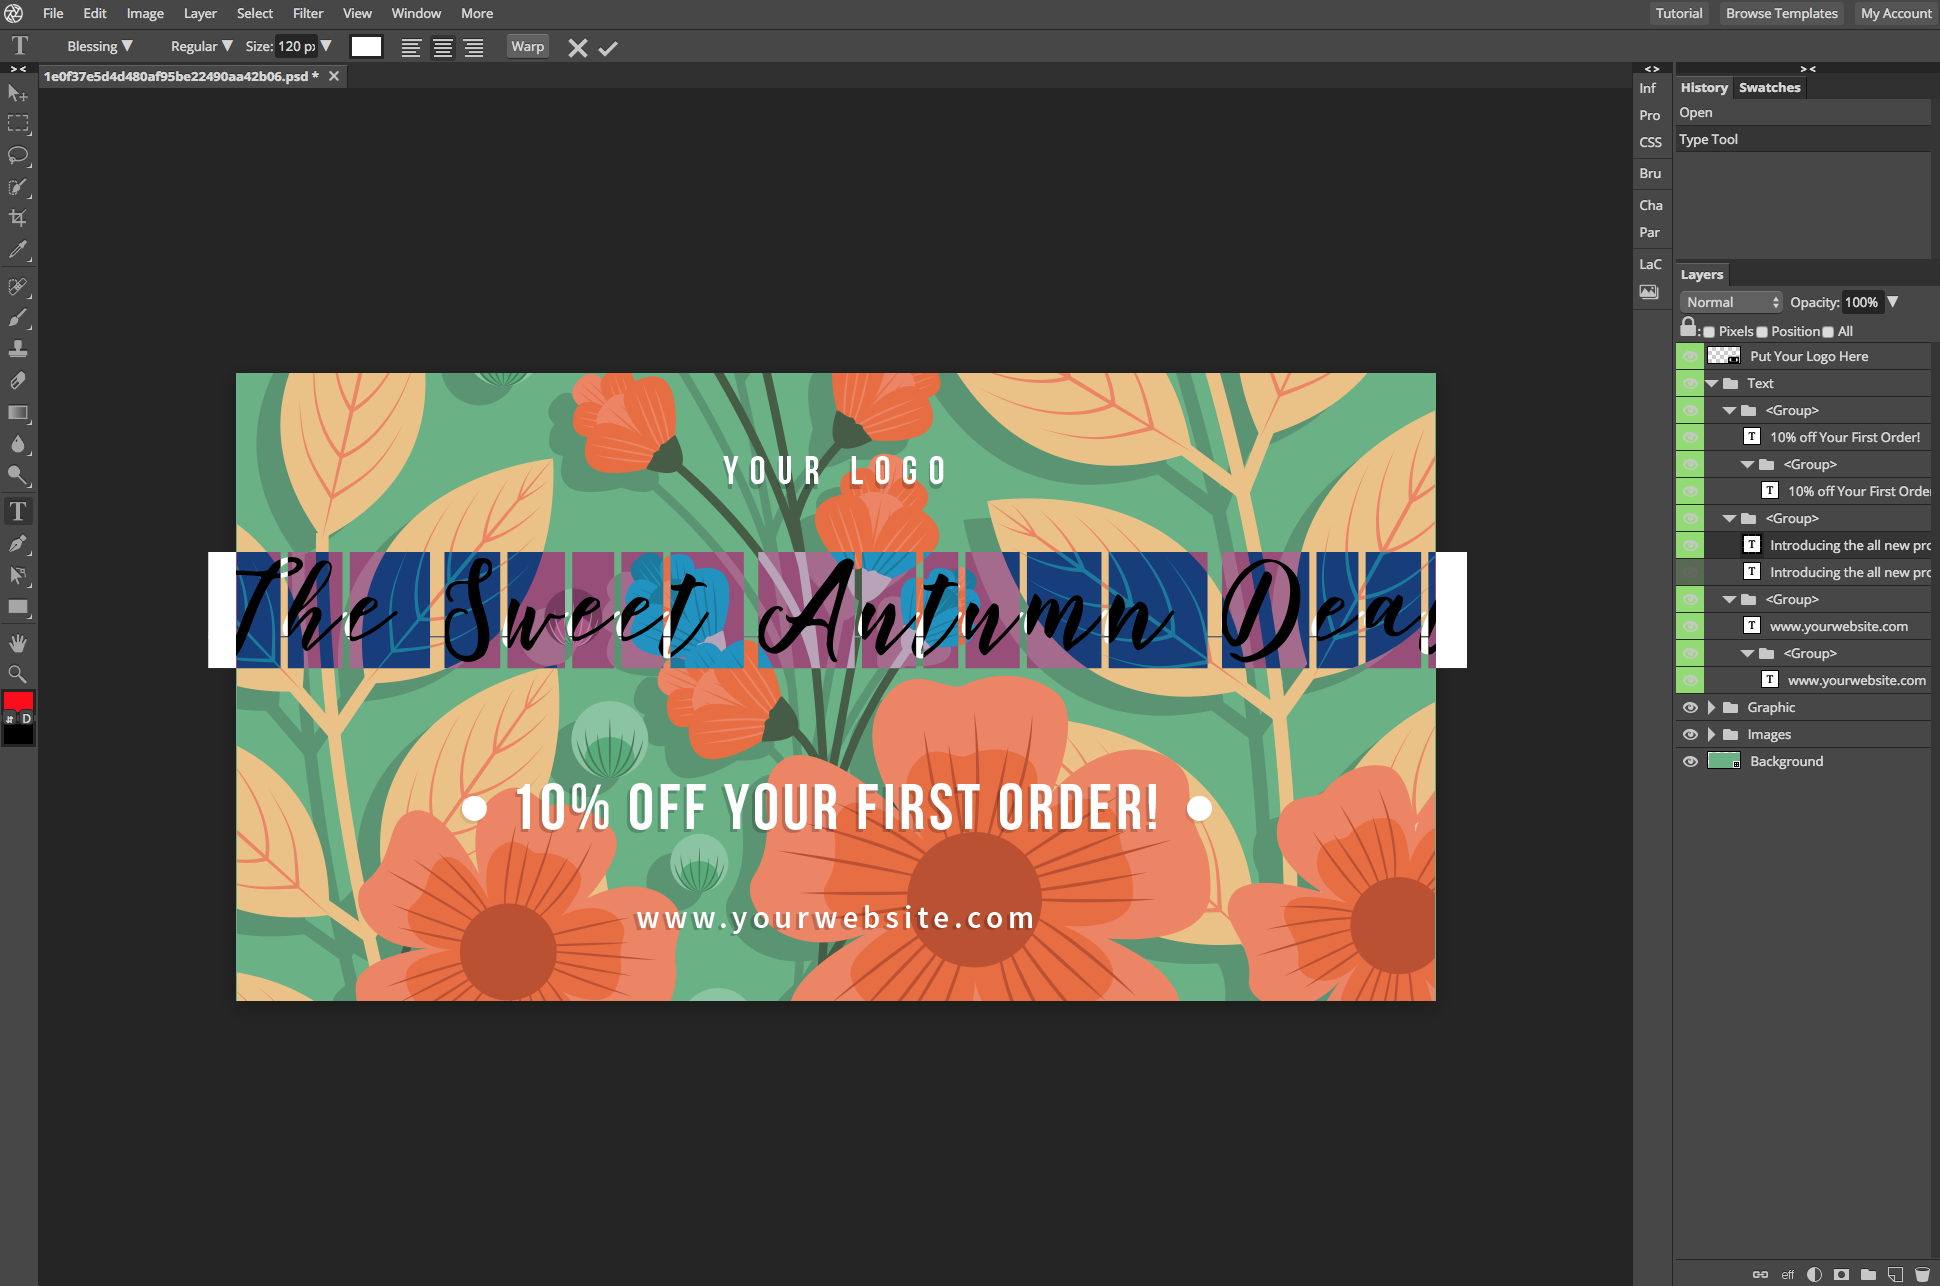
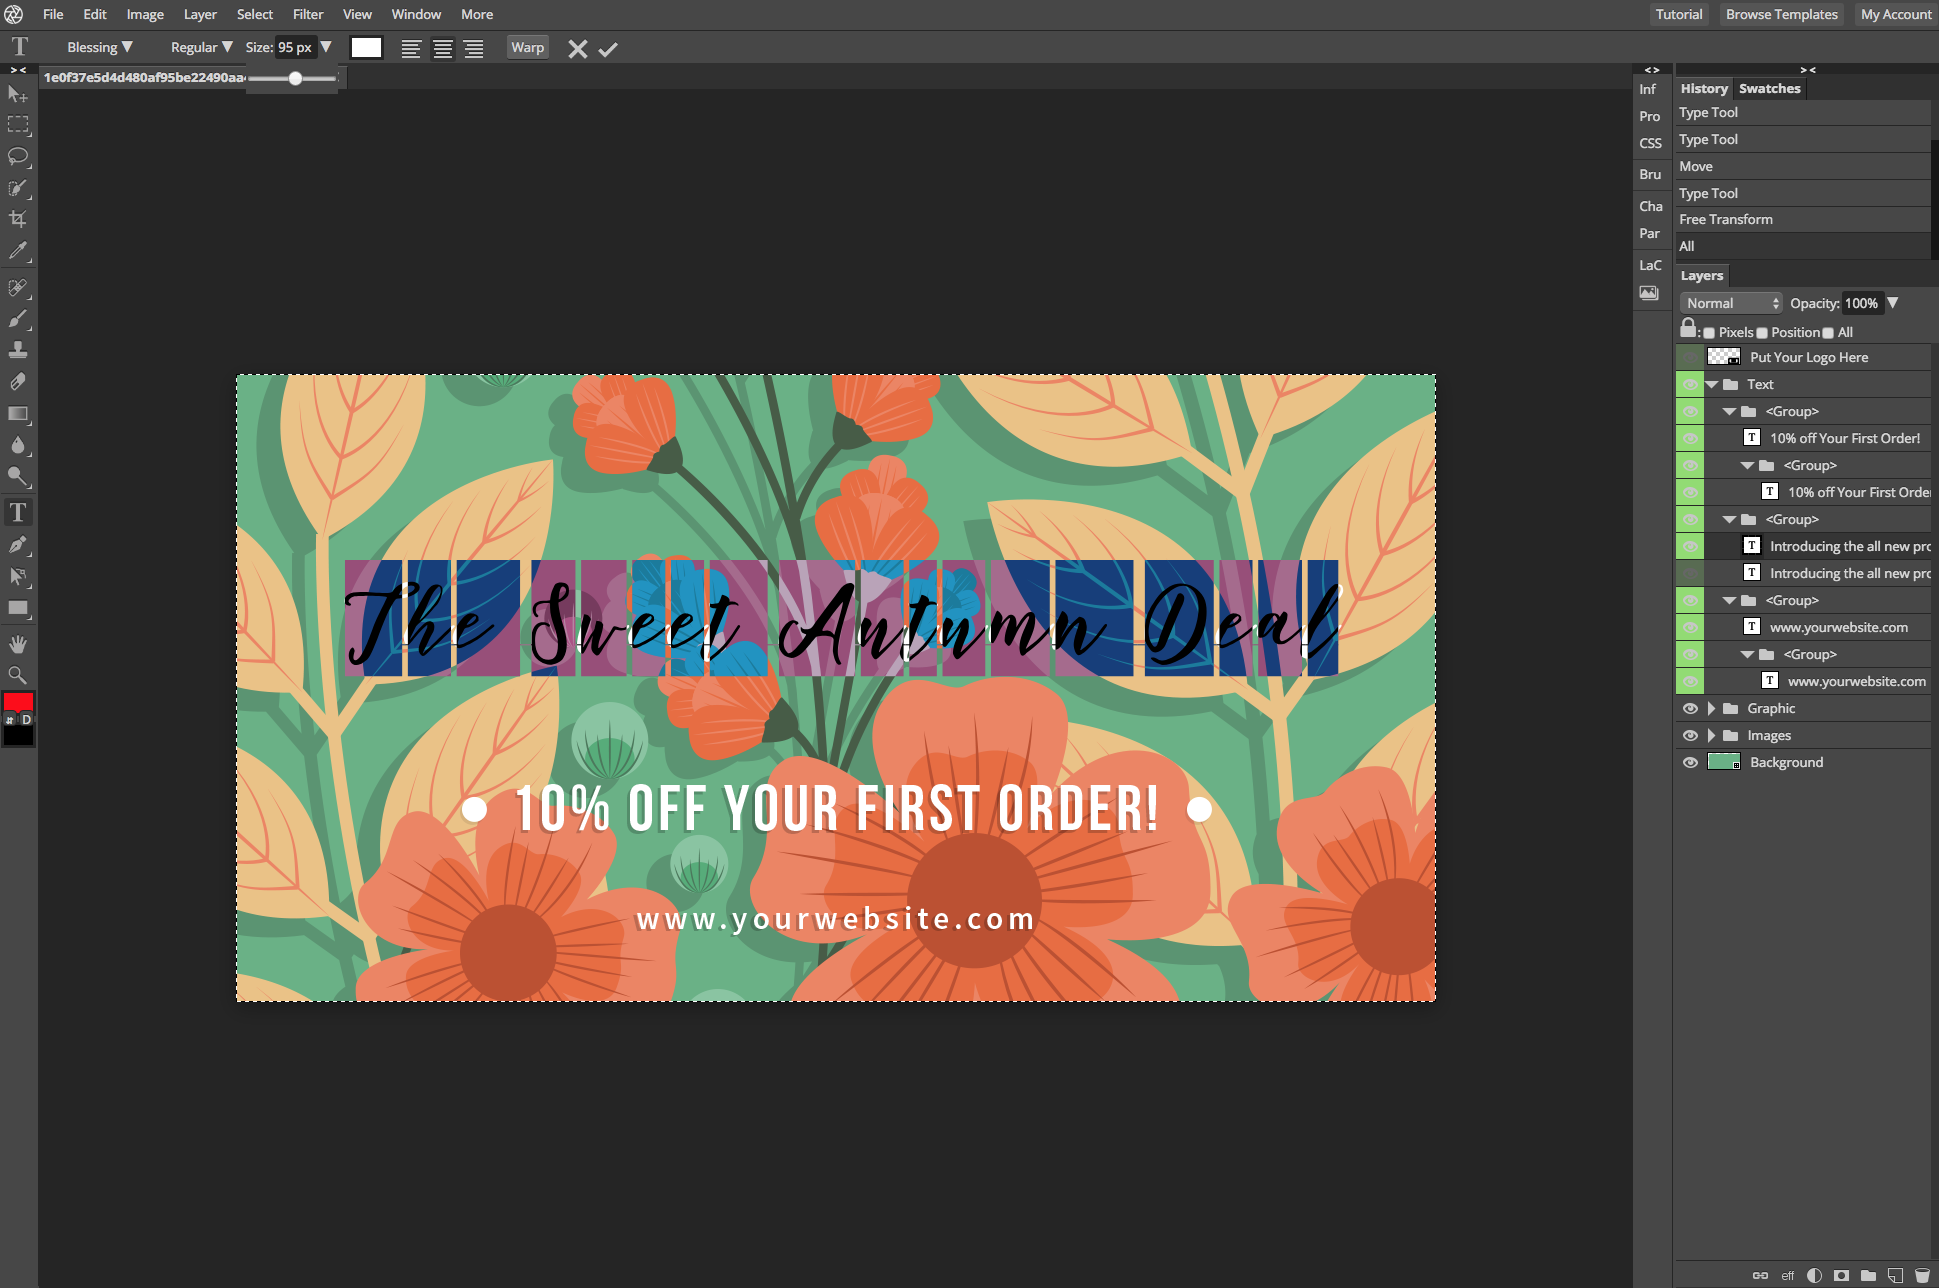
No fear – everything is editable. Click on the sizing option on the text toolbar. You’ll be able to adjust the size of your chosen font with the help of the slider. We went with 95px for this one! Of course, you can always rearrange the text as you see fit. For example, if you find the other words a little distracting while you’re making edits to the template, you can opt to hide or delete the text layers that you don’t want to see, too.
After you’re done with editing the main text, you’ll see the leftover shadow text effect (which is really just a duplicate text layer with a lowered opacity). It’s time to edit that to suit the text that you’ve just made with your own font.
On your white text layer, you’re going to want to right click with your mouse and select “Duplicate Layer” from the drop-down menu. “But the text color is still white!” You say, grinding your teeth. Yep. It’s going to be alright. We’ll be tweaking the color to make the shadow effect in the next step.
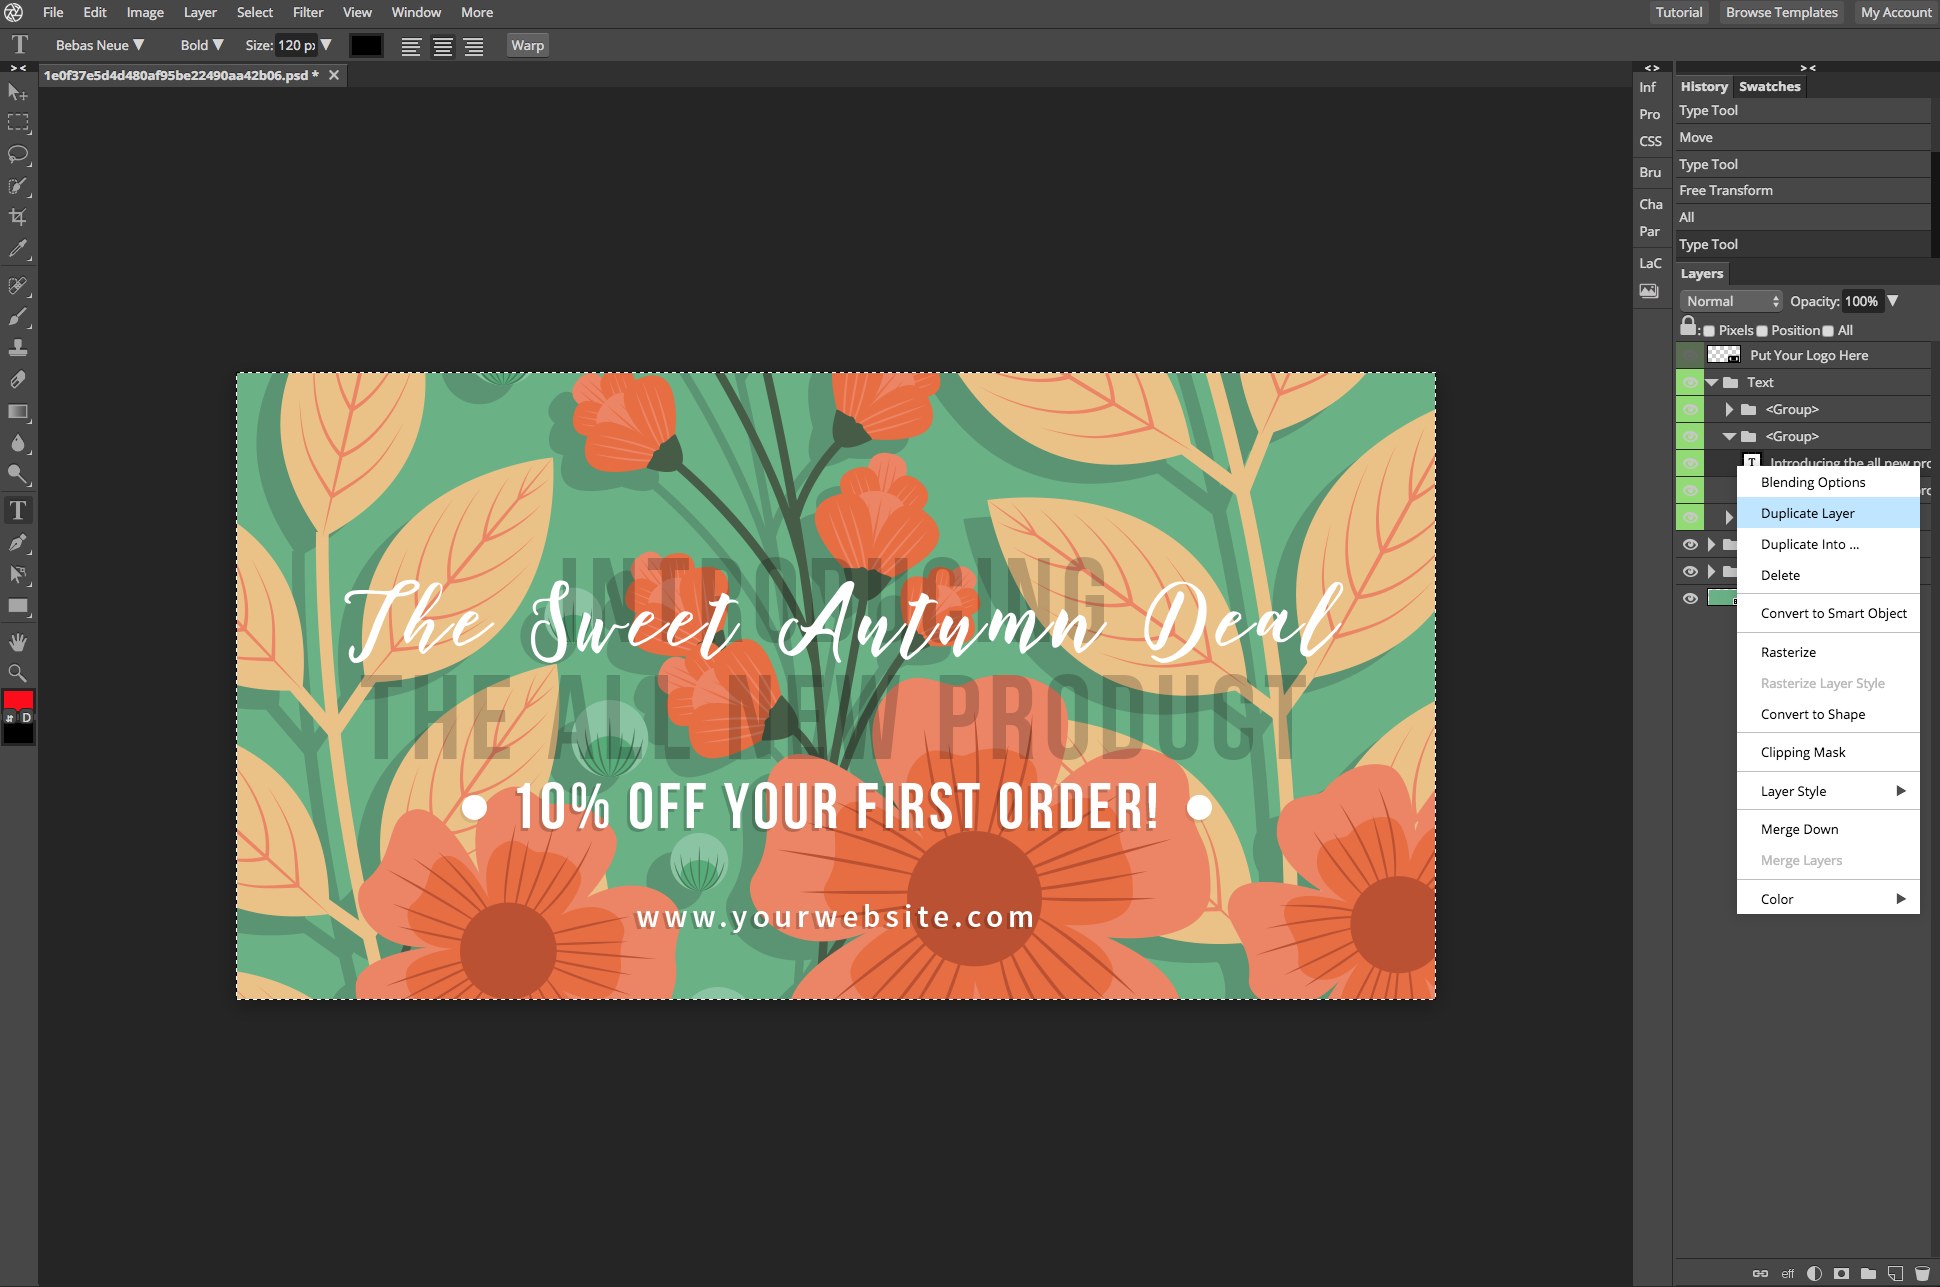
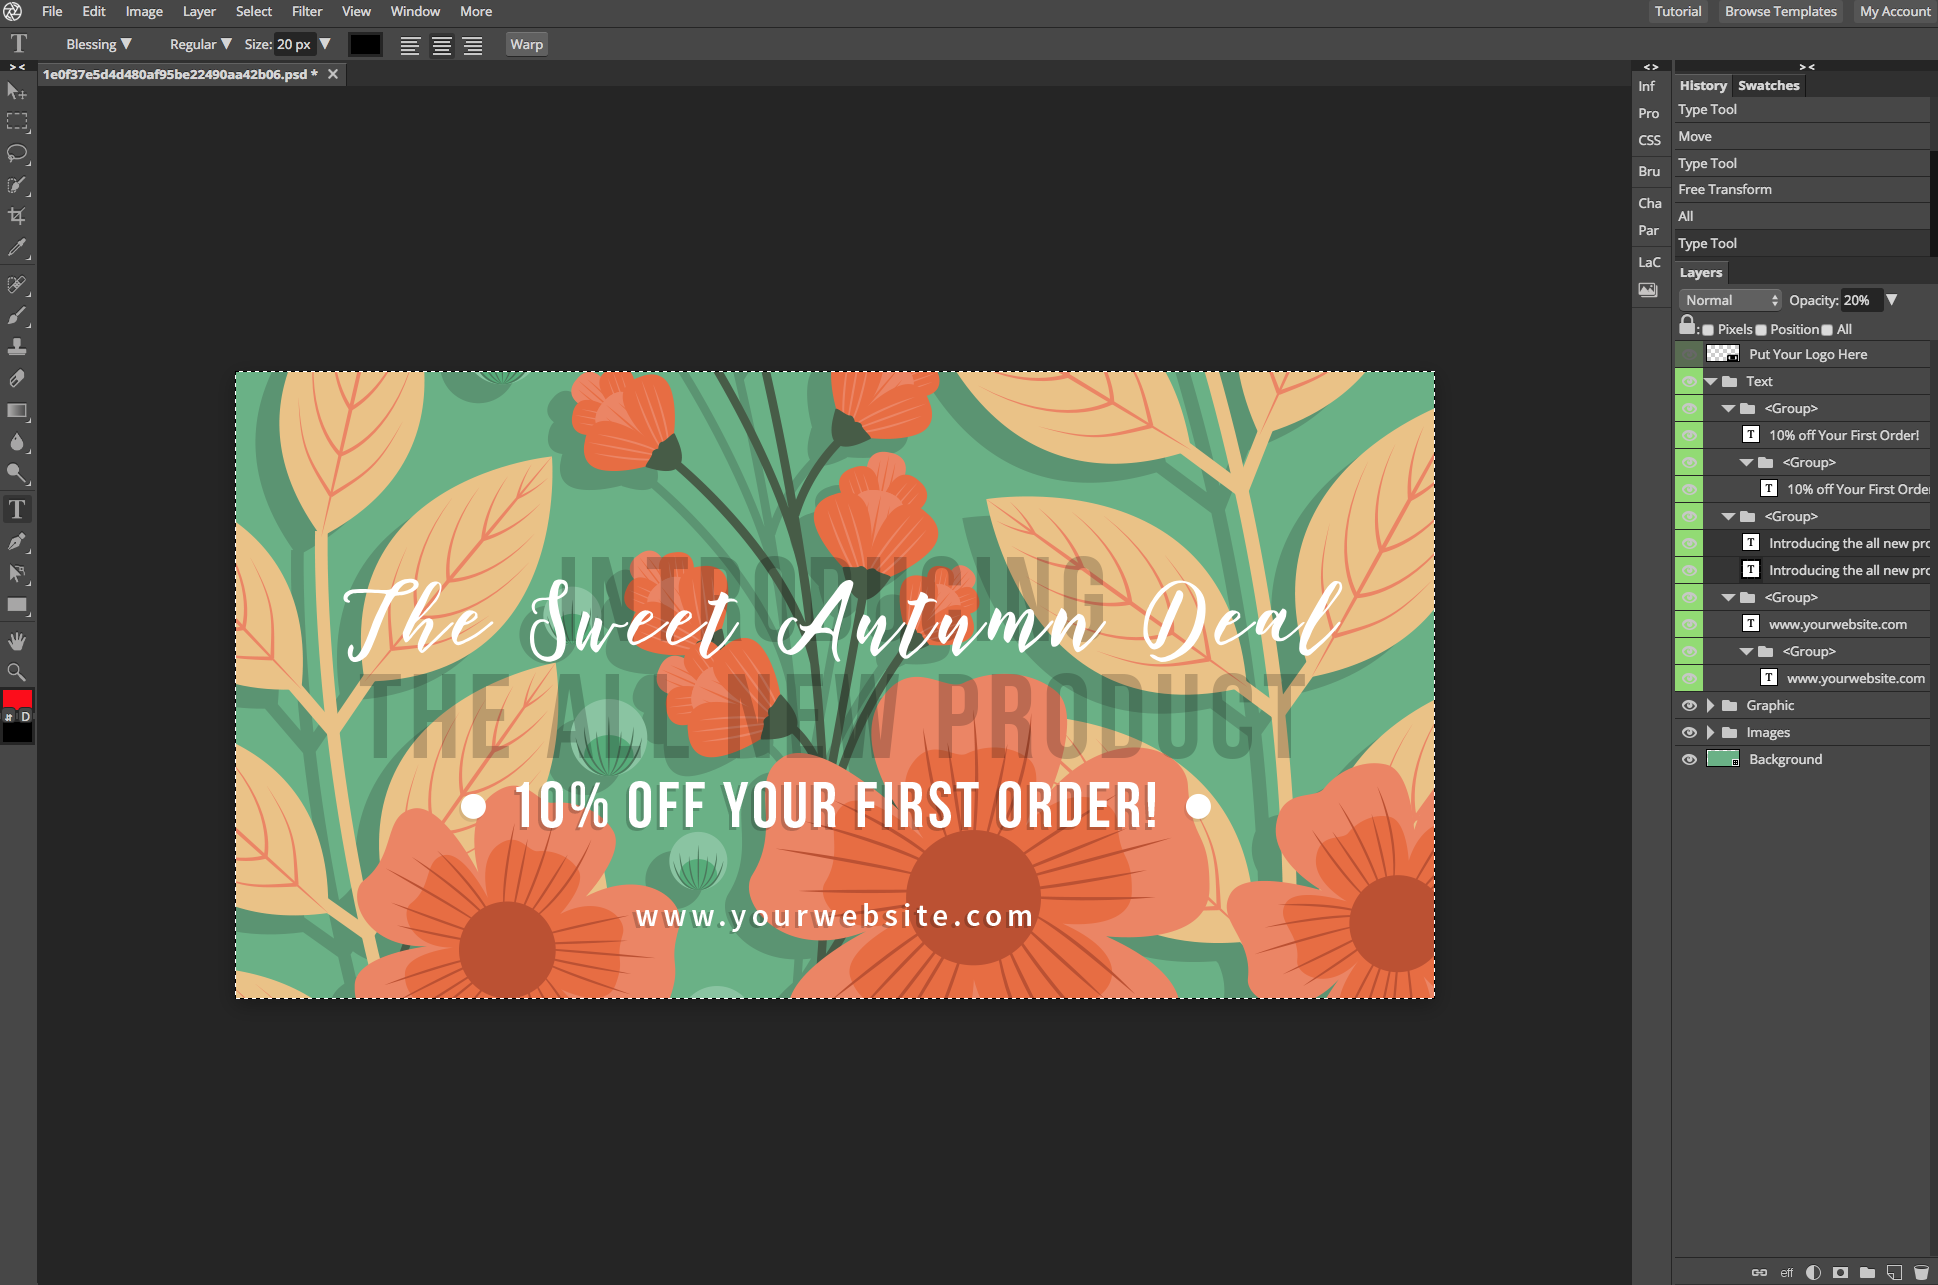
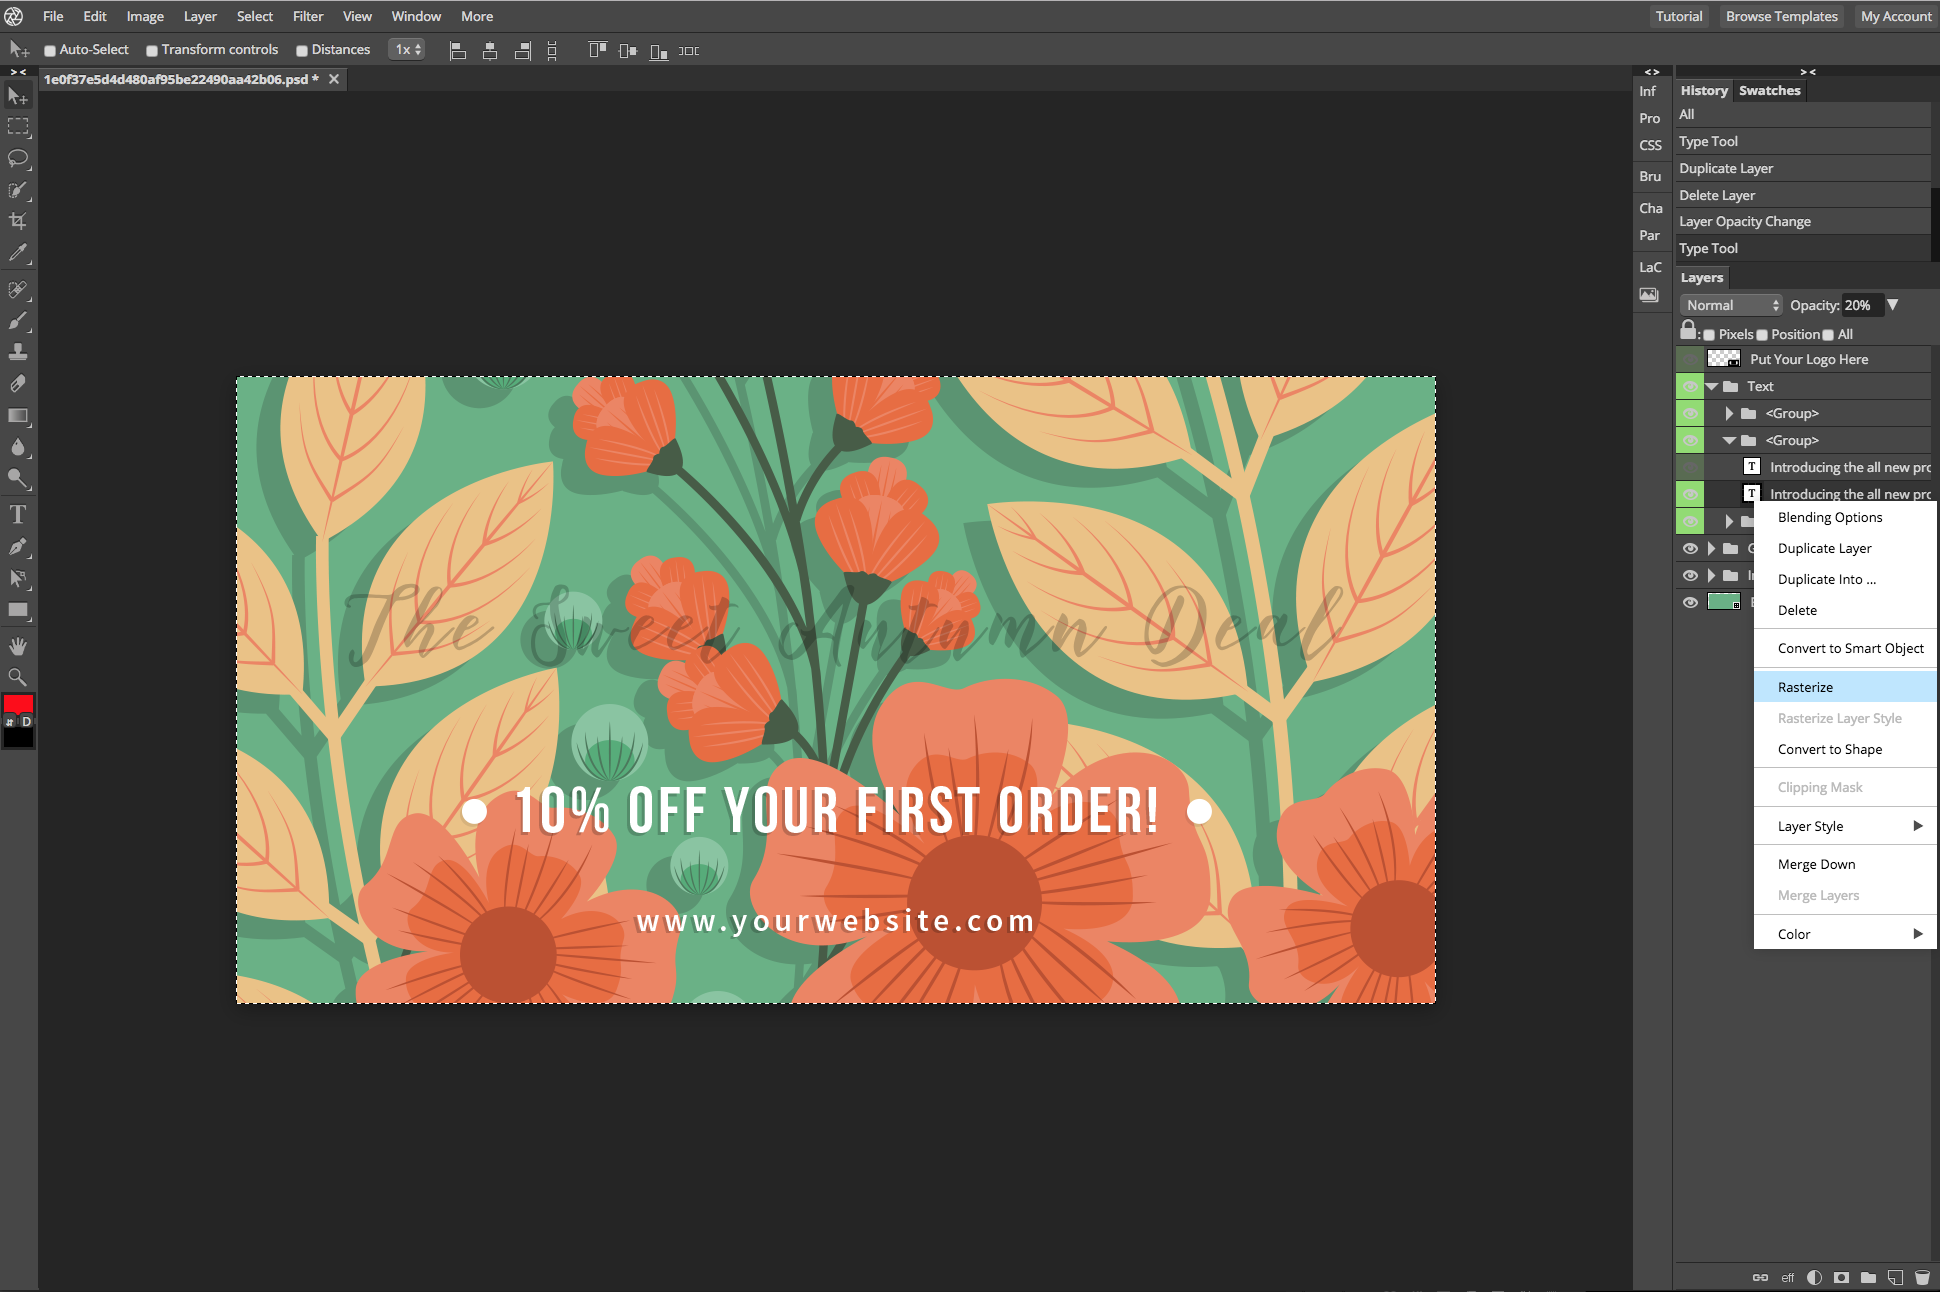
If the original top white text layer is too distracting to the eye, click on the eye icon to hide it for the time being. Next, select your duplicated text layer and double-click the color picker. Now, go wild. Choose the hue that appeals to you the most for your shadow effect, and jives with your chosen template. We went with good old plain black.

Of course, the black hue at full opacity will look very stark in contrast to the background. Adjust the opacity to 20% in the Layers toolbar on the right.
Sweet, you’ve just created your first shadow text effect. Adjust it to fit beneath your original text layer so that it looks like an actual shadow. Next, start working on the rest of the text if it’s necessary for your social media cover design.

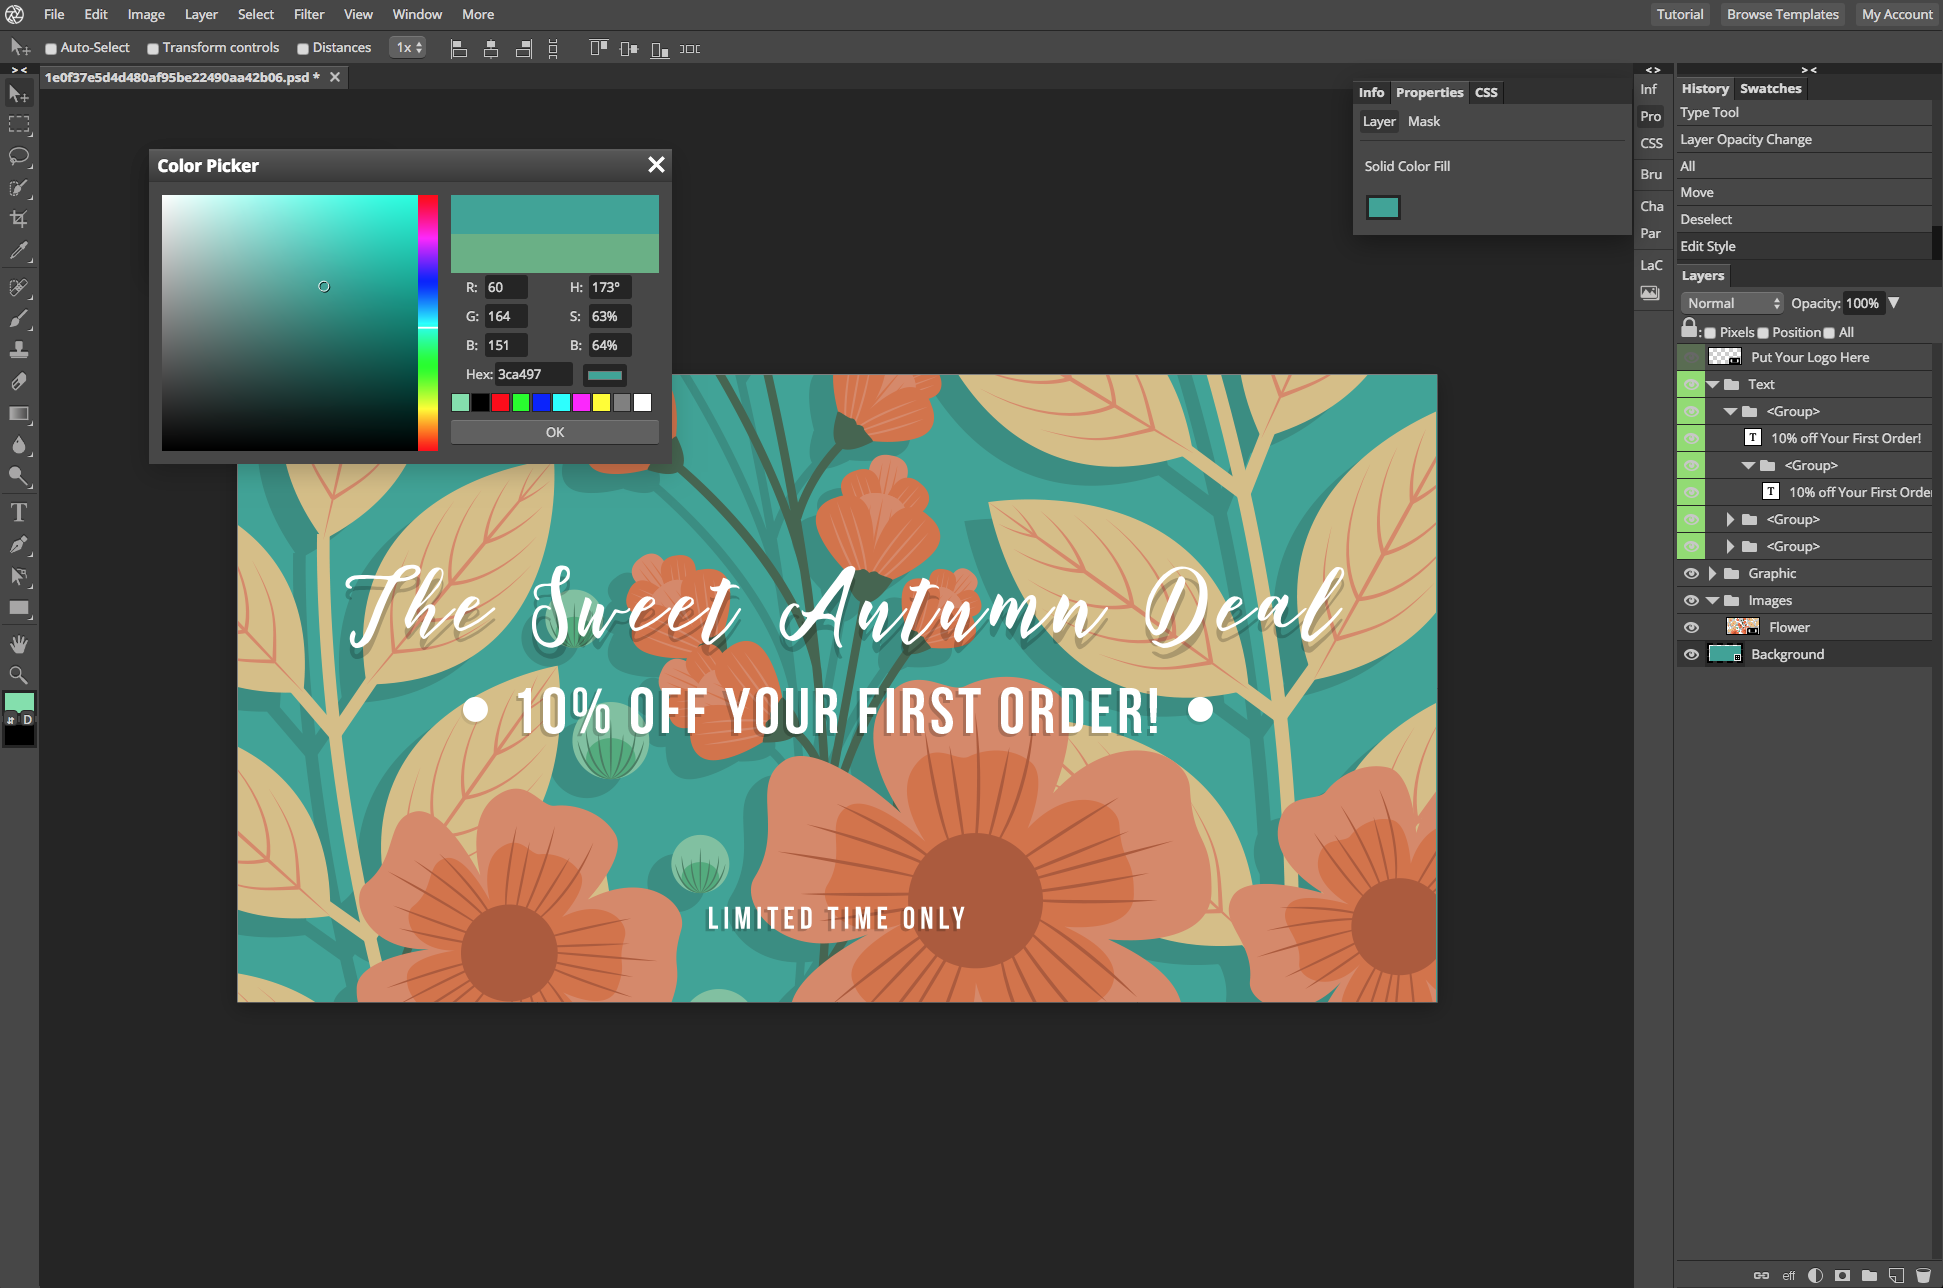
Feel like you want to change the color of the template’s background? If it’s in an editable layer, select the layers that will be affected.
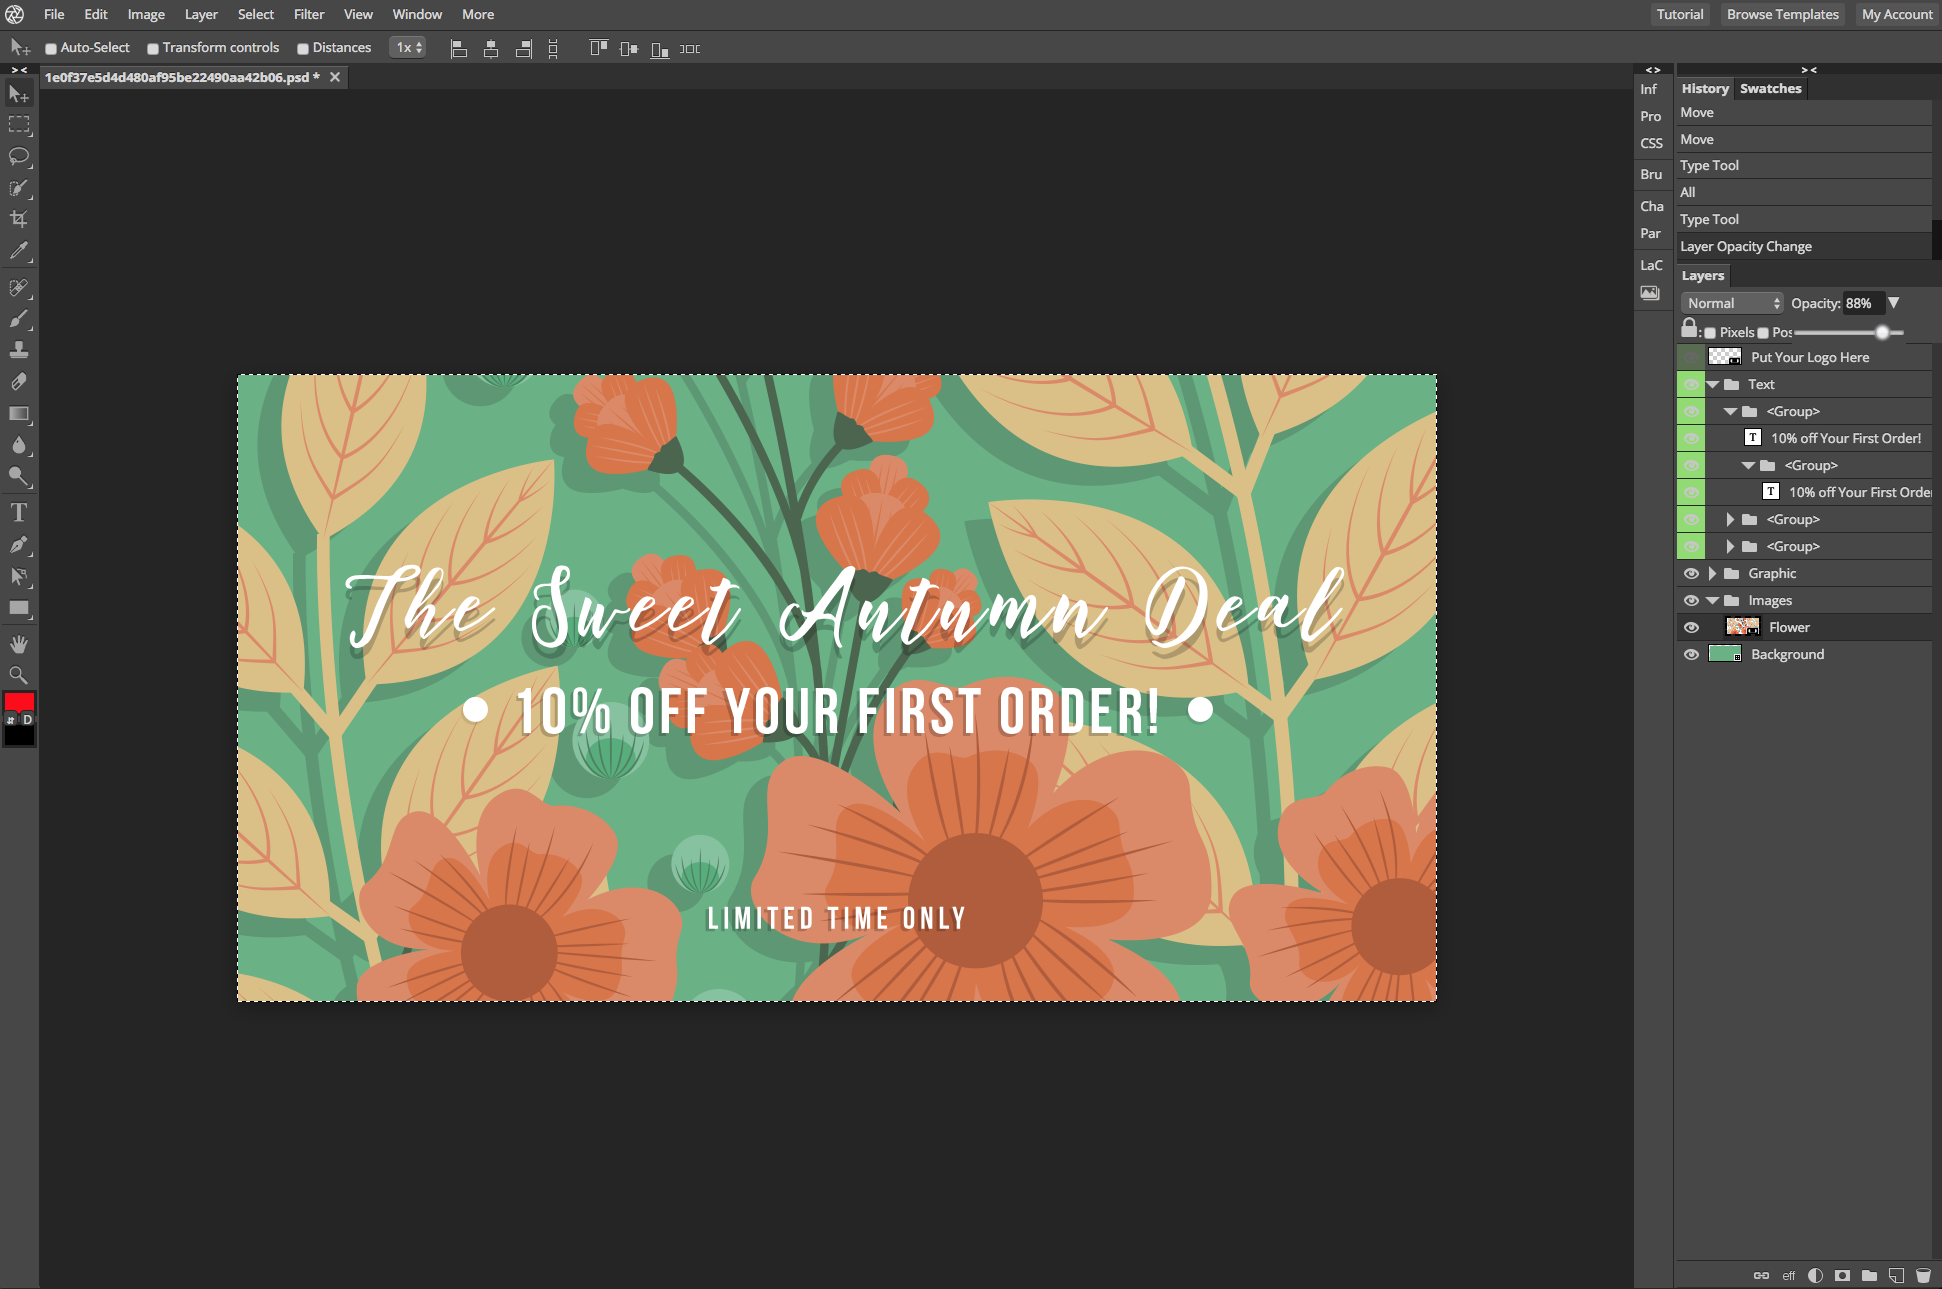
We adjusted the background’s color to a darker, teal-toned hue so that the fonts stand out more.
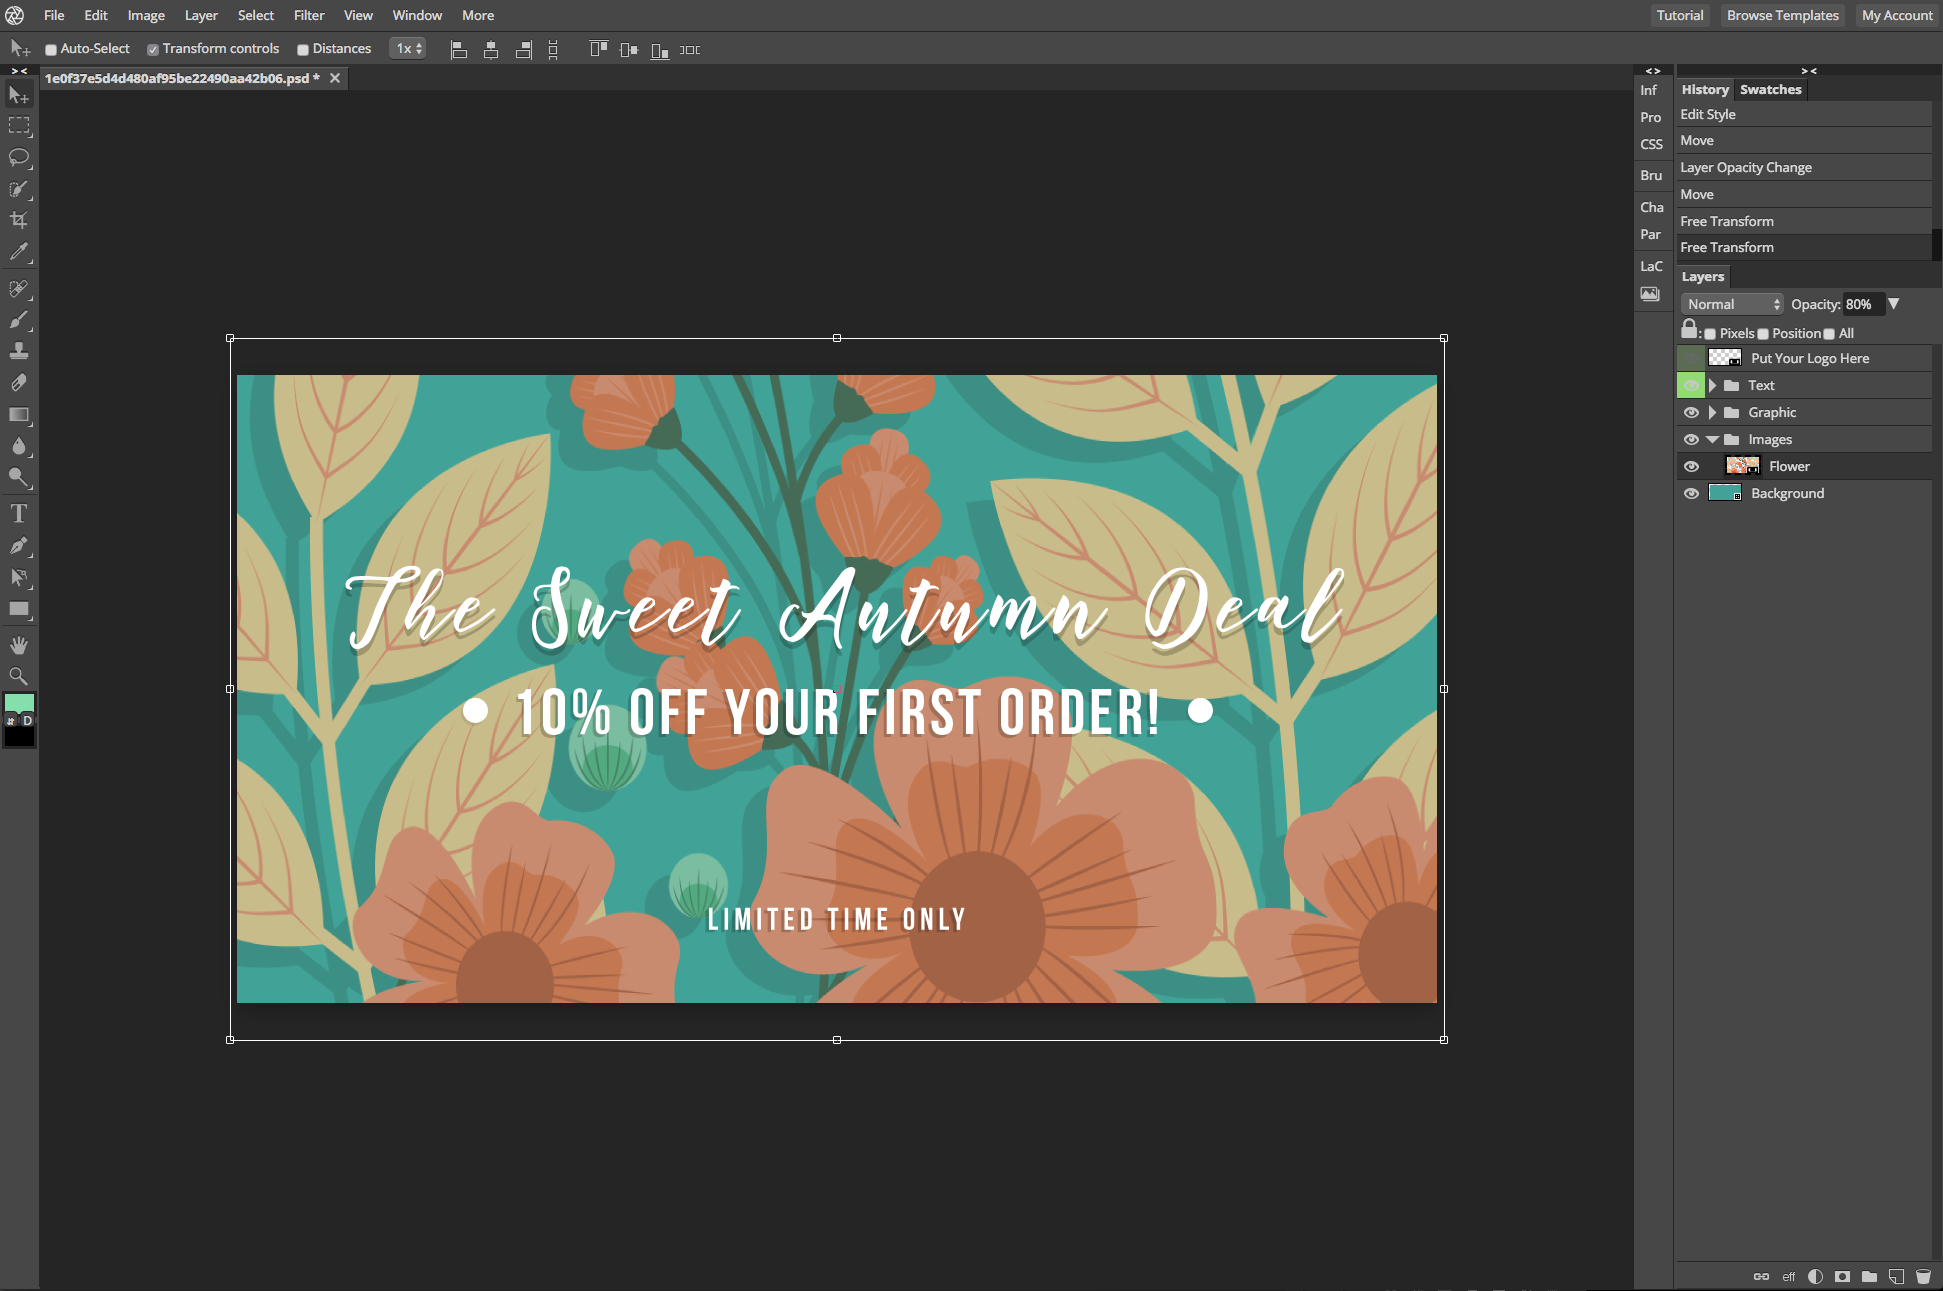
To allow the fonts a more outstanding effect, you can try to lower the opacity of the flower pattern a little. We went with 80% opacity. Adjust that slider to suit your tastes.
You can always adjust the sizing of the flower pattern too, if it’s necessary. Simply select that image layer and make sure your “transform controls” box option is checked.
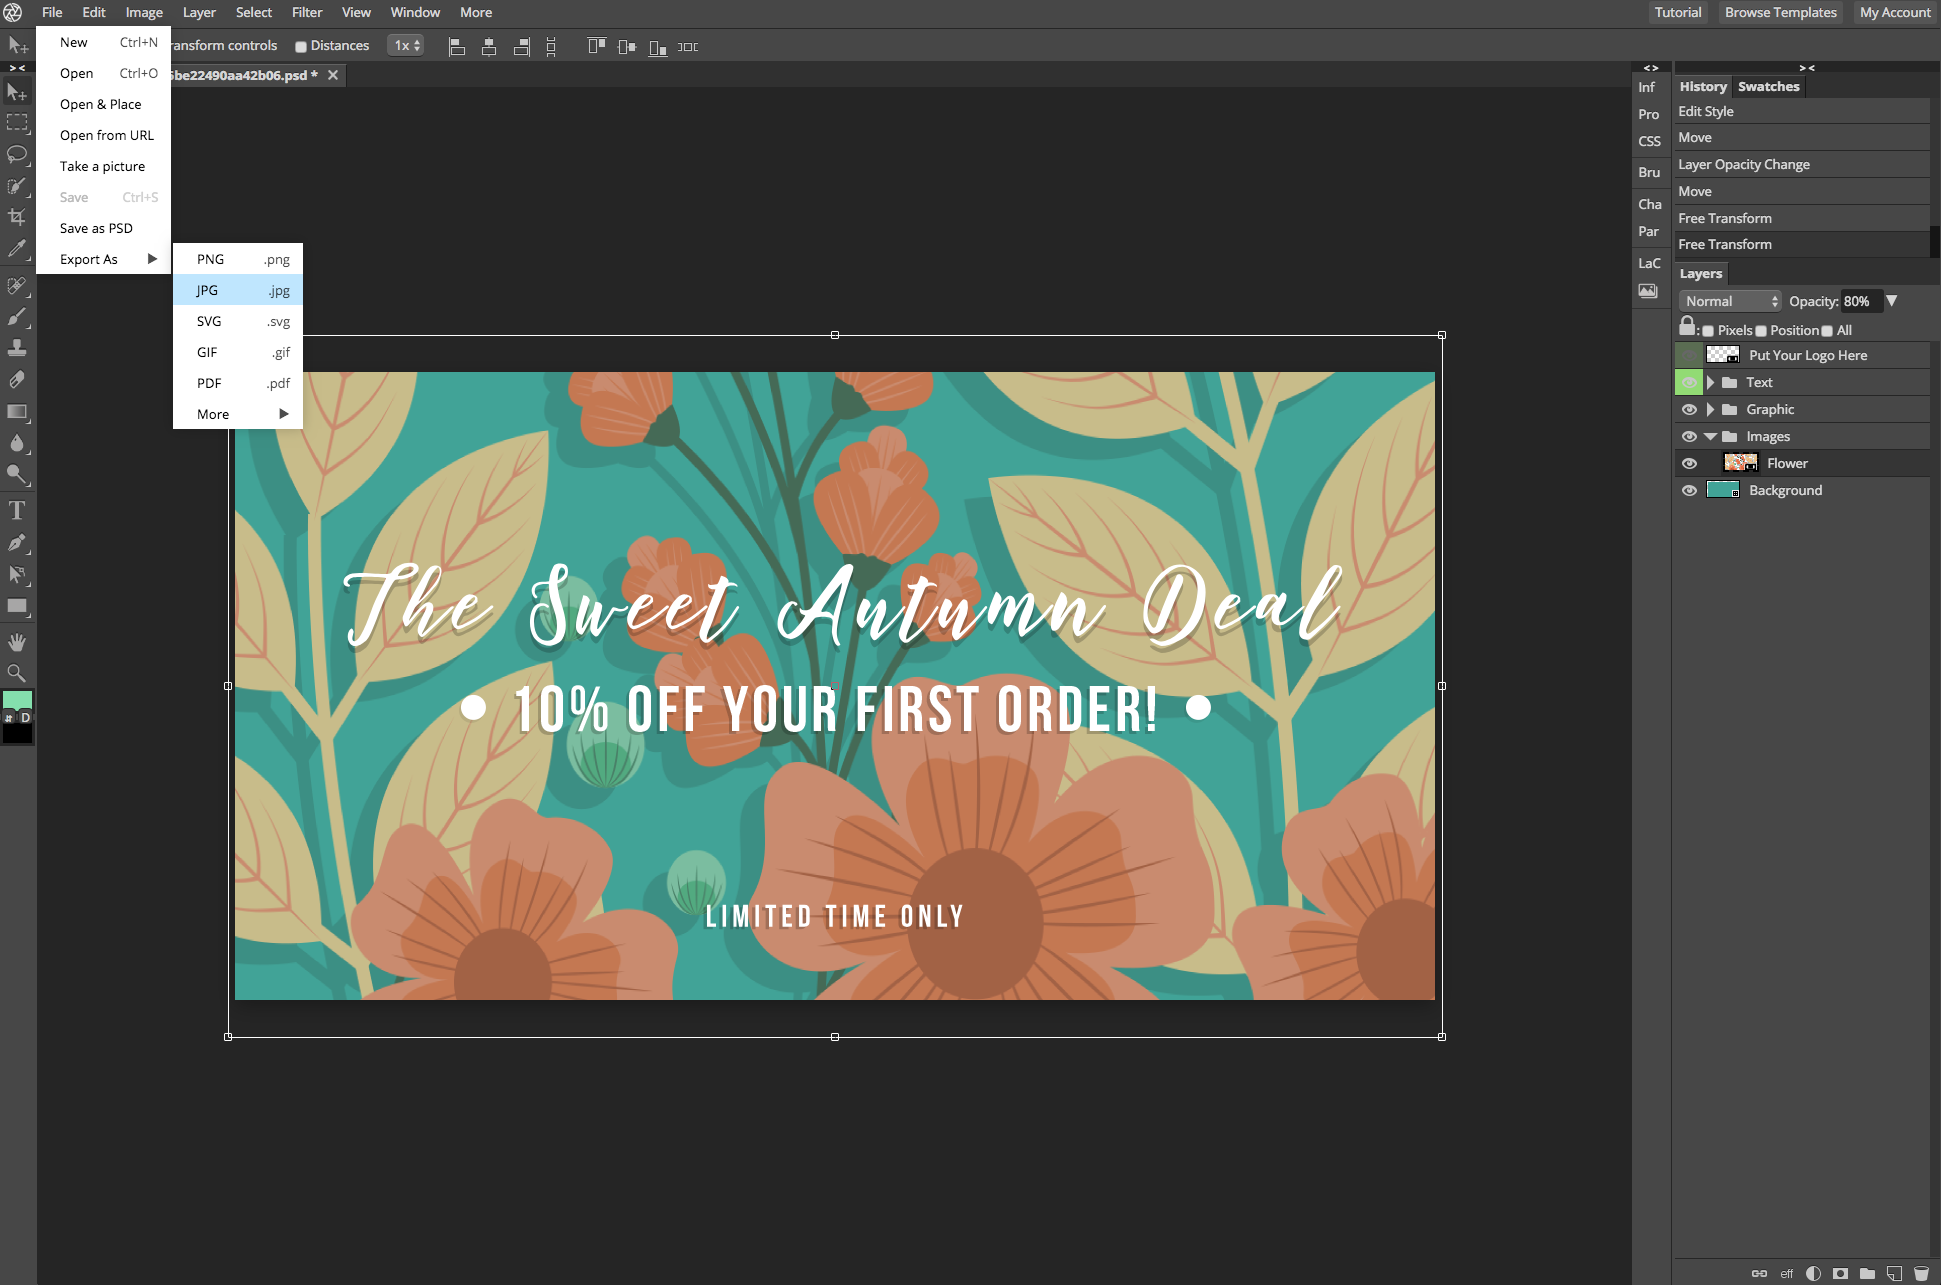
Don’t forget to save your file! We exported our social media cover design as a JPG. If you aren’t too clear about image file types, check out our handy guide about commonly used design file types!
And here we have the finished result down below. Use Pixlr Pro to experiment with color, font sizes, patterns and many more to create that perfect social media cover for your website or brand.