
Using installed fonts on the Word program can add visual interest and personality to your documents. With a wide range of font styles available, you can choose the perfect font to convey your message and make your document stand out.
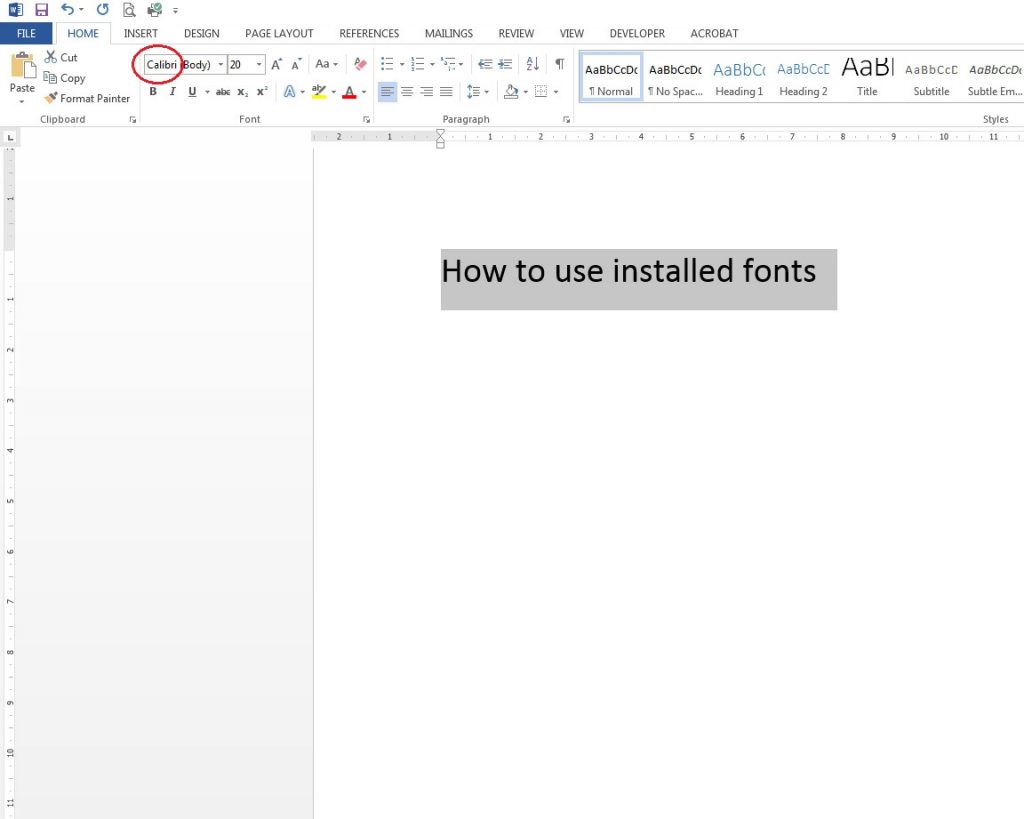
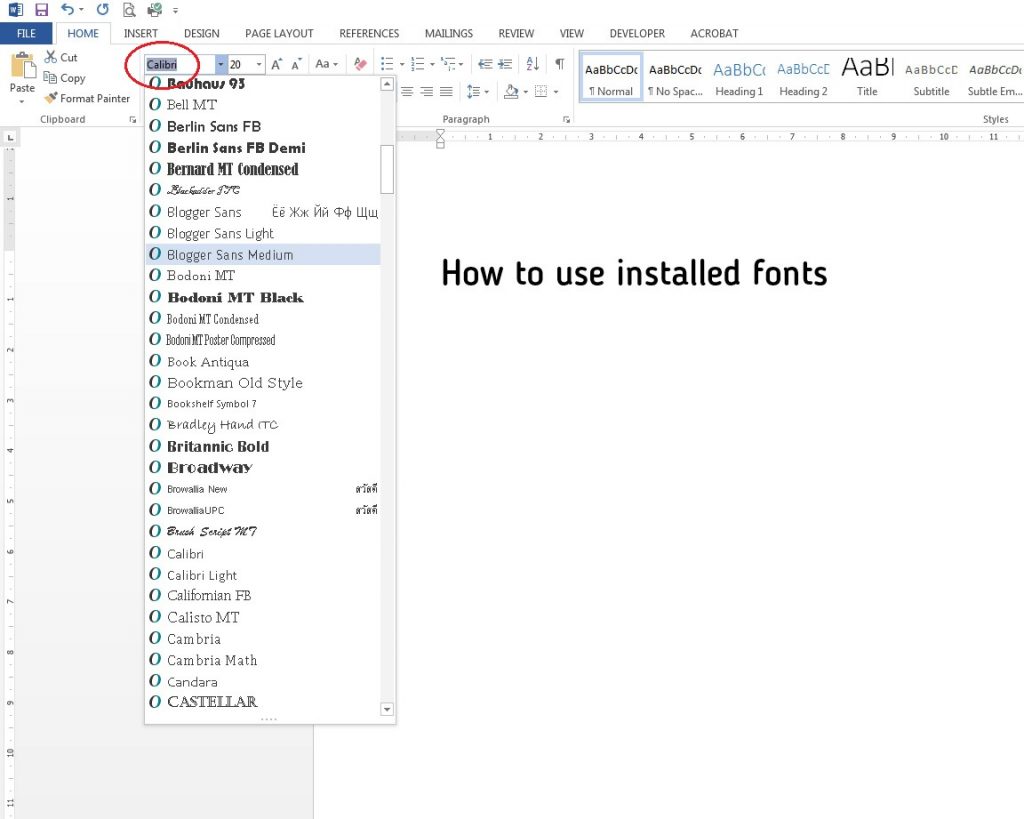
To use installed fonts in Word, first open the Word program on your computer. Go to the “Home” tab on the ribbon and click on the “Font” drop-down menu. This will open a list of all the fonts installed on your computer. Scroll through the list and choose the font you want to use. You can also type the name of the font into the search box at the top of the font list to quickly find it.
Adjust your Fonts
Once you have chosen a font, use the other options in the font menu to adjust the font size, style, and color to your liking. To apply the font to your document, select the text you want to change and then choose the font from the font menu. The selected text will immediately change to the font you selected. Repeat this process for any other text in your document that you want to change.
In addition to changing the font of existing text, you can also use installed fonts when you are creating new text in your document. To do this, simply choose the font you want to use from the font menu before you start typing. The font you selected will be applied to any new text you create.
Special Characters
To access special characters in Microsoft Word, you can use the Insert Symbol tool located in the Insert tab. Simply click on Symbol and select the desired character from the list, or use the search function to find a specific character. Once you’ve found the character you want to insert, click Insert to add it to your document.
Alternatively, you can use the Character Map to find and insert special characters. To do this, press the Windows key and the letter ‘R’ on your keyboard to open the Run dialog box, then type “charmap” (without quotes) and press Enter. Select the desired character from the list and click Select, then Copy, and paste it into your Word document. You can also use keyboard shortcuts to insert special characters, such as Alt+Ctrl+T for the trademark symbol.
Some special characters also have their own buttons on the ribbon, such as the currency and math symbols found in the Symbols group on the Insert tab. If you’re using a touchscreen device with Word, you can use the touch keyboard to insert special characters by pressing the Windows key and the letter ‘I’ on your keyboard, then clicking Touch Keyboard.

It is important to keep in mind that not all fonts will be available on all computers. If you are sharing your document with others, it is a good idea to check that they have the same fonts installed. Otherwise, the document may not display correctly on their computer.
Overall, using installed fonts in Word can add creativity and visual appeal to your documents. By following the simple steps outlined above, you can easily add custom fonts to your Word documents and make them truly unique.