Hey there! I’m Emma from Edge and Virtue. One of my favourite things to make is invitations, which is why I was super happy that I had the chance to design and create a variety of them using The Whimsical Friends Bundle. All I’ve used to create these invitations are elements from the bundle. So, let’s get started! 🙂
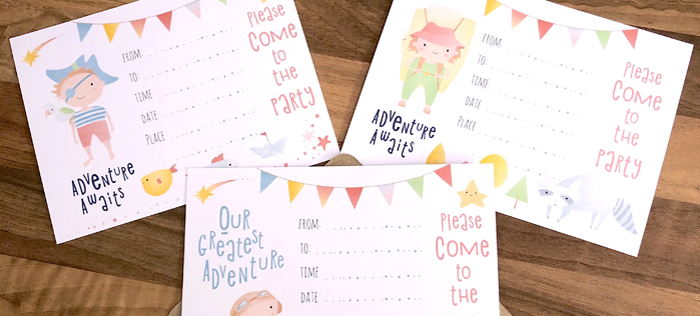
The Pre-Made Child’s Party Invite – Adventure Time
These three invitations couldn’t be any easier. The lovely designers have pre-made these for customers so they’re ready to print but you can still edit the size of the image if necessary. You can fit two onto one A4 page and either write using text boxes or by hand.
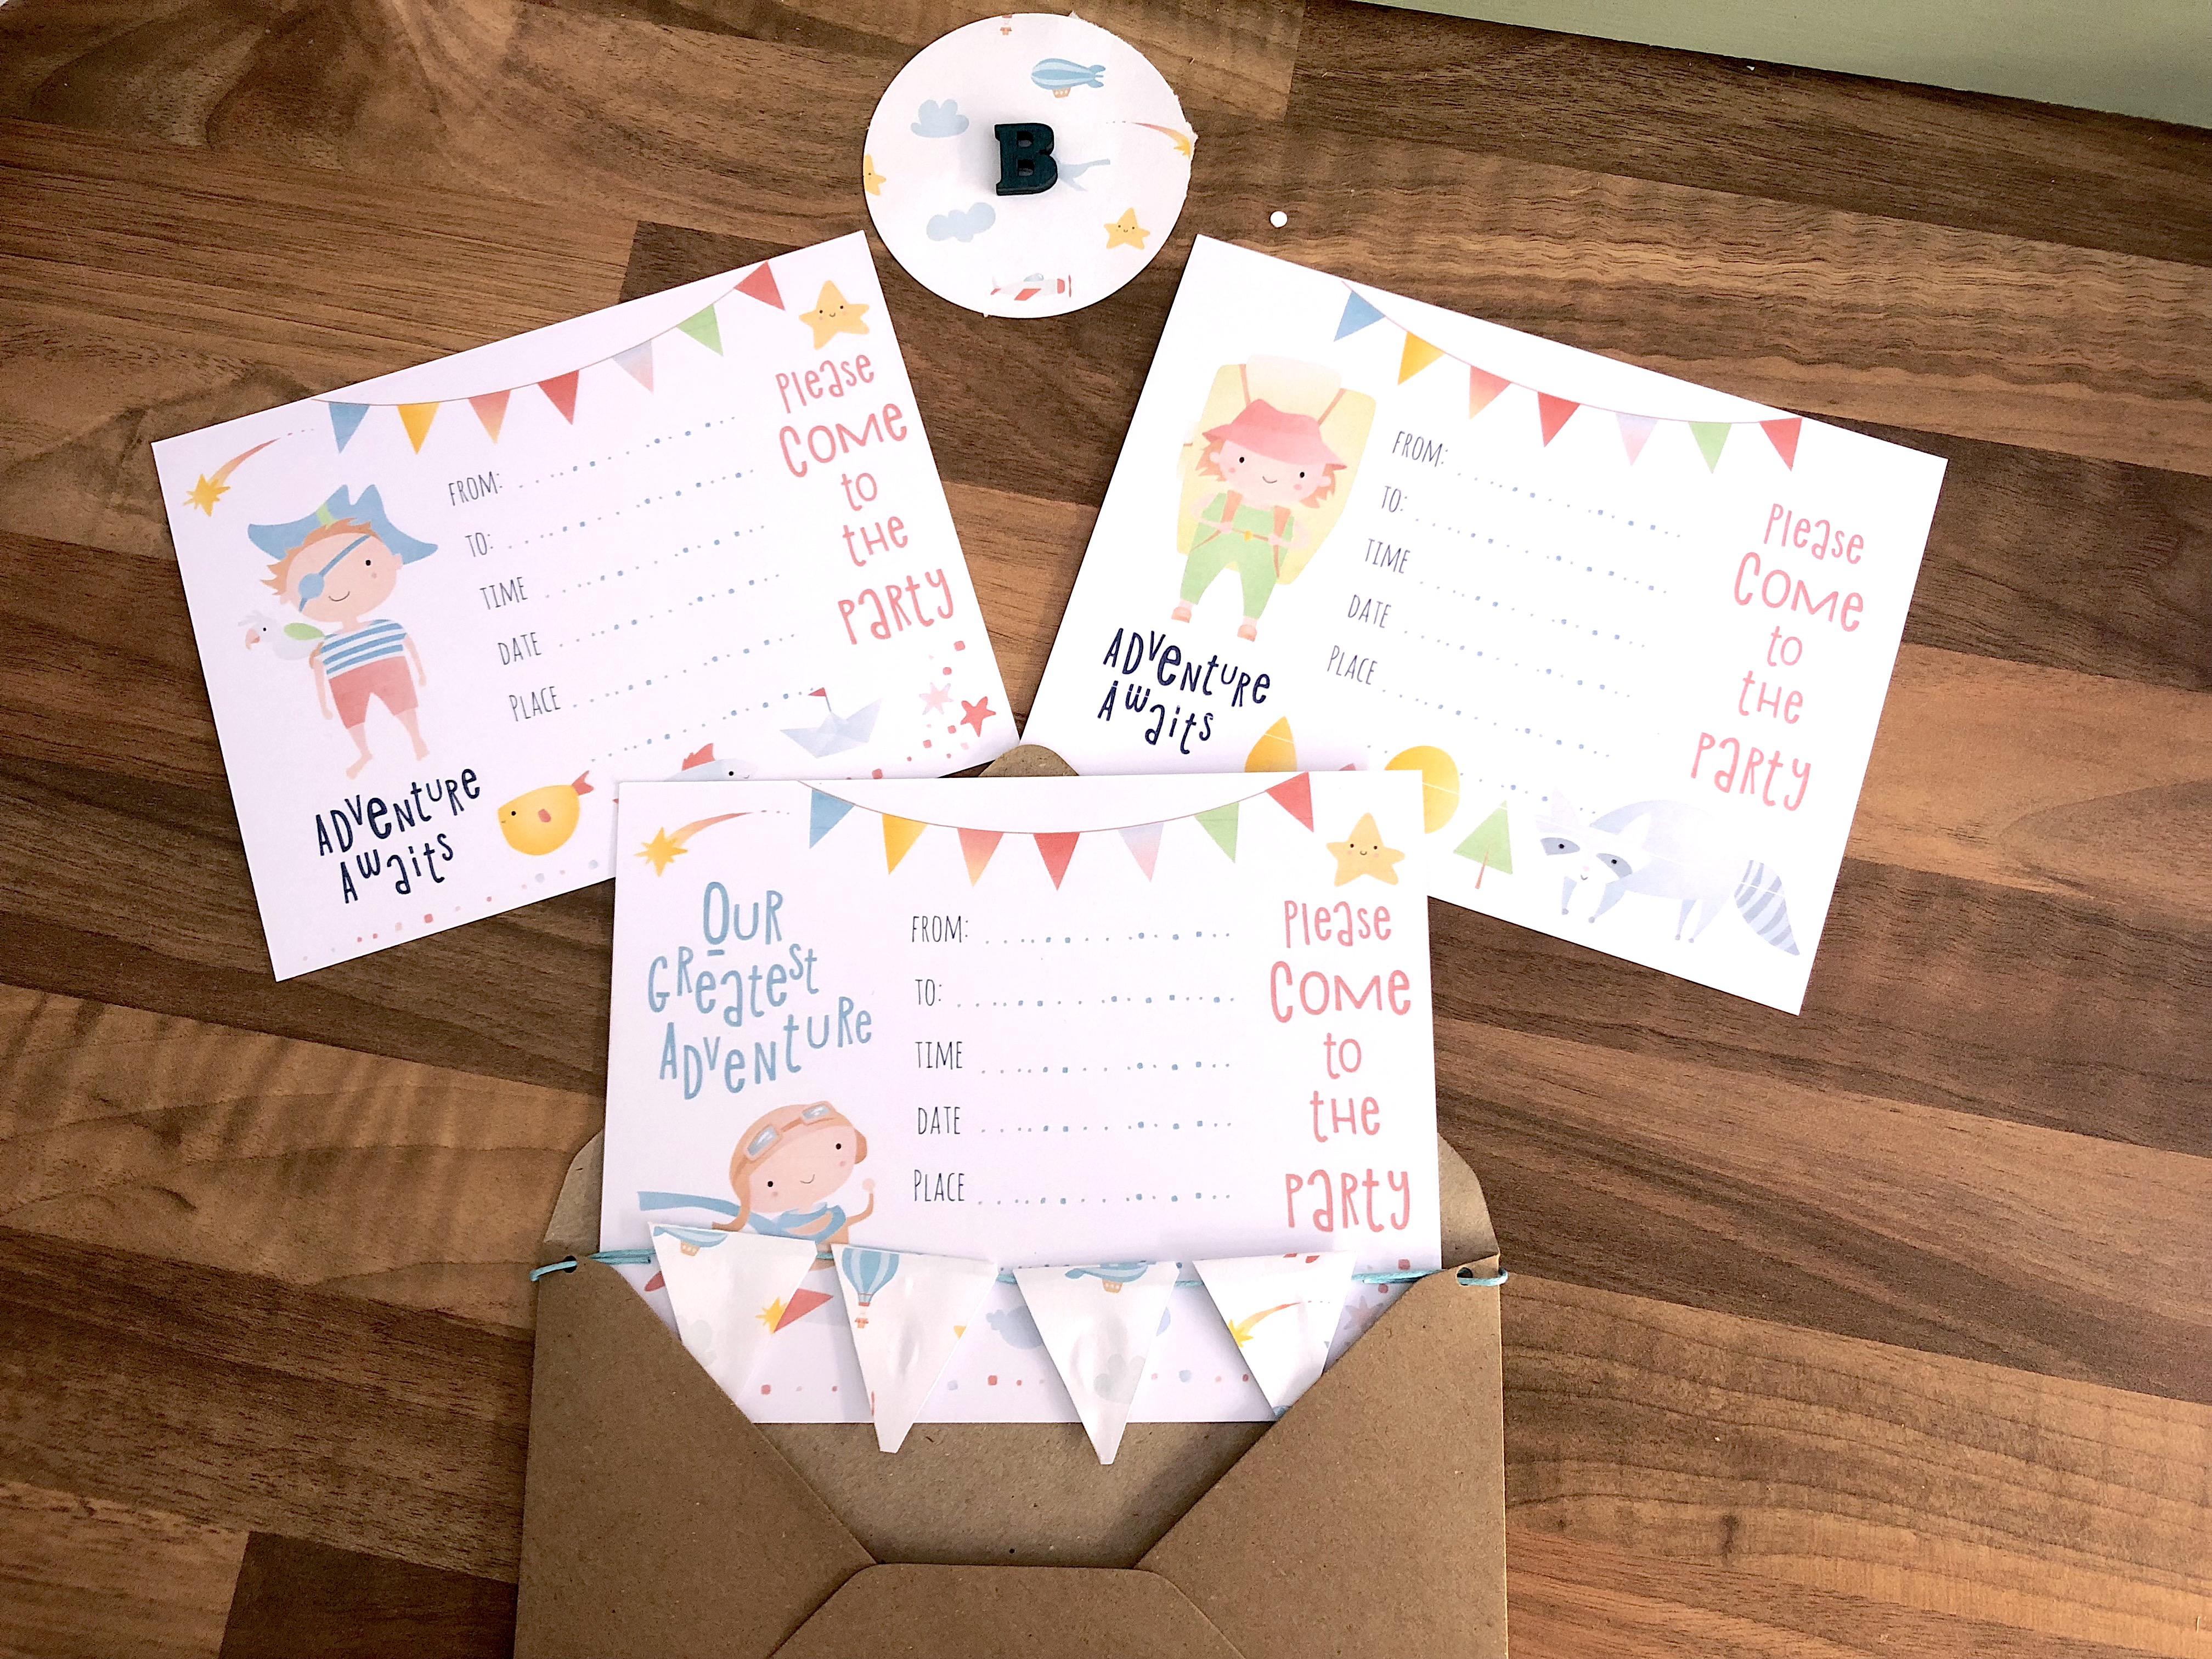
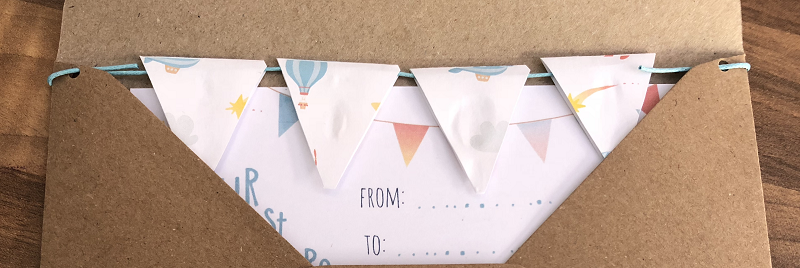
Something that TheHungryJPEG always includes in their bundles is seamless patterns, I can think of a hundred things to do with them but for invitations my absolute favourite is bunting. These invitations already have a cute little bunting across the top, so I handcrafted some from a printed pattern to include a little something extra to the envelope.
You will need:
- Printed invitation
- Envelope
- Printed Seamless Pattern
- Glue
- Cord or String
- Scissors
- Hole Punch
- Glue or double-sided tape.
Create the flags
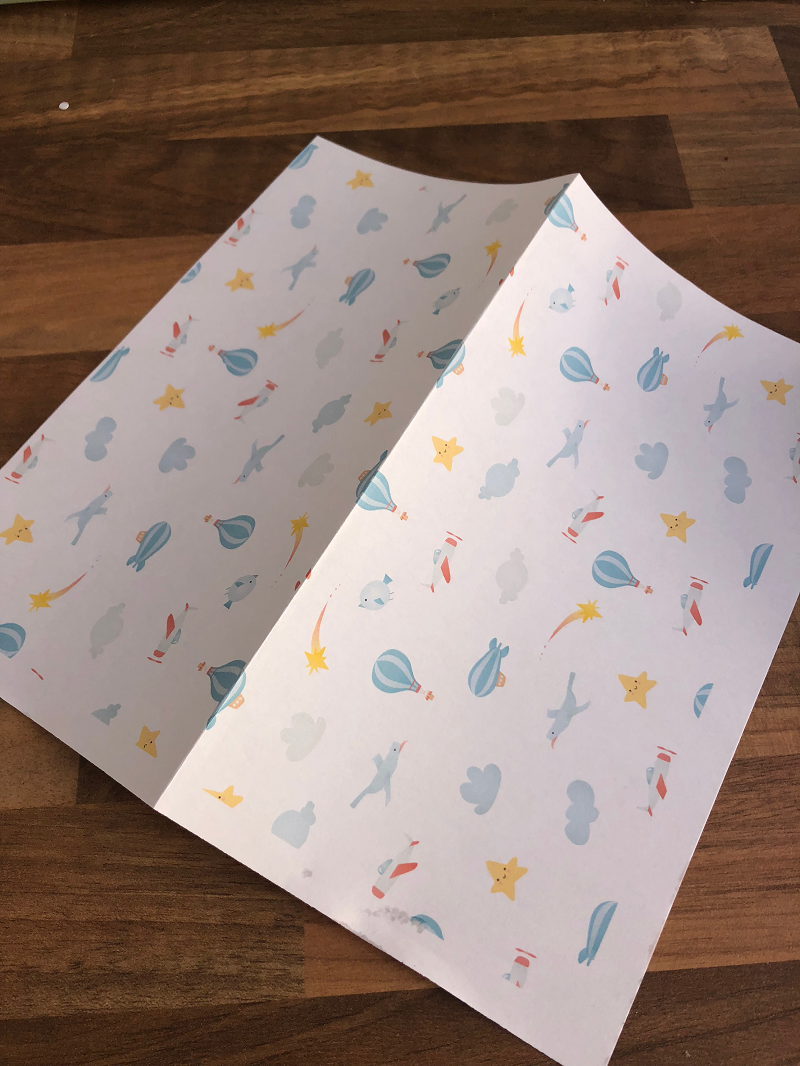
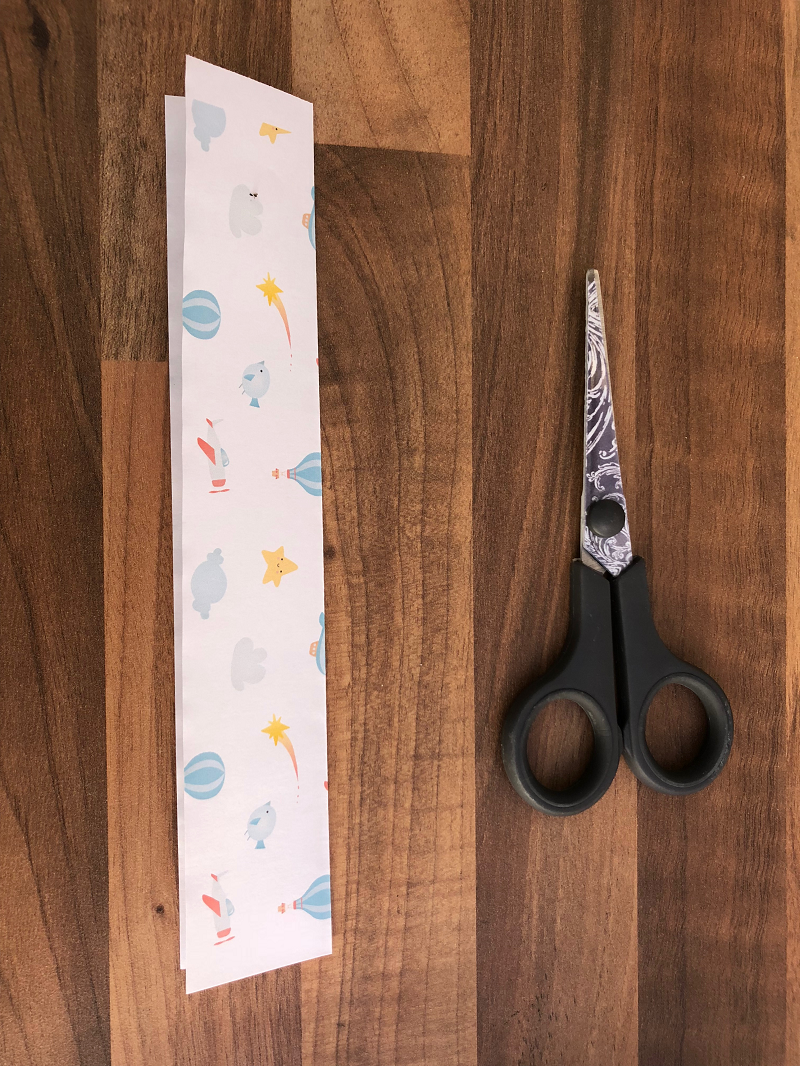
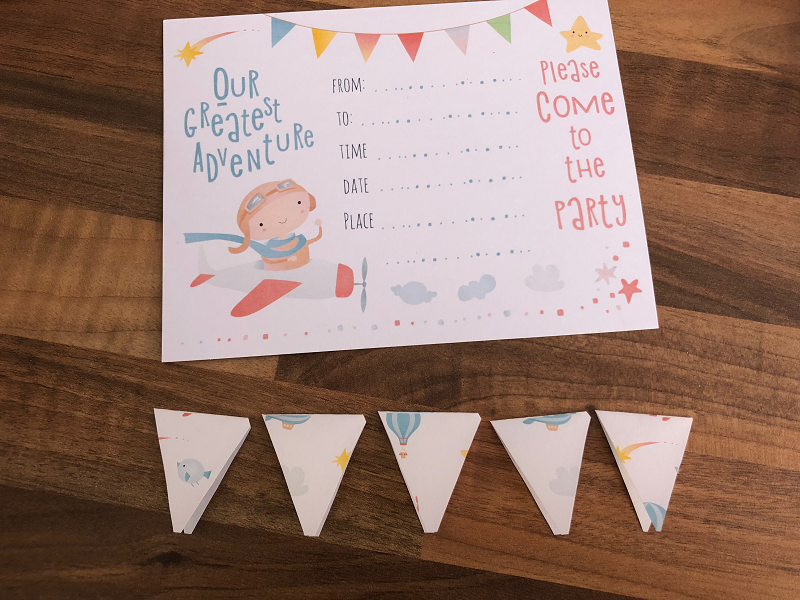
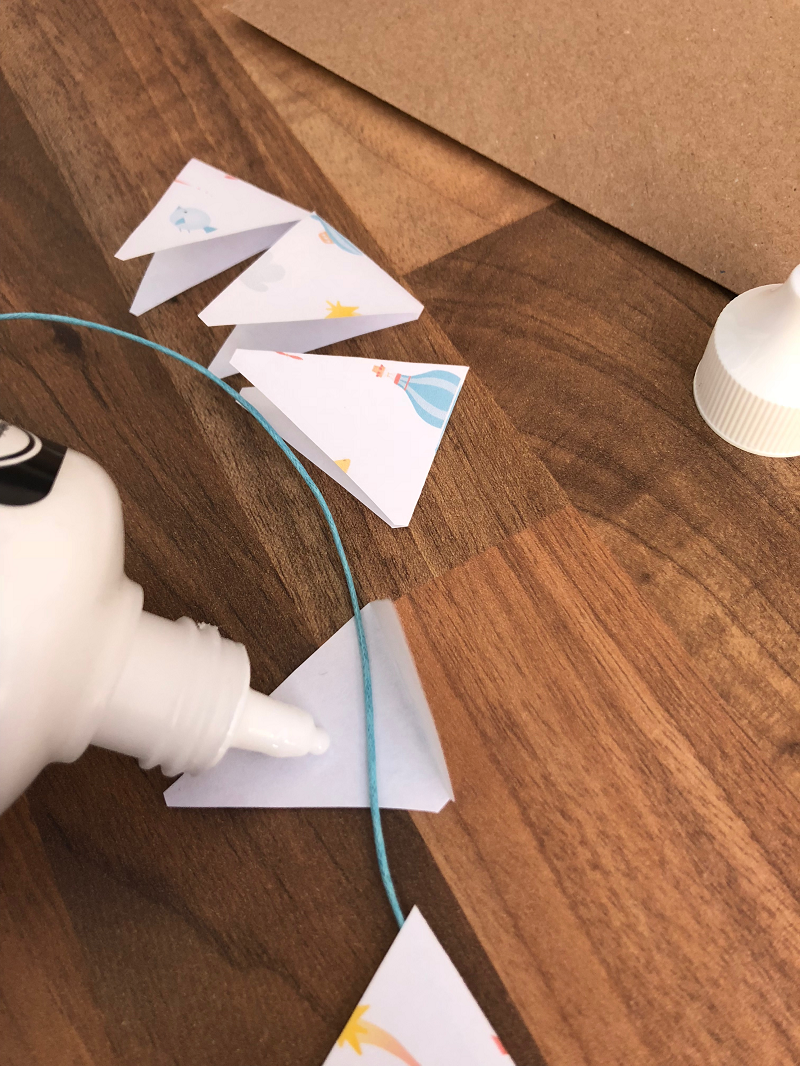
Once you have printed your seamless pattern (Tip: Insert two of the same image but rotate one 180 degrees so it is upside down, this way when you fold it, both sides of the flag will be the right way up), fold between the two images and trim to the size you would like your flags. You can then begin cutting your triangles. When unfolded, they should be diamond shaped.
Once you have your triangles you can begin to stick them over the cord. You can either stick them first and thread the cord through or stick them around the cord, either way, you will be able to position them later.
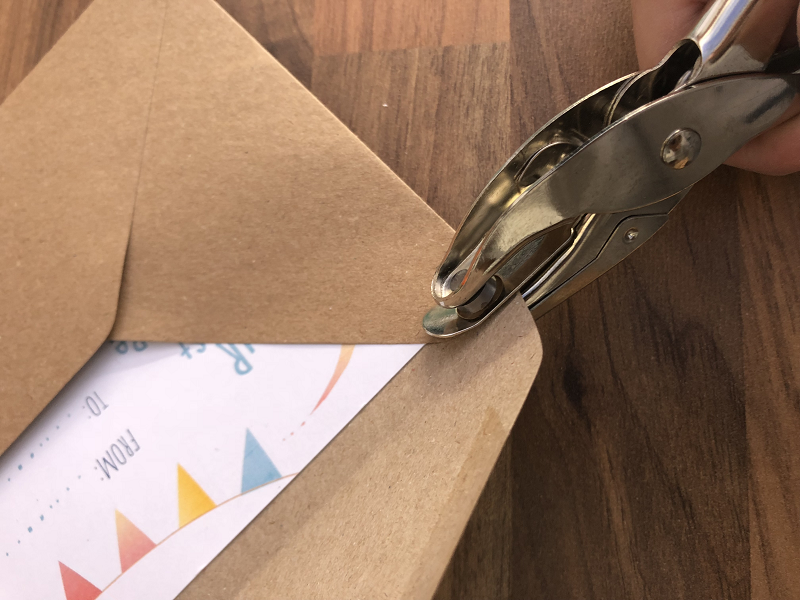

Next, hole punch through both parts of the envelope, hold your envelope so the opening is face up, thread the cord through the bottom hole first, then over through the top one, you can then glue it down or tie a knot to stop it coming out again.
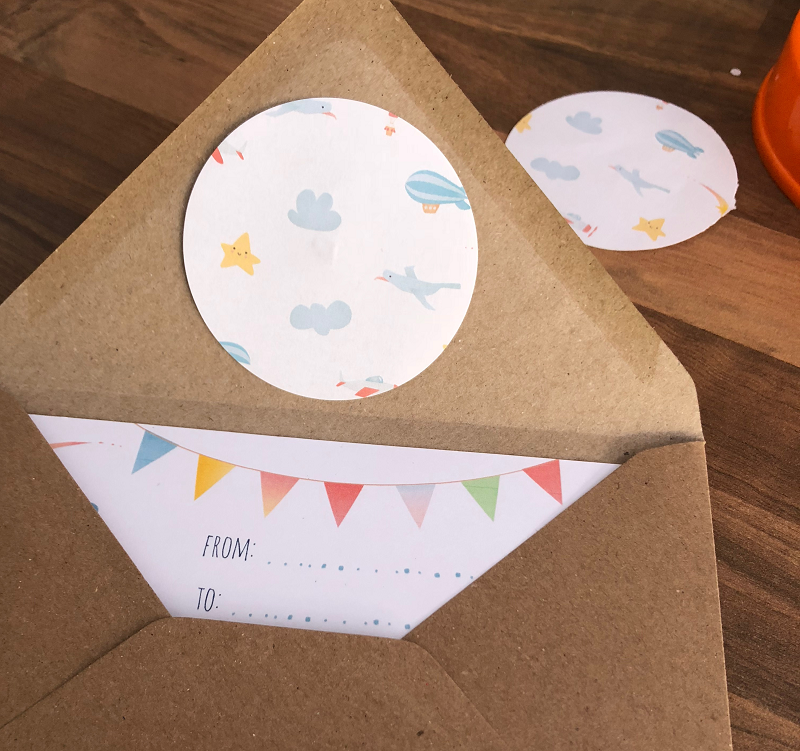
There are seamless patterns for all three of the pre-made invitations, if you have a circle cutter, you can also make accents for your envelopes, which can be stuck on any plain envelope to make it look like part of a set.
Yes, it’s that simple! Happy creating, guys! And remember, you can always create your own designs using the thousands of graphics provided not only in The Whimsical Friends Bundle, but any of TheHungryJPEG’s amazing bundles found here.