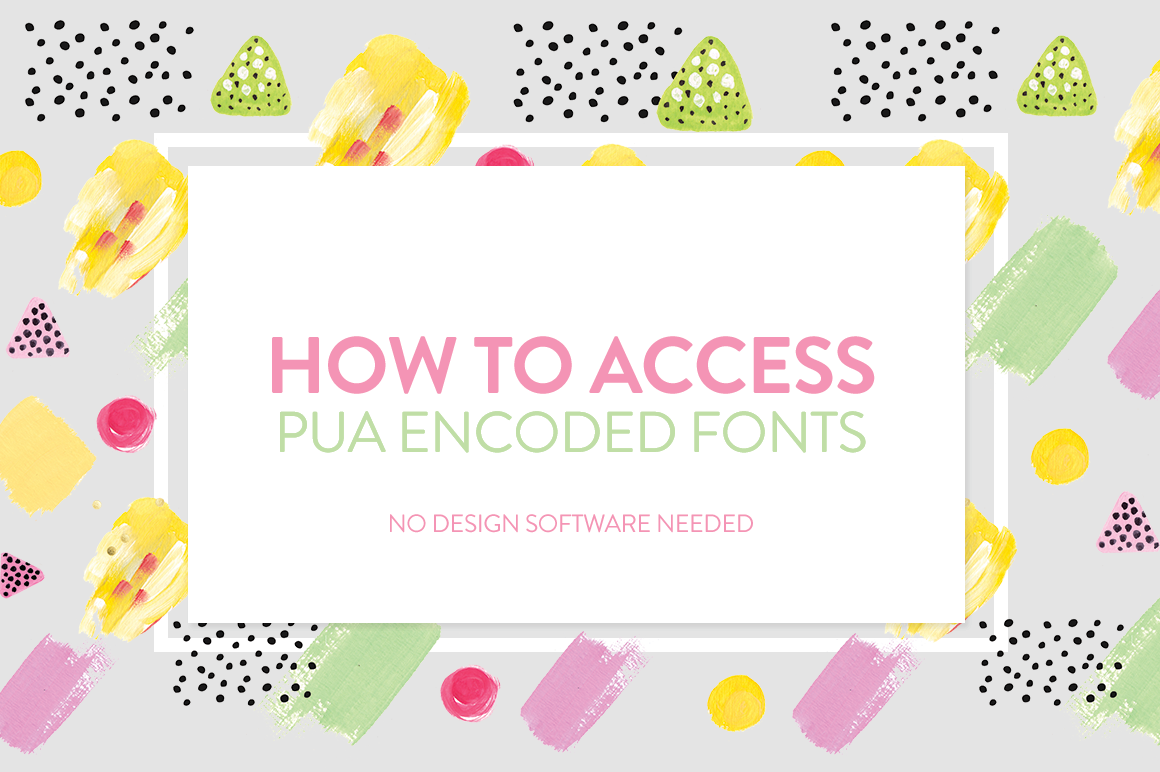

Up until recently, I never gave thought to what a PUA enabled font was. To be honest I had no clue, I was familiar with the concept of glyphs in fonts (where you can access other decorative bits of a font family), but this PUA concept was new.
So what exactly does PUA mean? It stands for Private Use Area and are code points whose interpretation are not specified by a character encoding standard. TheHungryJPEG team put together this quick over-view guide to help explain what it is and how to start using them.
Today I wanted to quickly touch on how to access them in your fonts, and also give some suggestions about a few fonts that does have them included.
——
Accessing PUA Fonts on a Windows Computer
To access all your fonts on Windows, you need to access a pre-installed program called Character Map. Though I can also highly recommend downloading the FREE Babel Map program as well. It may be a little easier to use.
Okay, lets get started. On your Windows computer, within the start menu/search bar type in Character Map.

Once you have located the application, open it up and select the font you’d like to use. Next tick the checkbox that says “Advanced View”, and in the dropbox titled “Group By” choose “Private Use Characters”.

Now you should see all the characters available within the chosen font. Copy and paste as per usual to the program of your choice, and voila! You’d have created pretty works without having to use major tools.
If you have copied your font across and find three rectangular boxes in the place of your beautiful characters, (see below) don’t worry. Simply black these out and select the same font from the menu above.

Some programs are set to default all copied characters to a standard font like Times New Roman. When your computer notices the characters you copied across don’t exist in this font, they will display these three boxes.
Bonus: Here’s an awesome quick and easy video tutorial showing how to access them via a Windows machine, by font maker Laura Worthington.
Access PUA Encoded Fonts on a Mac
To do this, you’ll need to install your fonts as you normally would using the FontBook application. Once the fonts you want installed are in the system, within the same FontBook application, follow the steps below to get access to the characters.
Step One:
Go to the View menu located in top menubar of the application.

Step Two:
Click on Repertoire or you can alternately access this by using the shortcut Command+2 in the application to open this feature.

Step Three:
Select the font you’d like to use and then view the myriad of characters included in your font. In this case, here’s a look at the Abril Fatface font. Once the repertoire feature was enabled, I was now able to see quite a few more neat characters and even little decorative symbols that are included in the fonts.

Step Four:
Prepare to use the character or symbol of your choice, by copying and pasting. Within the FontBook application, make sure to completely click and select the character you want to use (you’ll know it’s really selected, if there is a blue selection highlight over the character). With the character selected, go to Edit > Copy. Then in the application, browser tab, or wherever on your computer you are trying to use it, press Command+V and voila! You’ve just added your own characters from your various fonts into another application.

Putting it all into practice:
Here I’ll be using the Madina Script font in the Text Edit document. Using the steps outlined above, you can I see I was able to alternate the r that is used in the text, a feature usually only easily accessible in programs like Illustrator or something similar.

Another way to access characters.
On your mac, once again open up the FontBook application. Go to Edit in the menubar and click on Emoji & Symbols (see the figure image below).

One neat aspect of this method, is you will see basically all the characters that are on your computer, including the standard default ones including emojis and Apple symbols etc. However a neat trick here, that I’ve always loved and used (but didn’t know these were considered PUA characters) is that you can select a particular character, in our case here, a cool frilly arrow, and below it where you see Font Variations, you can actually click through on them to see which of your installed fonts offers something similar. In my case it showed me Menlo and Zapf Dingbats as two other options that offers a similar arrow style.

The only drawback to this method is that you will not be able to see any letters, only symbols and unique characters. But it’s a great way to see exactly what’s already installed on your computer and which of your fonts may have similar offers/features.
Now having looked at how easy it is to use these PUA characters, I realize that following the previous create a digital card tutorial, this should definitely work for those steps where you’d input text using some of the applications already on your computer.
Font Suggestions that have PUA Characters enabled.
The Nightly Poem brush script font
BetterFly Script
TheSecret: Luxury Calligraphy Script
——
Did you already know what PUA characters were?
Share with us below if you’ve ever used PUA characters, or what other programs (preferably non- Adobe or industry standard programs) you have used in the past to access the secret characters included in your fonts. Don’t forget to tweet with us @thehungryjpeg
Credit: Silhouette School Blog for allowing us to include a range of images from their site.