It’s Debbie O’Neal of Scrap Me Quick Designs, waving a hello to you all today and sharing a tutorial to inspire you for Mother’s Day or really any occasion. I don’t know about the Moms in your life, but the moms I know LOVE the gift wrap almost more than whatever the actual gift may be, so I always try to make something extra special from the heart.
The Impressive April Bundle has so many beautiful fonts and graphic packs, I was inspired to transform an ordinary plain white gift bag (I buy these in sets at craft or discount stores to keep on hand), into something truly special for Mother’s Day gift giving.

I will be showing you the easy steps I followed using the Cricut Design Space Software for Cricut Explore and Cricut Maker die cut machines to help make the cuts. You could do something similar using other electronic die cut machines. Plus you could also just use a color printer, paper trimmer and scissors to do this by hand too.
For this project, you will need:
- The Impressive April Bundle from TheHungryJPEG – Sweet Nothings Font and Emily Wreath 4 Image
- Plain Gift Bag, size of your choice (I scaled my project to fit an 8X10 gift bag)
- A Color Printer and white cardstock to print on
- 12 X 12 sheet of Colored Cardstock
- Adhesives: Tape Runner, Glue Pen and Foam Pop Dots/Tape
- Cricut Explore or Cricut Maker and Cricut Design Space Software*
* I am sharing my Cricut Design Space Cut File: https://design.cricut.com/#/design/89791796
(Just click the link to save in your Cricut Design Space account to make this project. It’s already sized for the 10X8 Gift Bag, scale it up or down to fit your size bag.)
*Note: The directions provided below assume you know the basics of using Cricut Design Space Software. If you need basic instructions for using Cricut Design Space, I offer a self-paced recorded course you can find on my website at Cricut Design Space Basics Online Class.
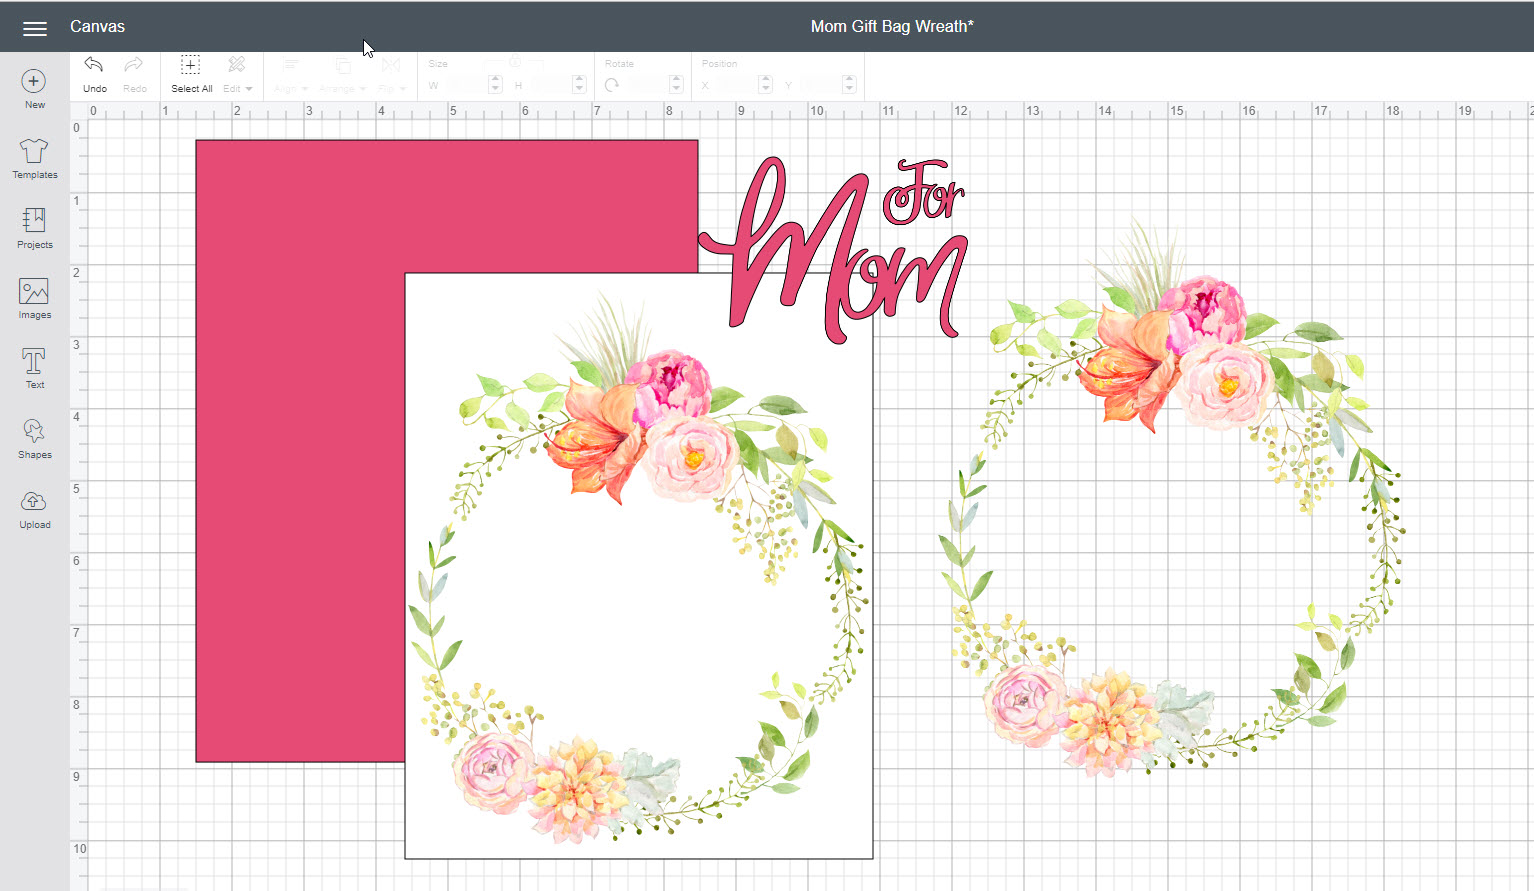
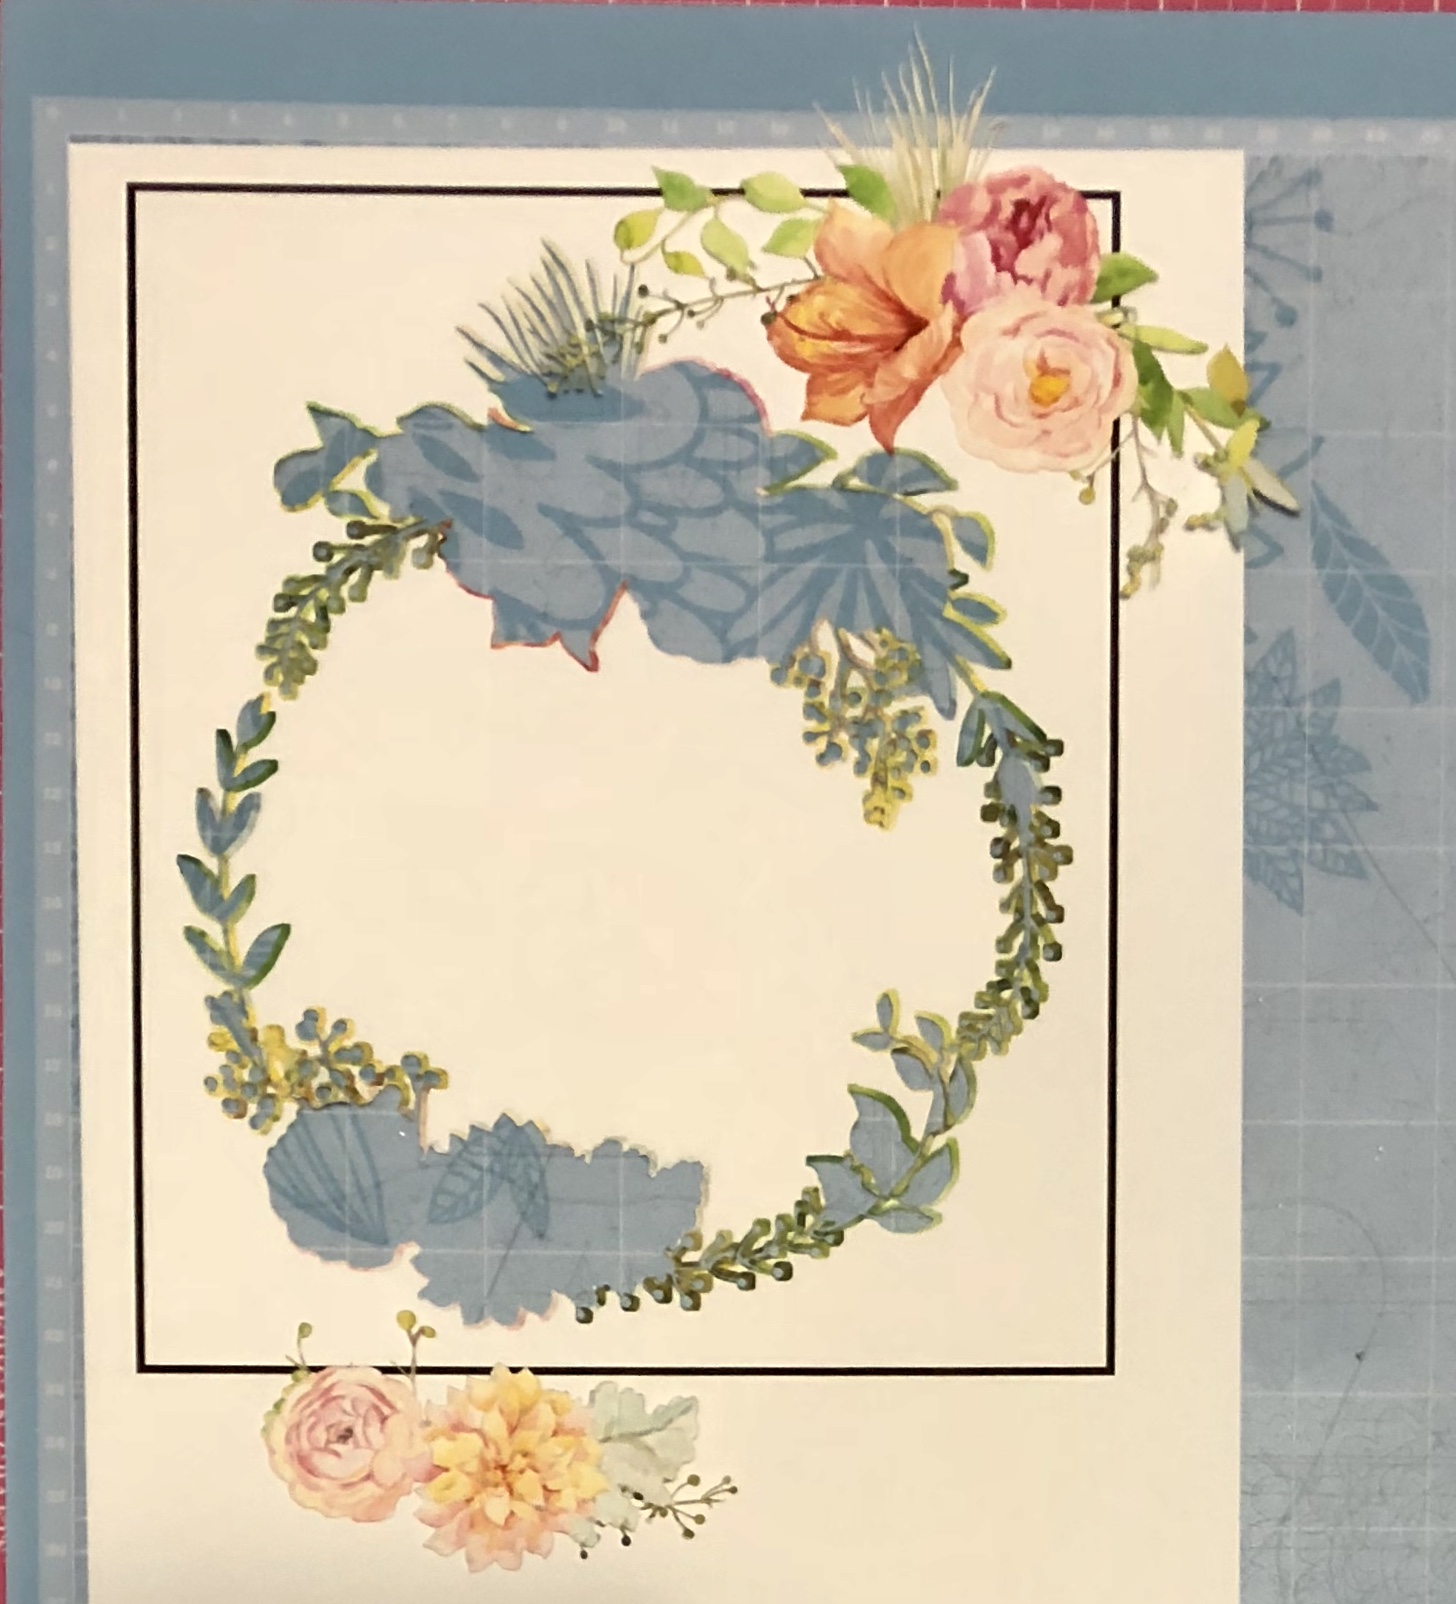
Start by adding TWO (2) of The Impressive April Bundle’s ‘Emily Wreath 4 Image’ PNG file types (you would have already uploaded to Design Space from your computer where you downloaded the Bundle content) to your Design Space Screen.
Size both Emily Wreath 4 Images to 6.5 w X 7.869 h. (Since these are already PNG file types, they will show up as Print Then Cut images automatically in Design Space.)
Add 1 basic shape square re-sized to 6.5 w X 8.139 h (white).
Add 1 basic shape square re-sized to sized to 6.972 w X 8.653 h (pink).
Using the Attach feature in Design Space, attach one of the Emily Wreath 4 PNG images to the white rectangle you created. This creates a Print then Cut File where Design Space will cut only the rectangle and not the wreath image out itself.
The remaining Emily Wreath 4 PNG Image will not be attached to a shape.
Insert Text and type in the word Mom and select the Sweet Nothings Font (you would have already installed on your computer after downloading the bundle contents and made available in Design Space under System Fonts). Using the Weld Feature, weld the “Mom” letters together. Size that finished image to 3.756 w X 2.6 h.
Insert Text and type in the word “For” and select the Sweet Nothings Font again. Weld the “For” together. Size that finished image to 1.131 w X .0905 h
Note: If you use the Design Space File I shared above, you can skip all these sizing steps and go straight to printing and cutting.
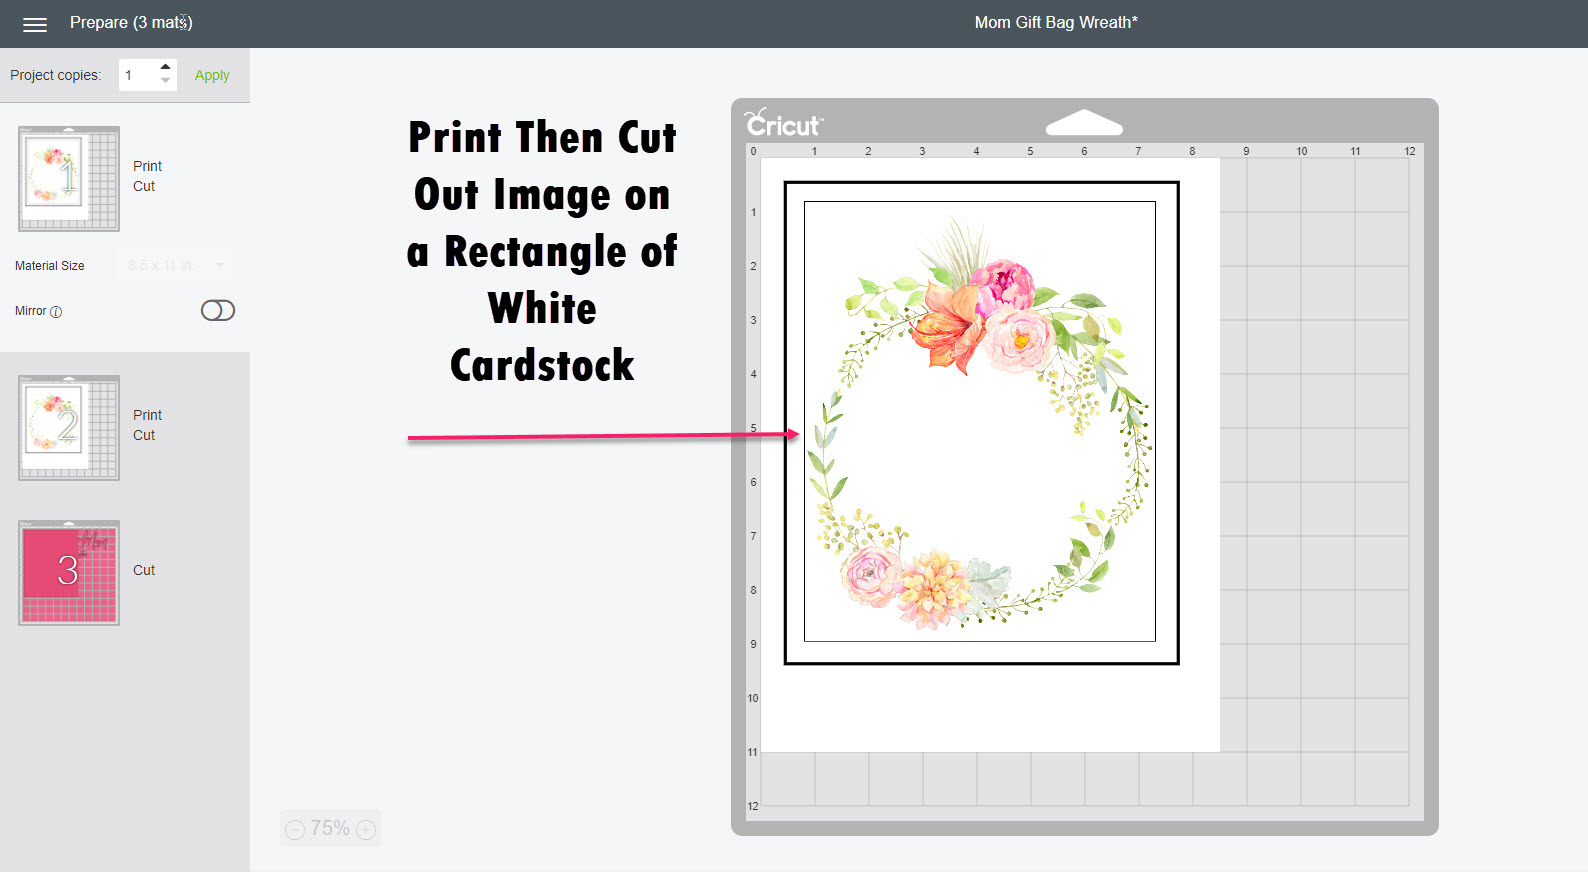
After you hit the “Make It” Button in Design Space, the first cut mat will be a Print Then Cut step. Just follow the prompts in Design Space as it walks you through printing and cutting out the image with the Wreath on the White Rectangle Cardstock.
*Note: For this step you must have a color printer and white cardstock. It will print out the image on your printer first and then you will add the printed cardstock to the physical cut mat and continue the process to allow Design Space and Cricut it to cut out for you.
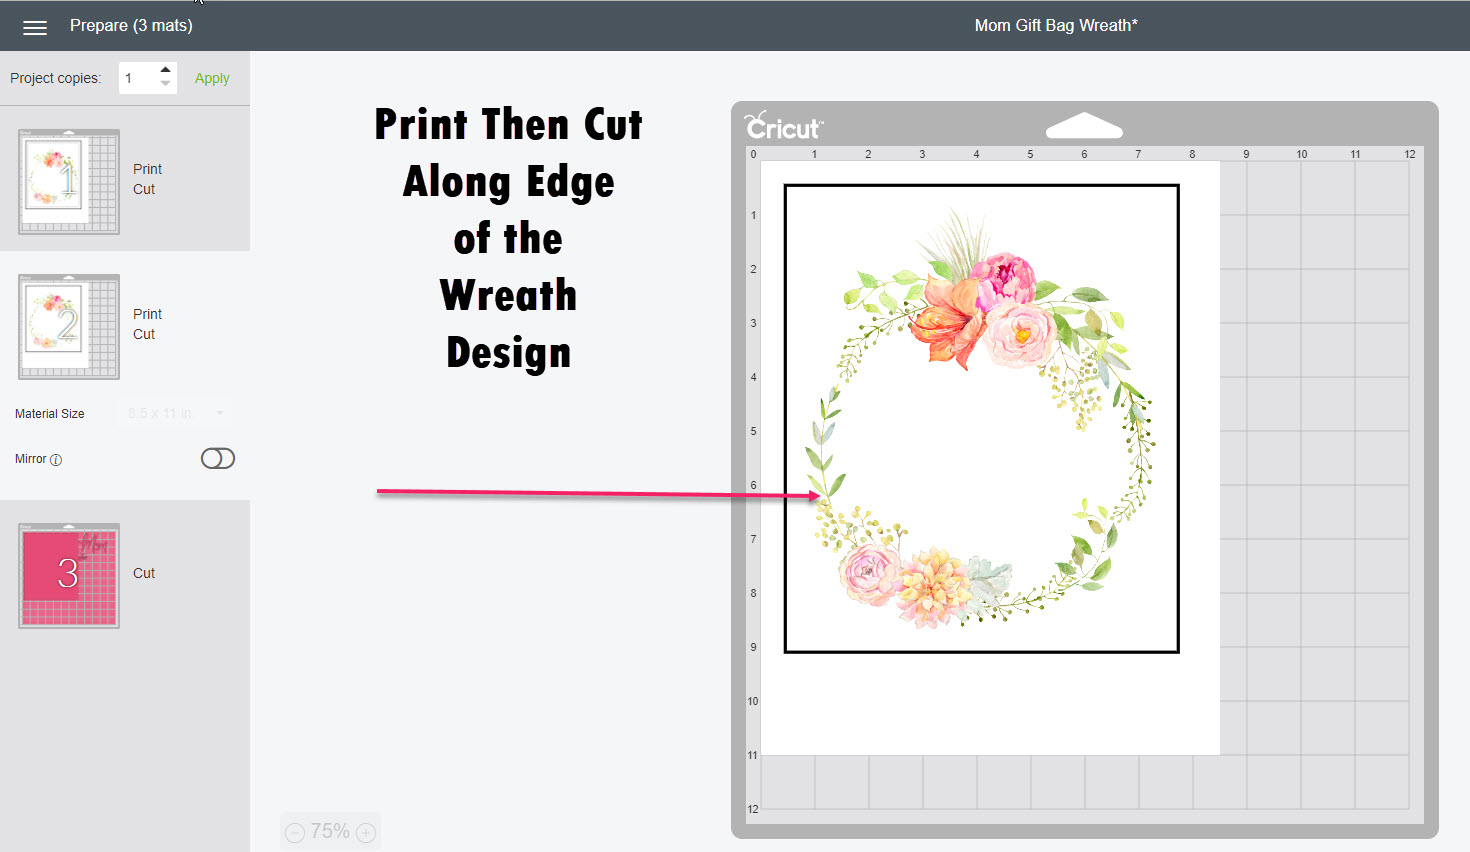
The next cut mat will be another Print then Cut step but this one will cut out the actual shape of the wreath. Continue following the prompts to send to your printer and apply to your mat to cut.
After this mat is cut, gently remove the 2 grouped flower images from the mat. Don’t worry about all the little pieces of the image left behind. You can discard those.
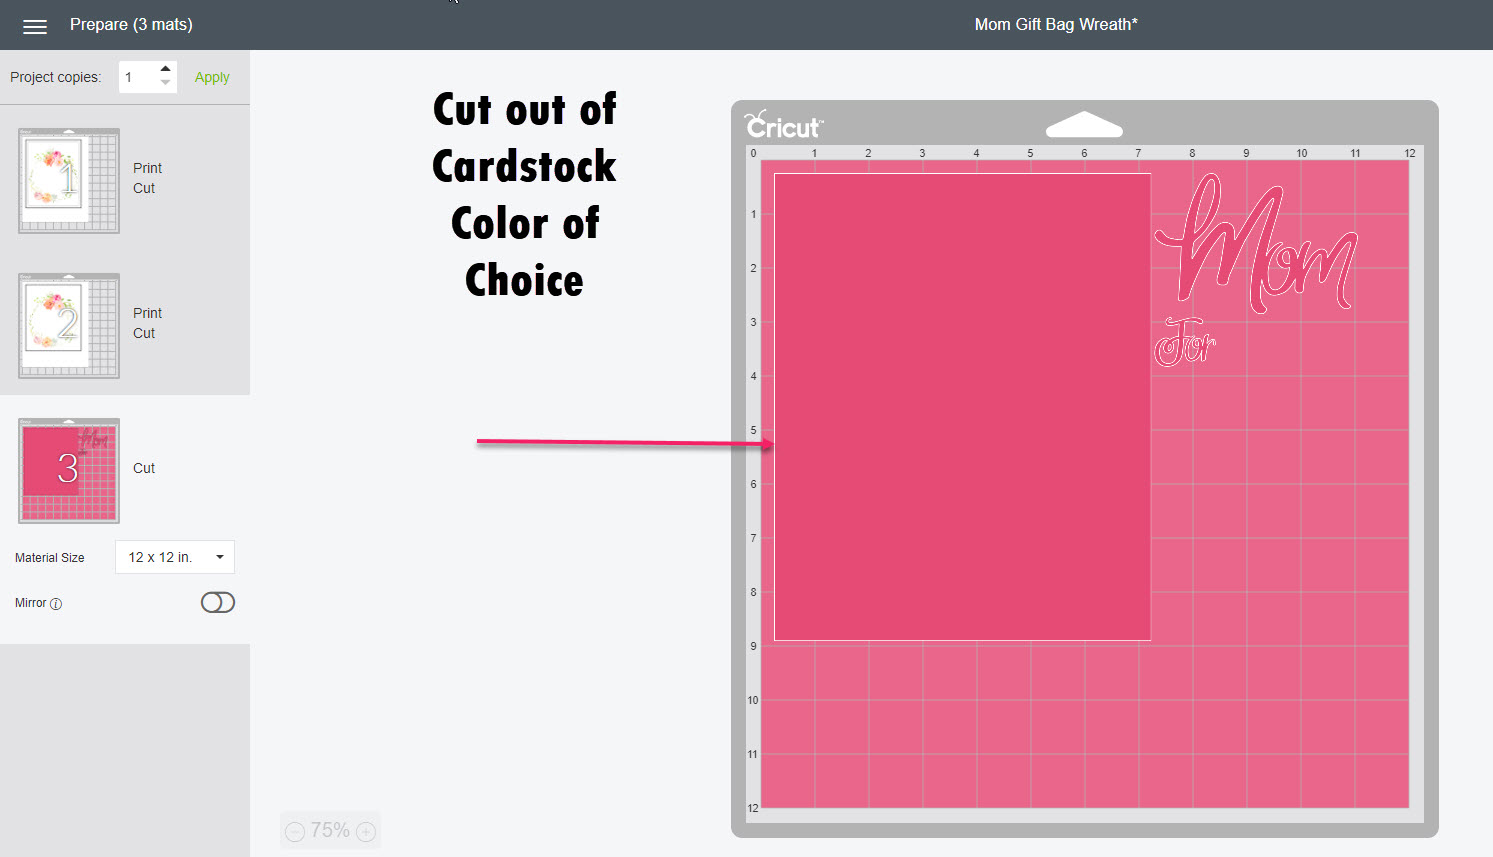
The final cut mat is the colored cardstock for the background of our project and the words.
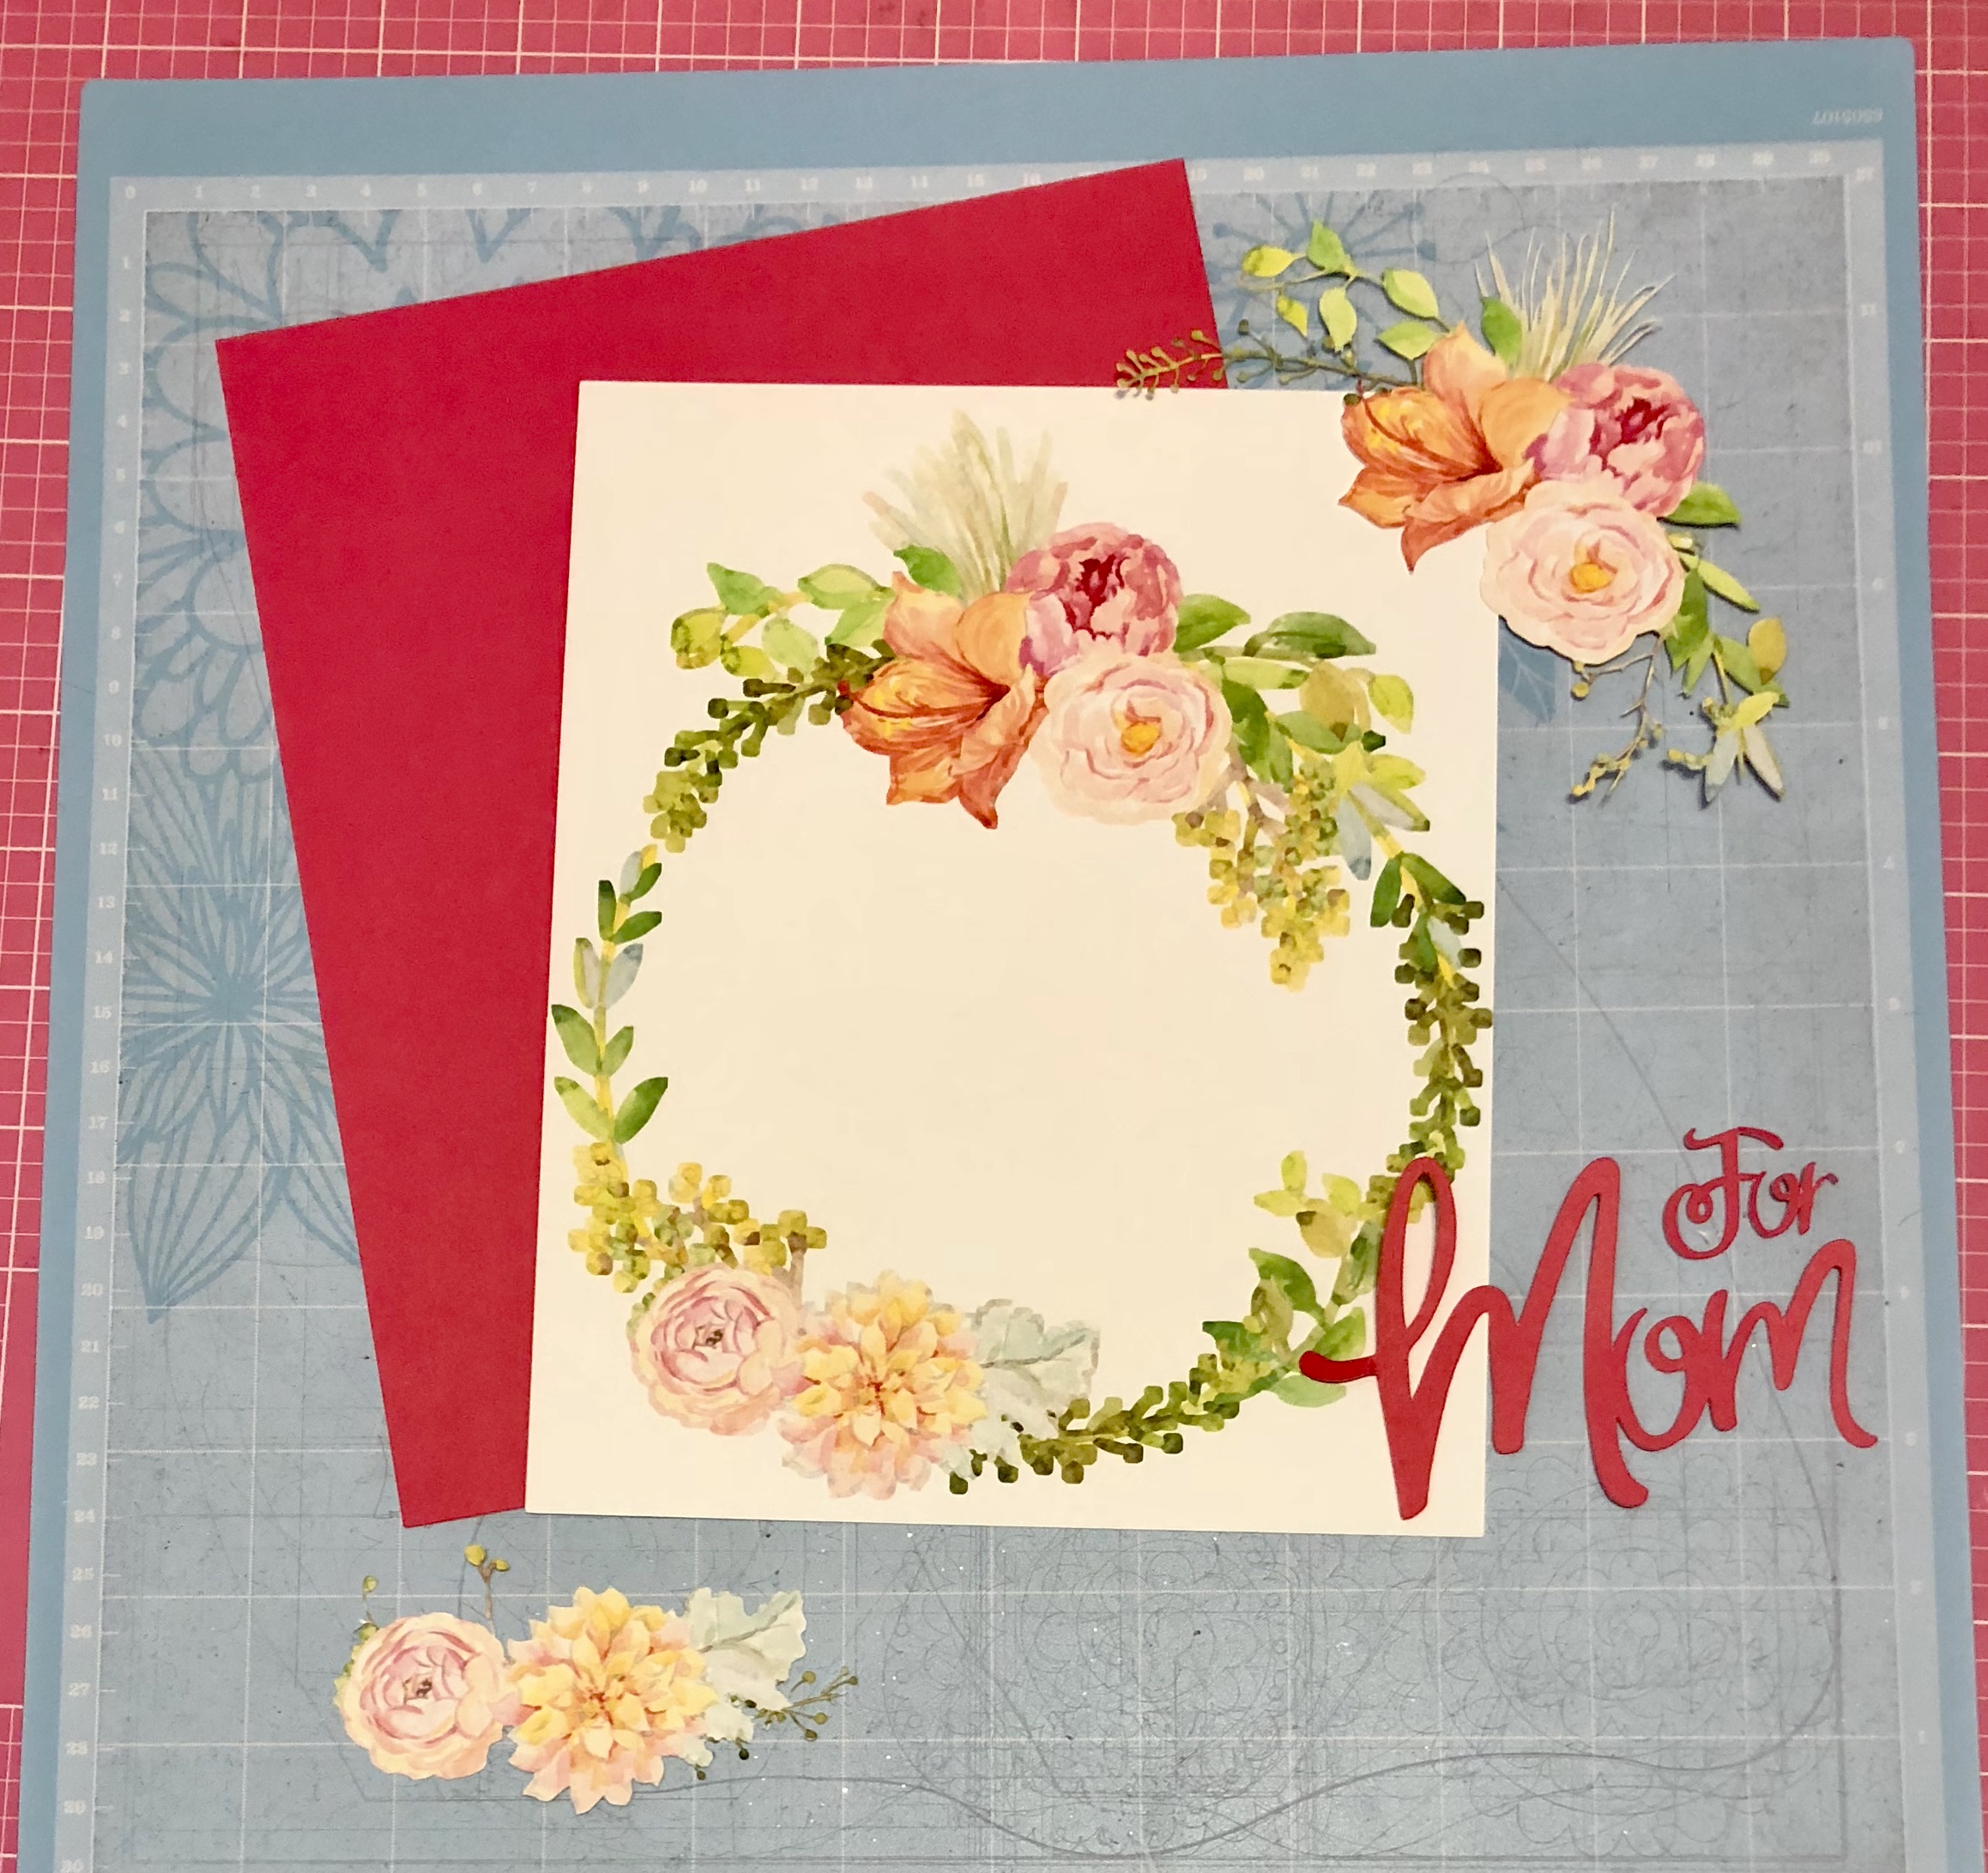
So now you have all the pieces we need to assemble our Mother’s Day Gift Bag project.
PROJECT ASSEMBLY STEPS:
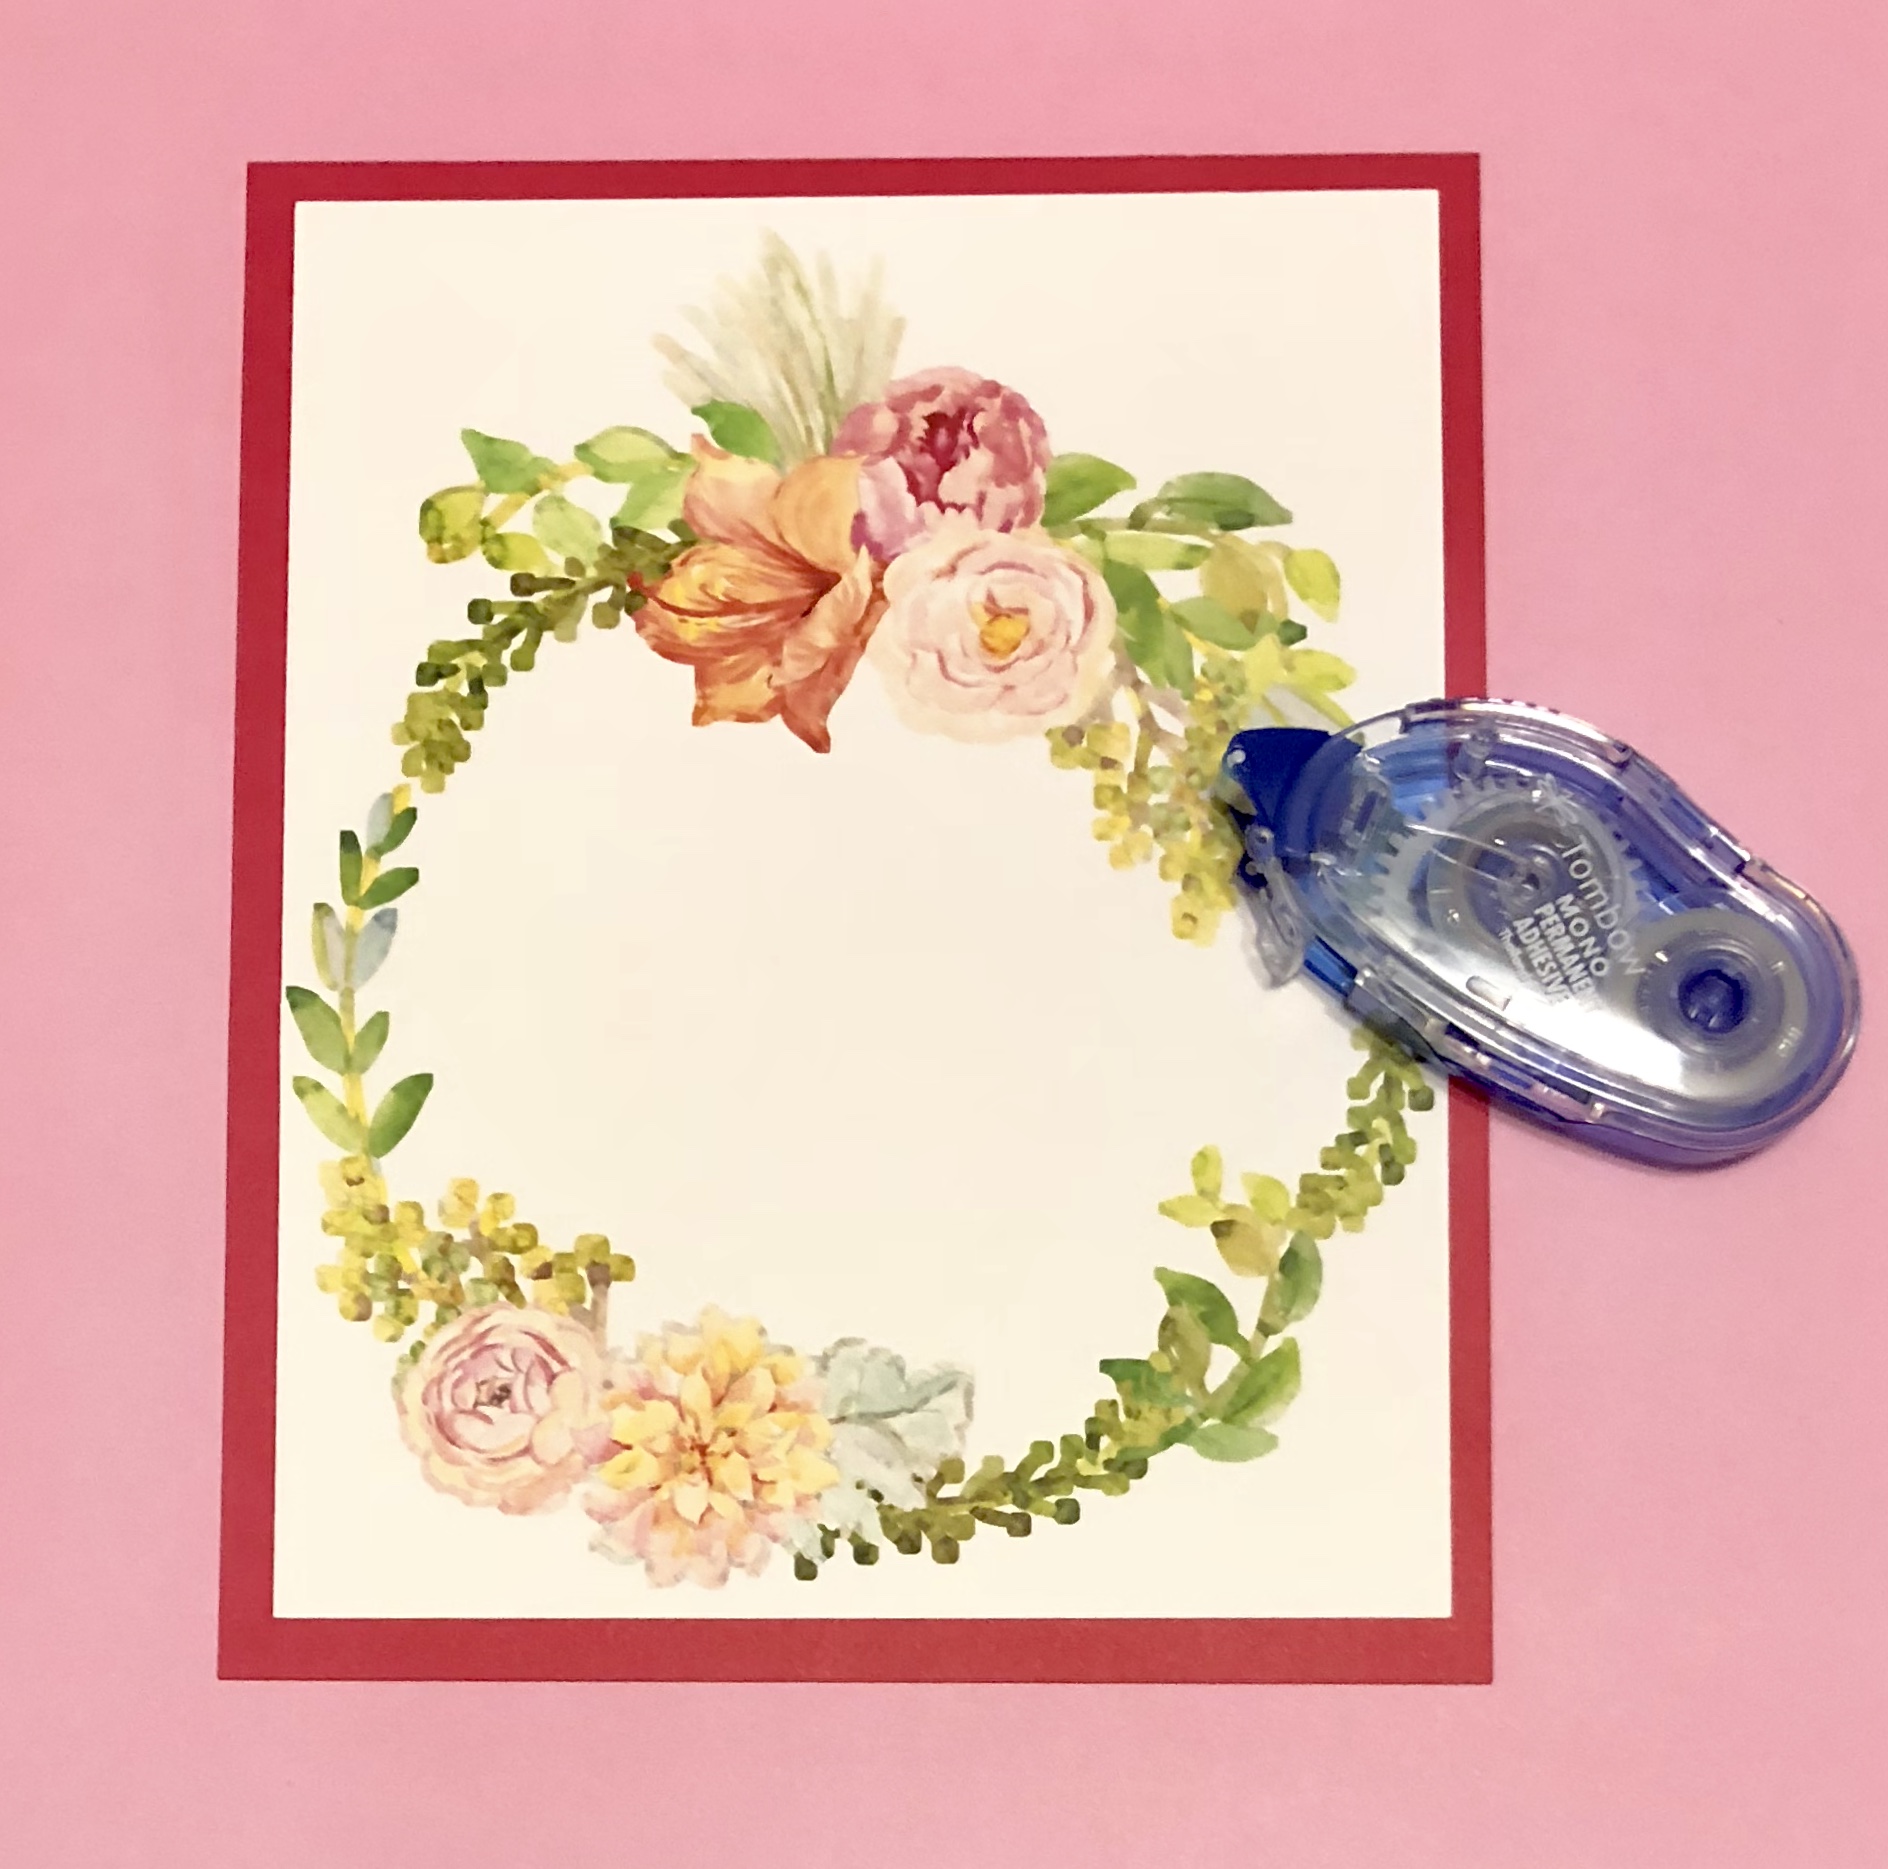
Adhere the white rectangle piece to the pink cardstock piece using a tape runner. Leave a small border all around the edges as shown above.
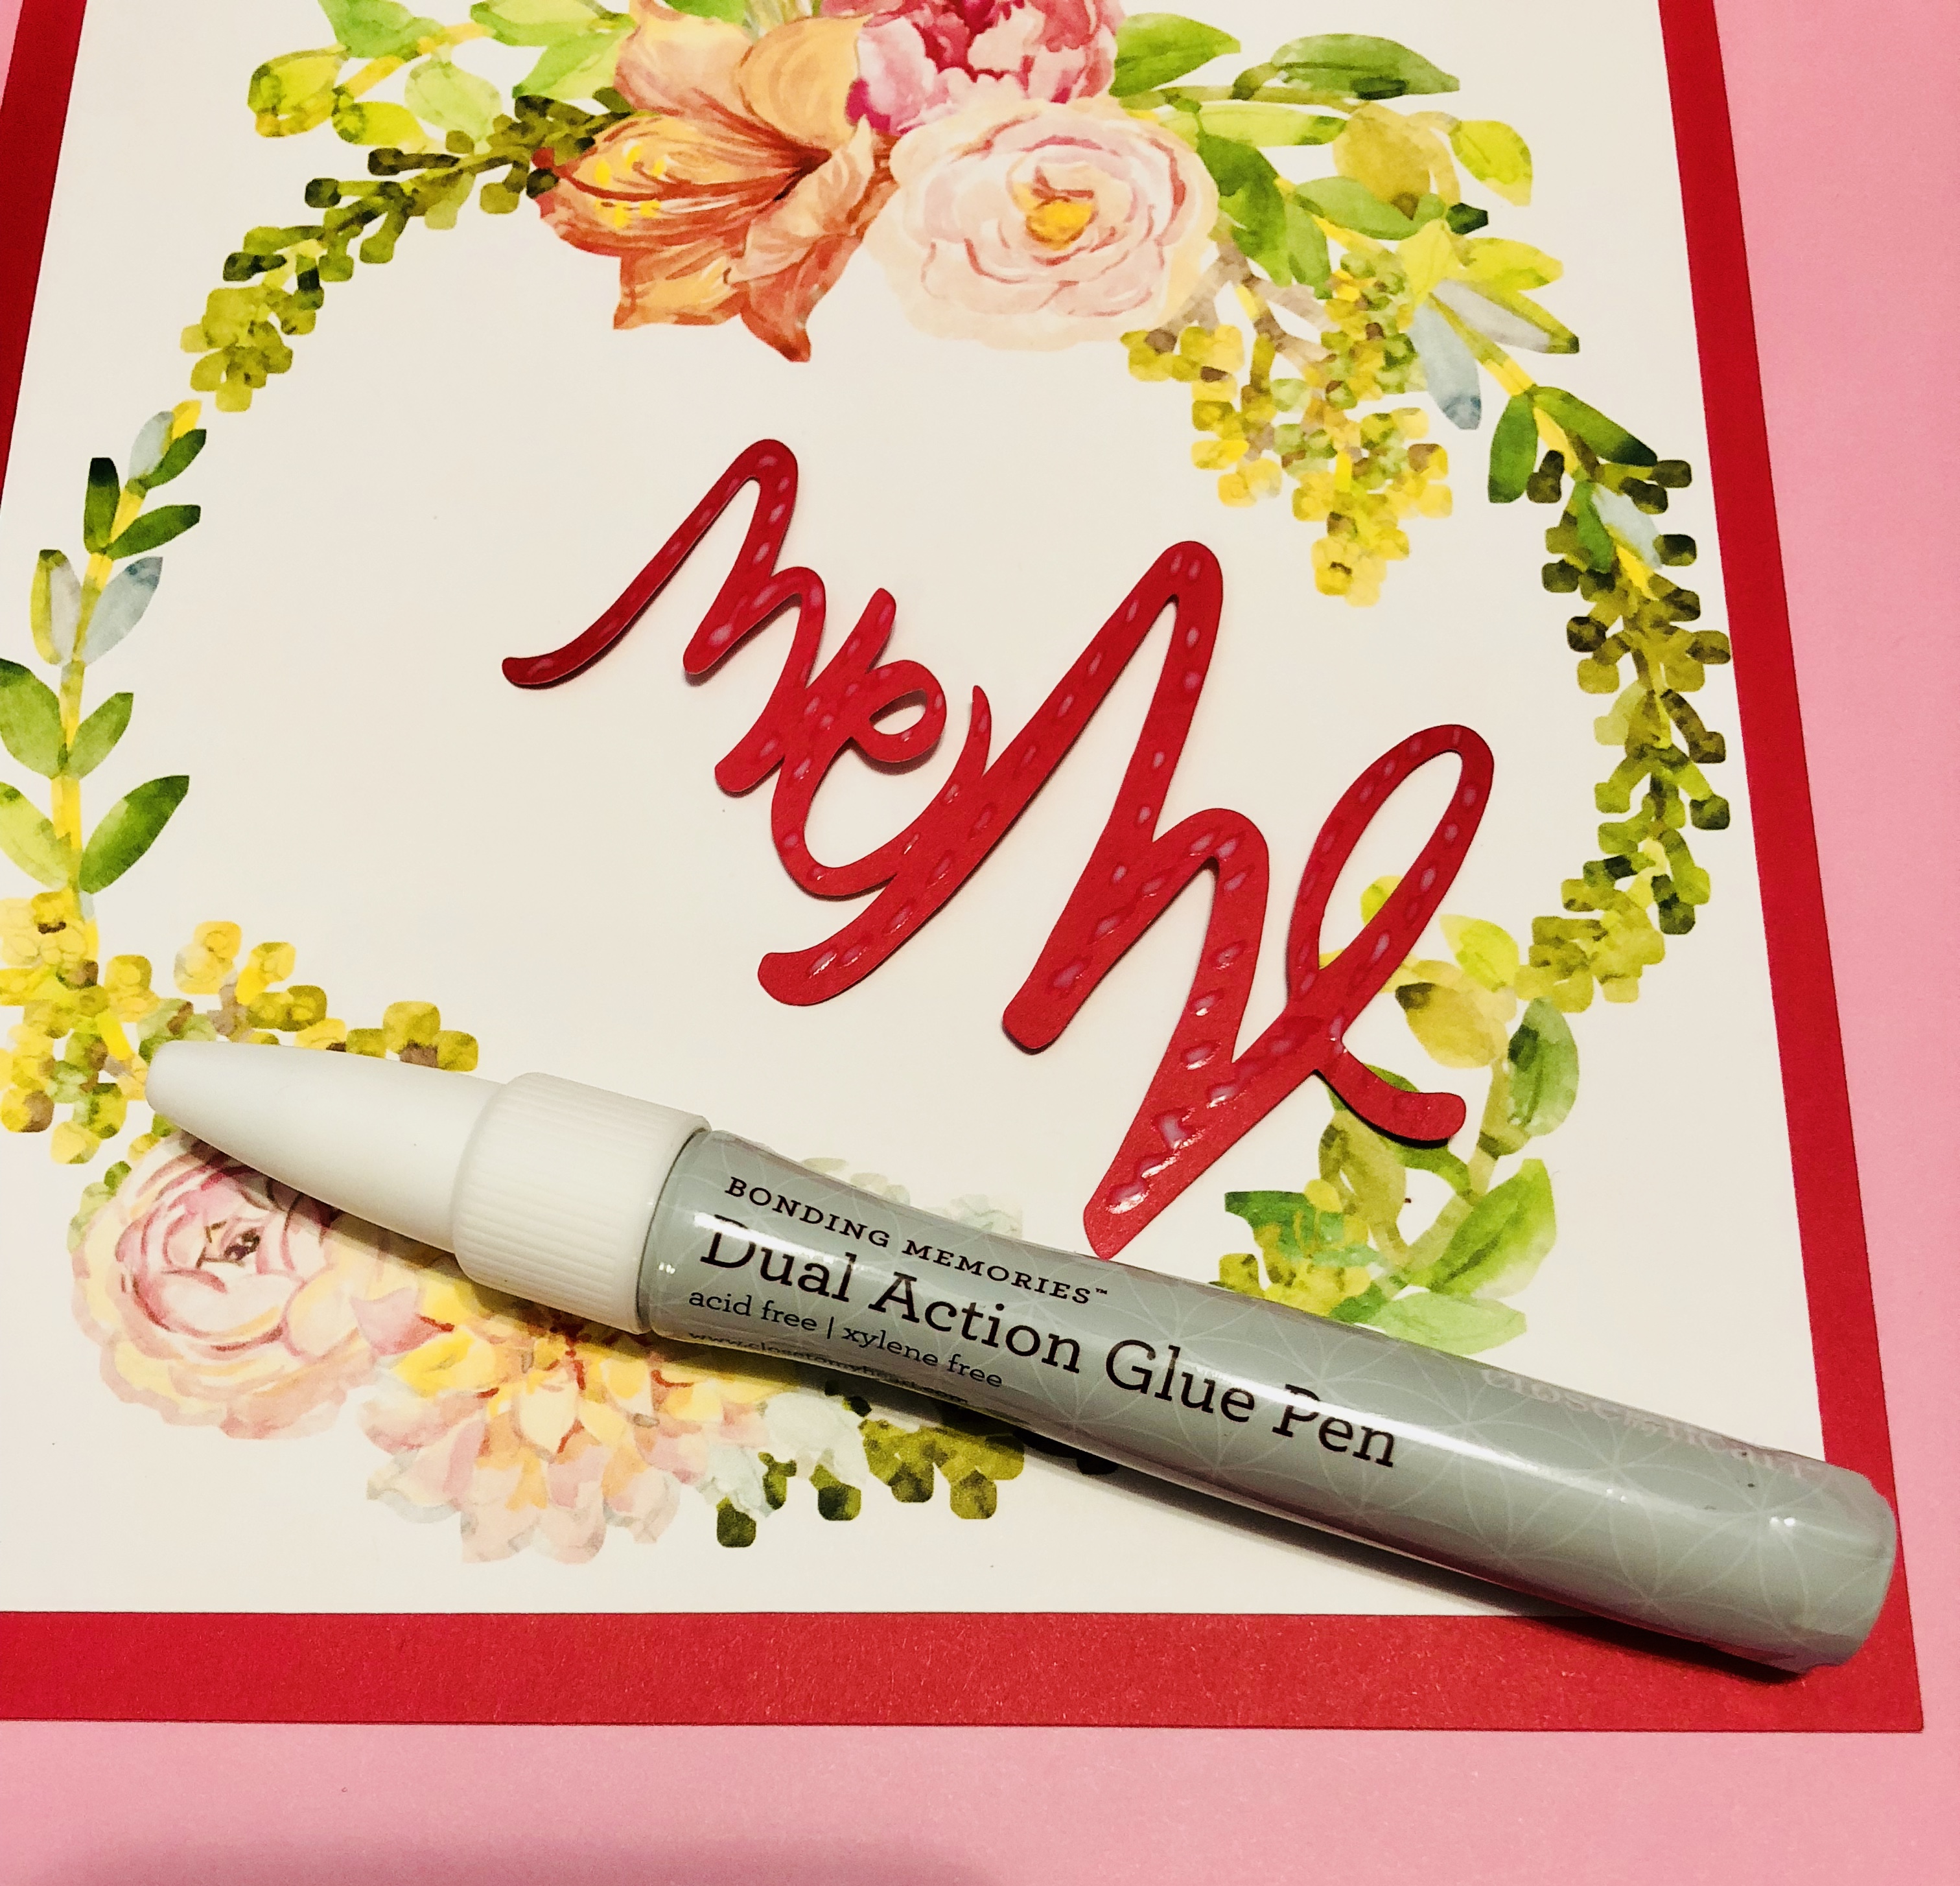
Use a glue pen to add adhesive to the back of the cardstock words.
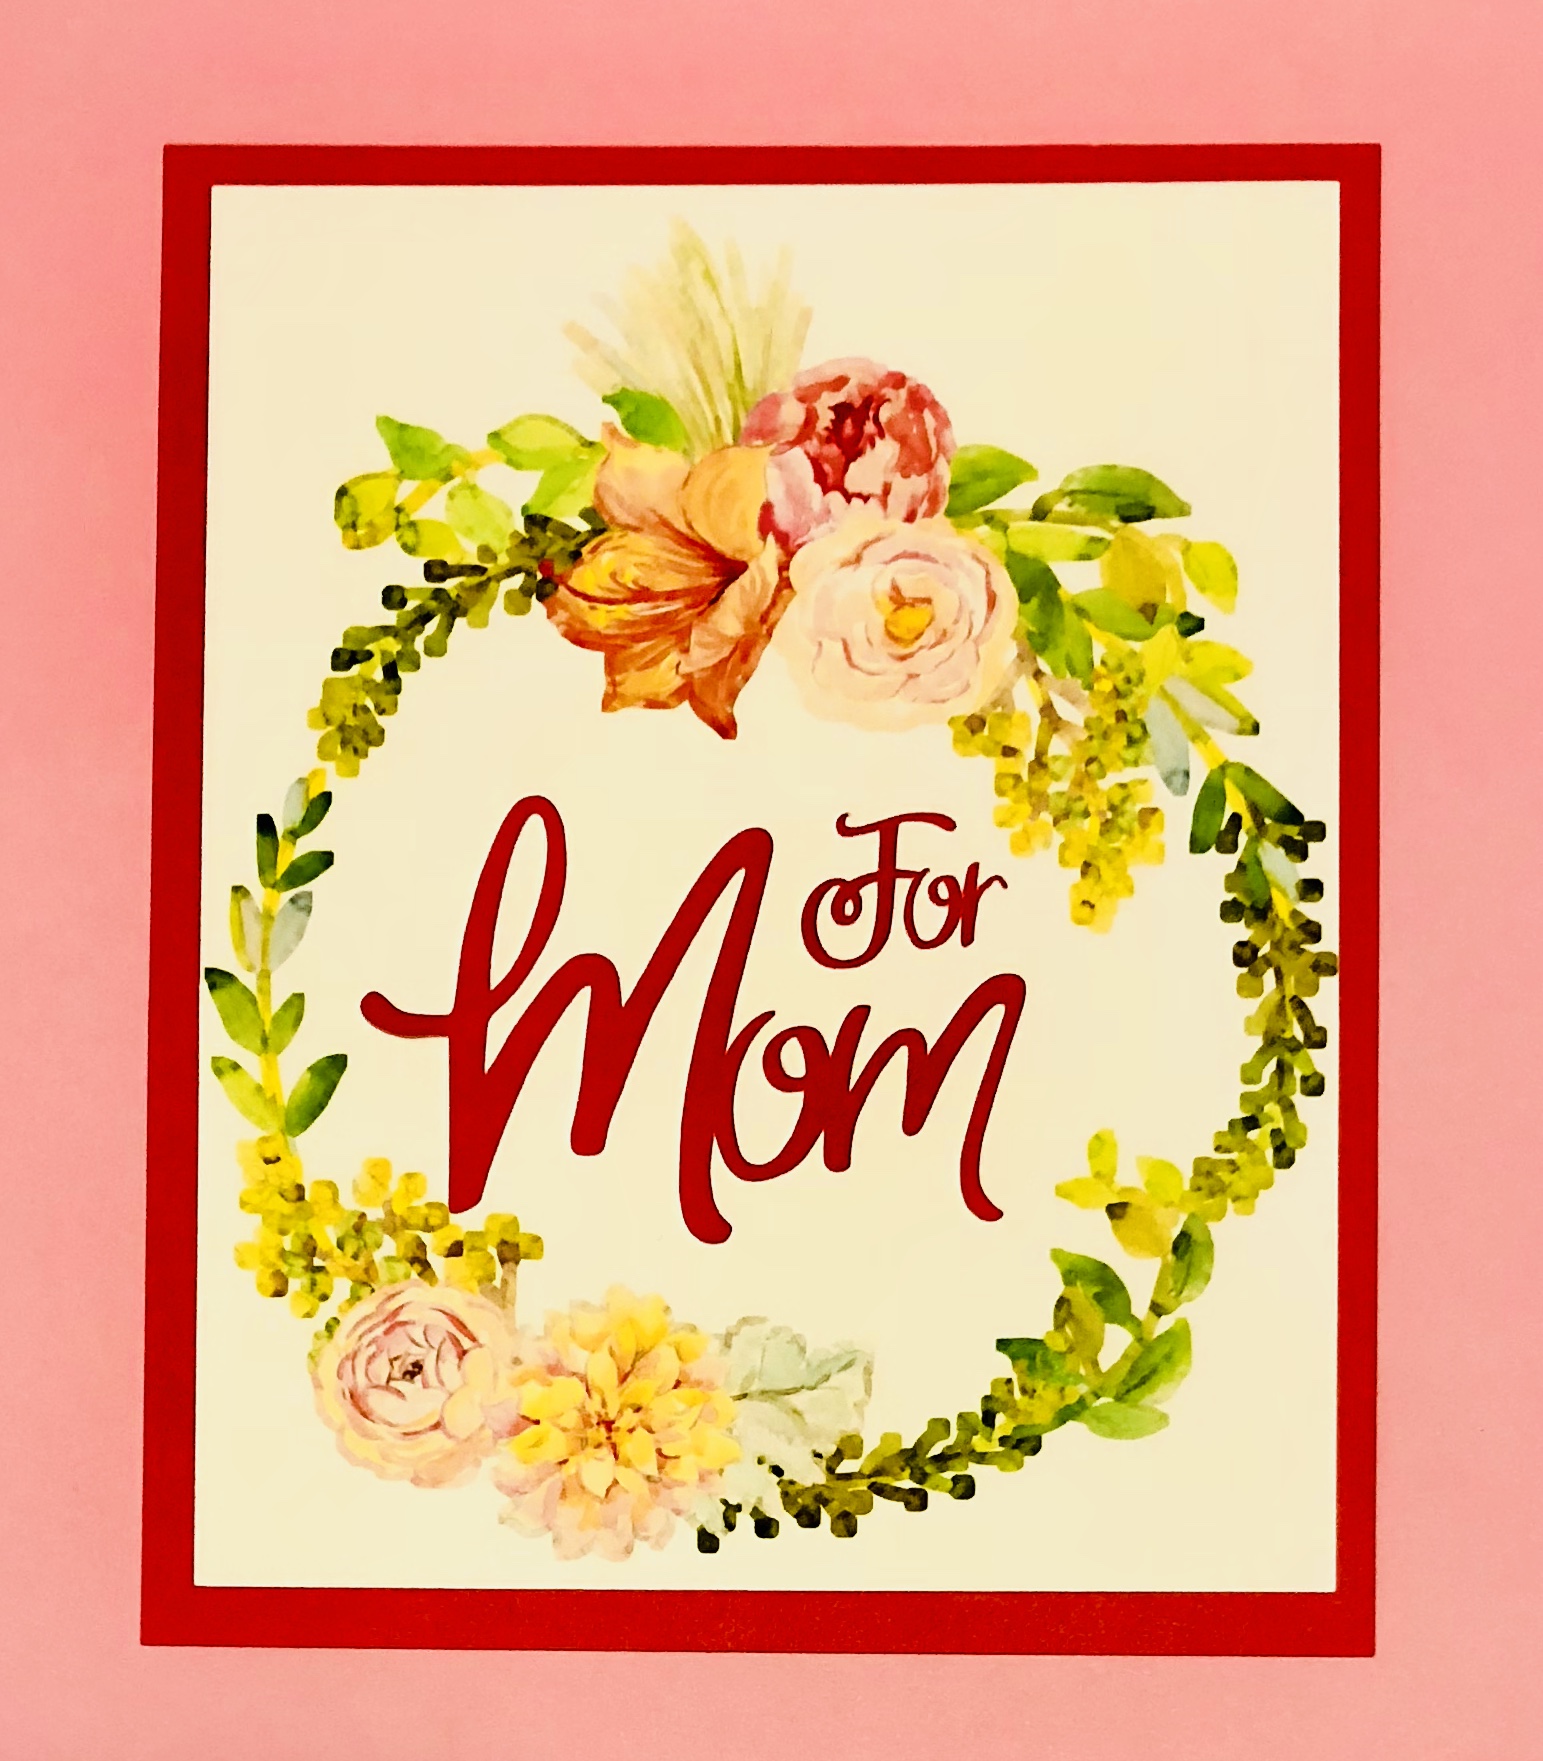
Adhere words to center of the wreath shape, as shown.
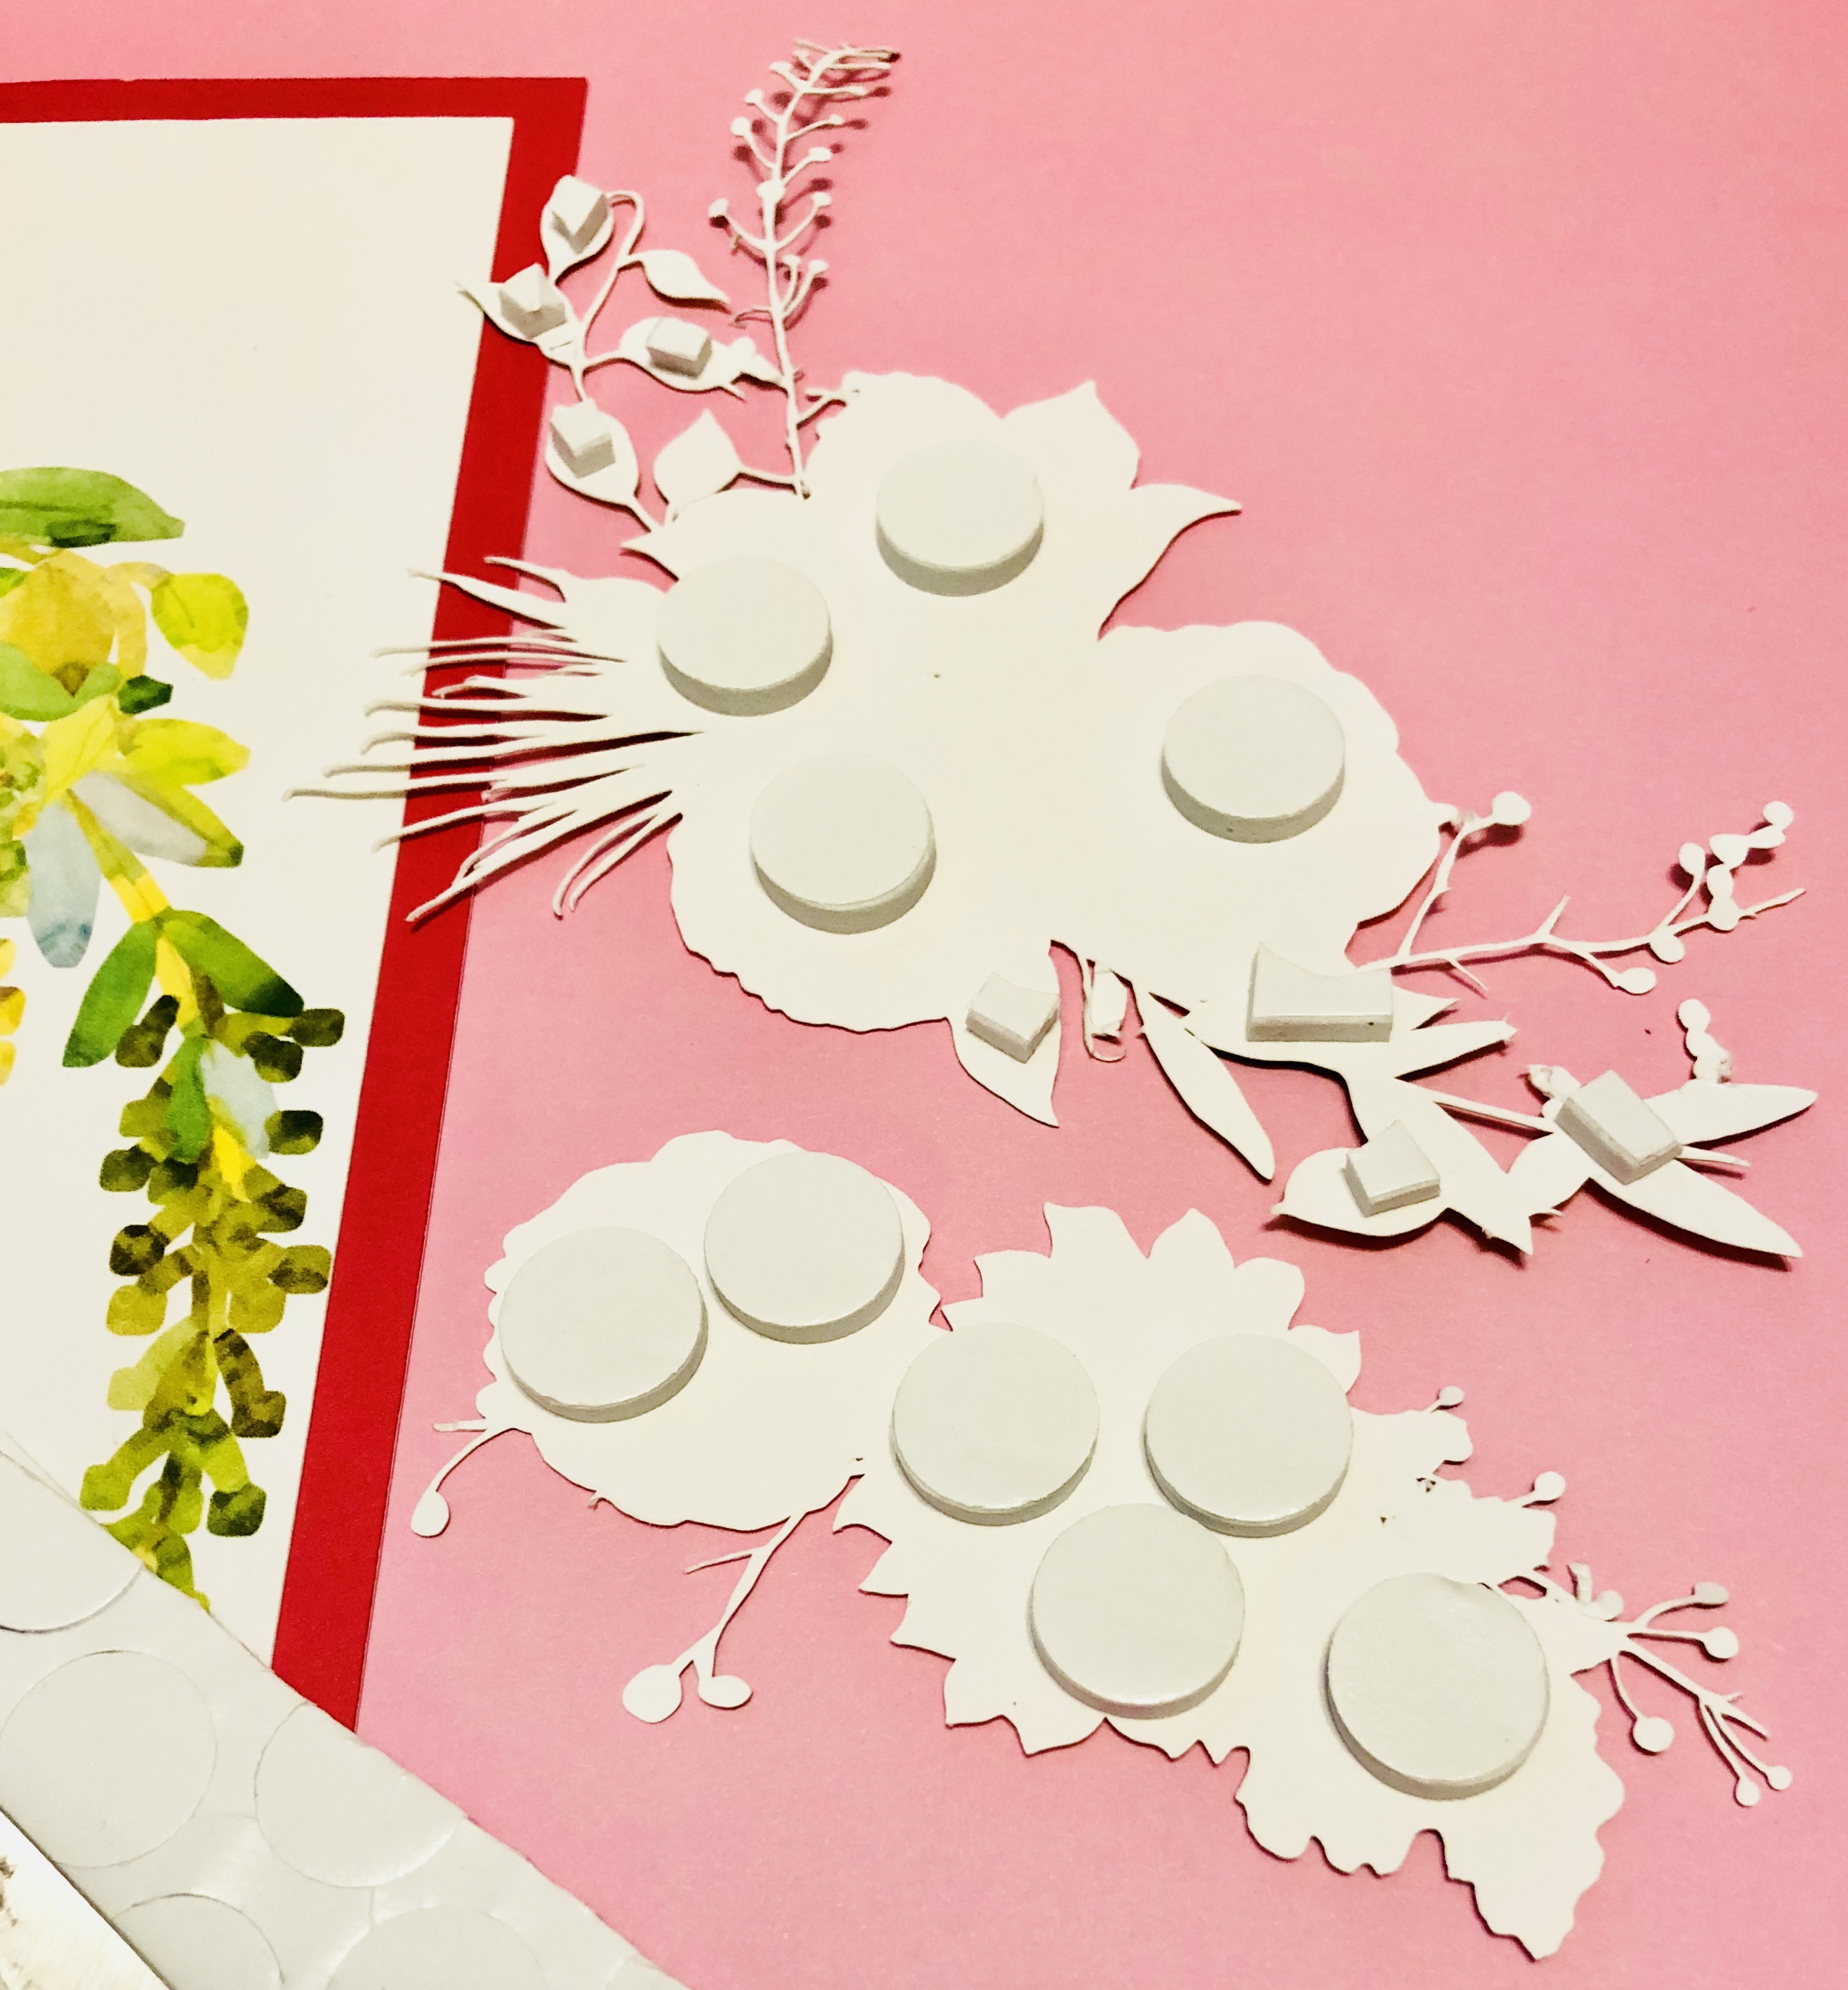
Next, add foam dots/foam tape to the back of the grouped flowered images. You may need to use scissors to cut smaller pieces to add to the smaller image as shown above.
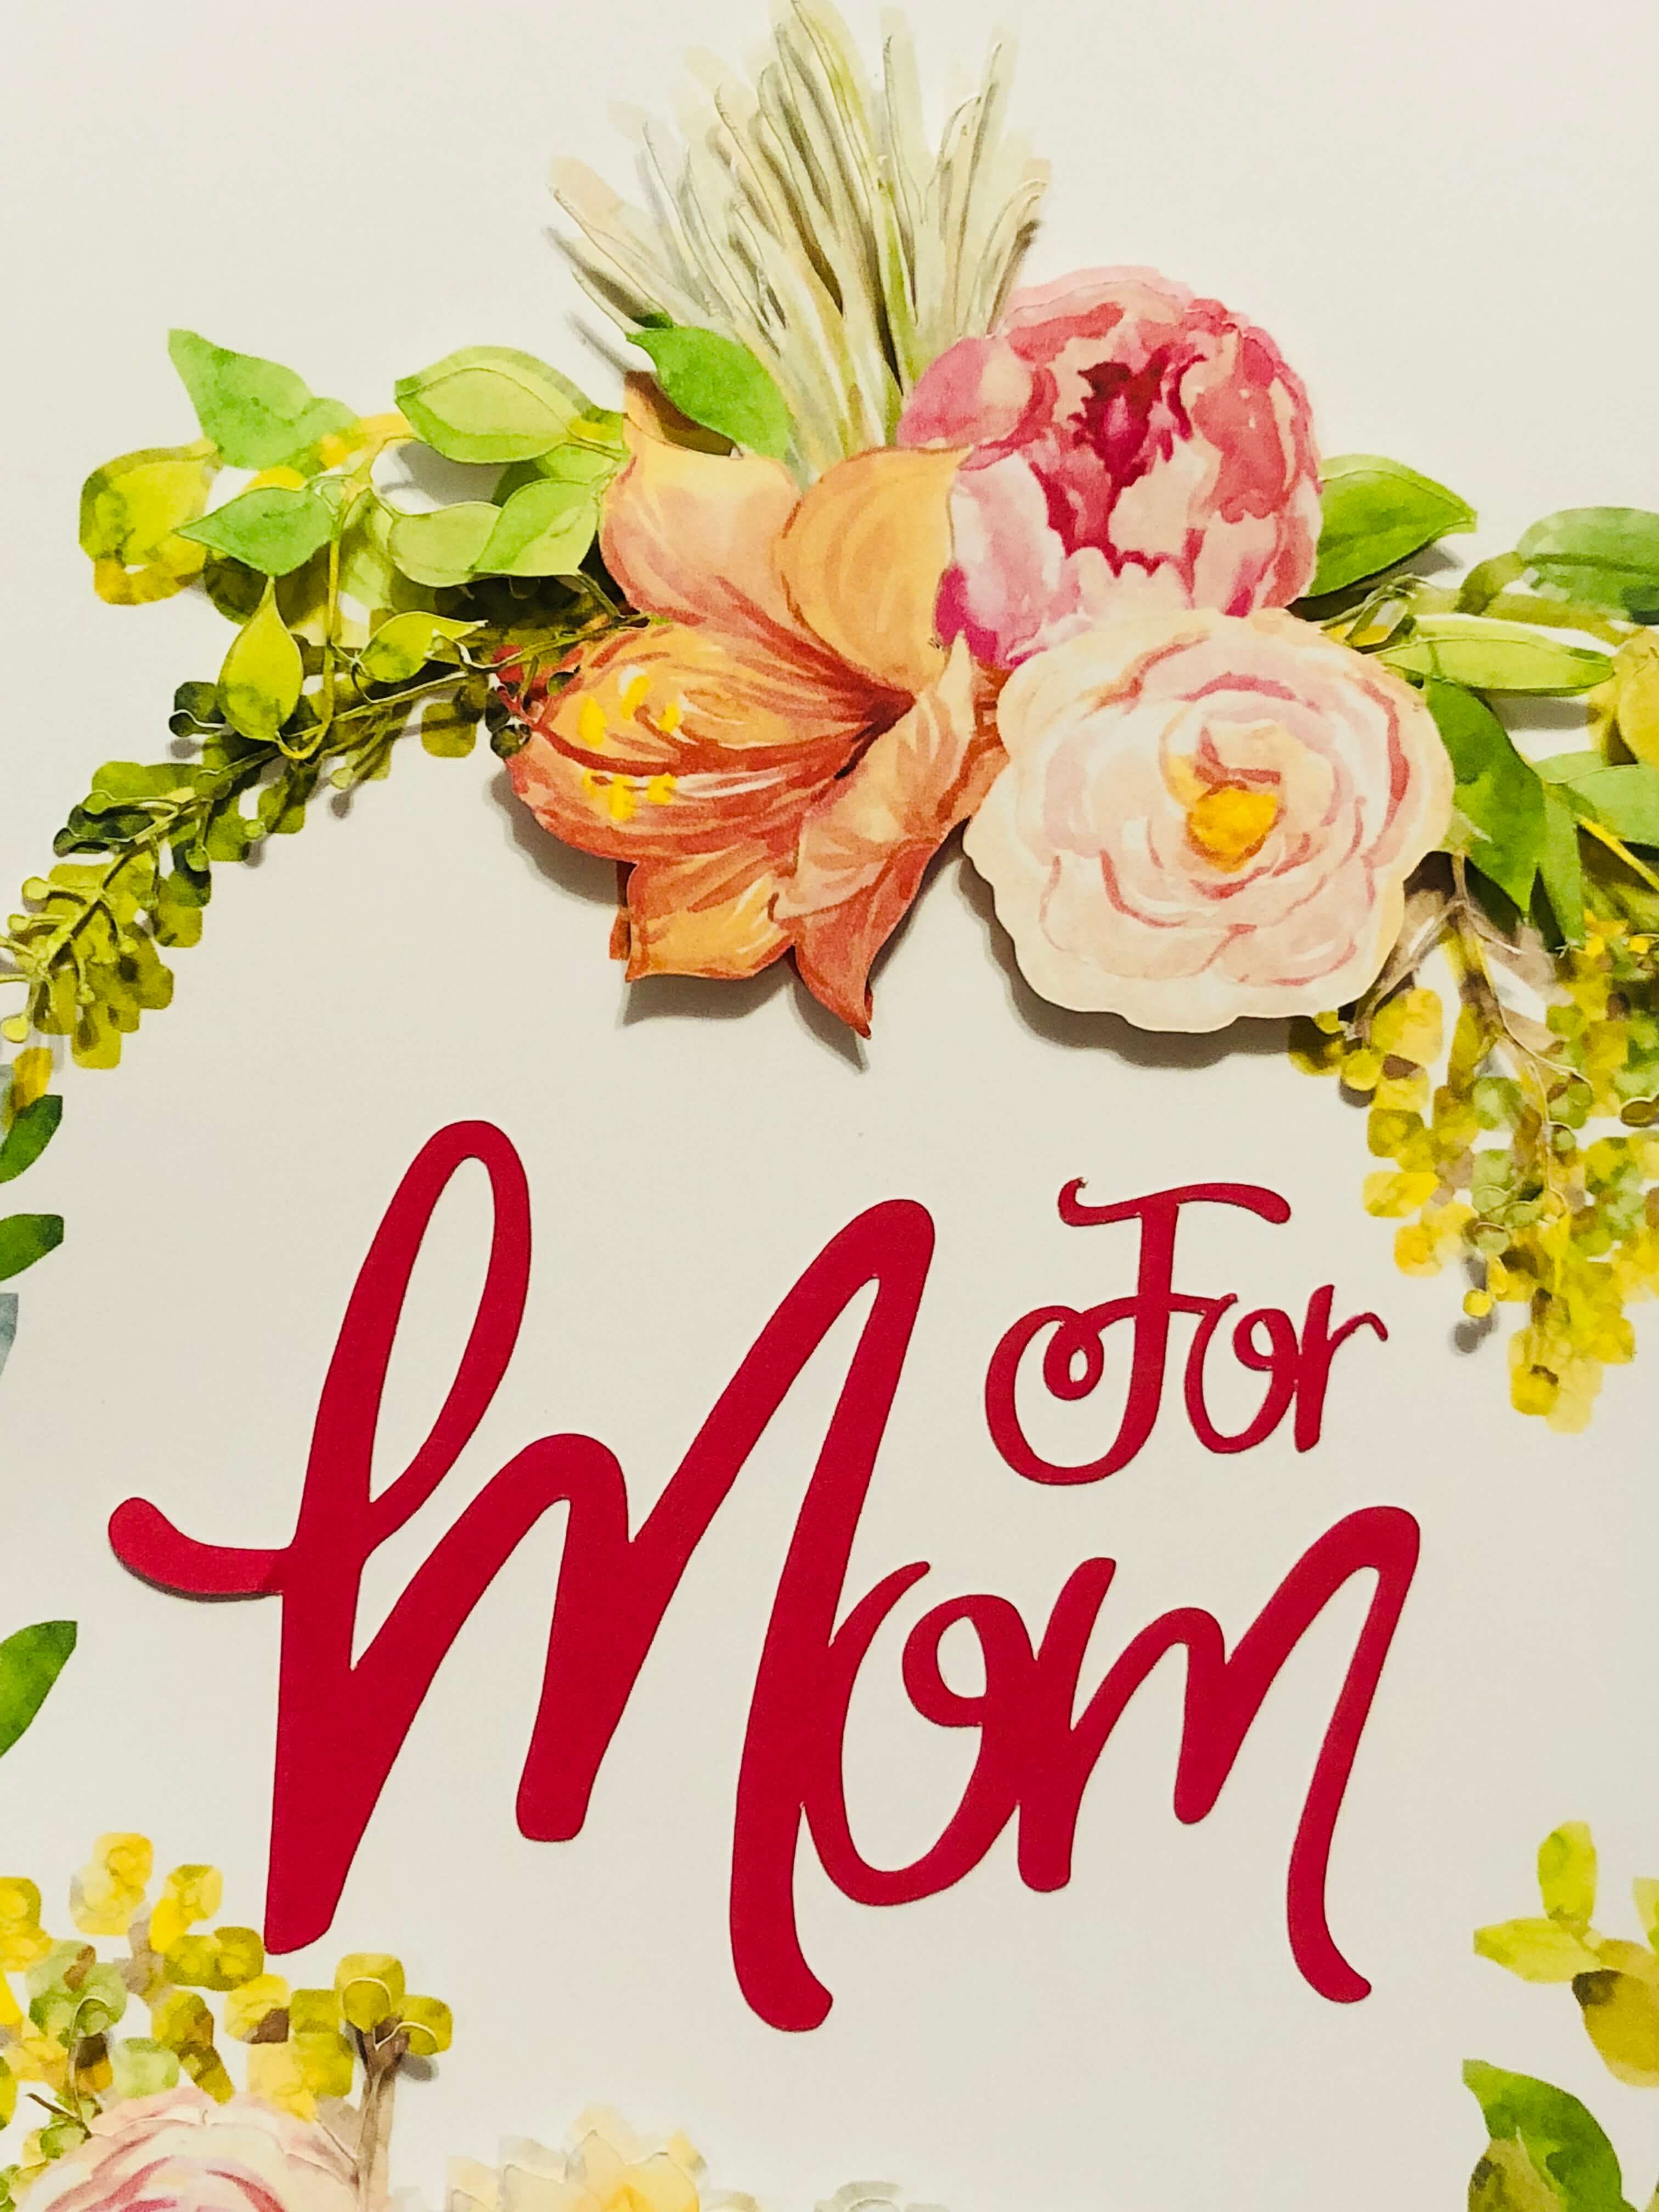
Next adhere the cut grouped flower images on top of the printed images on the wreath. And then adhere the entire completed piece to the font of your gift bag.
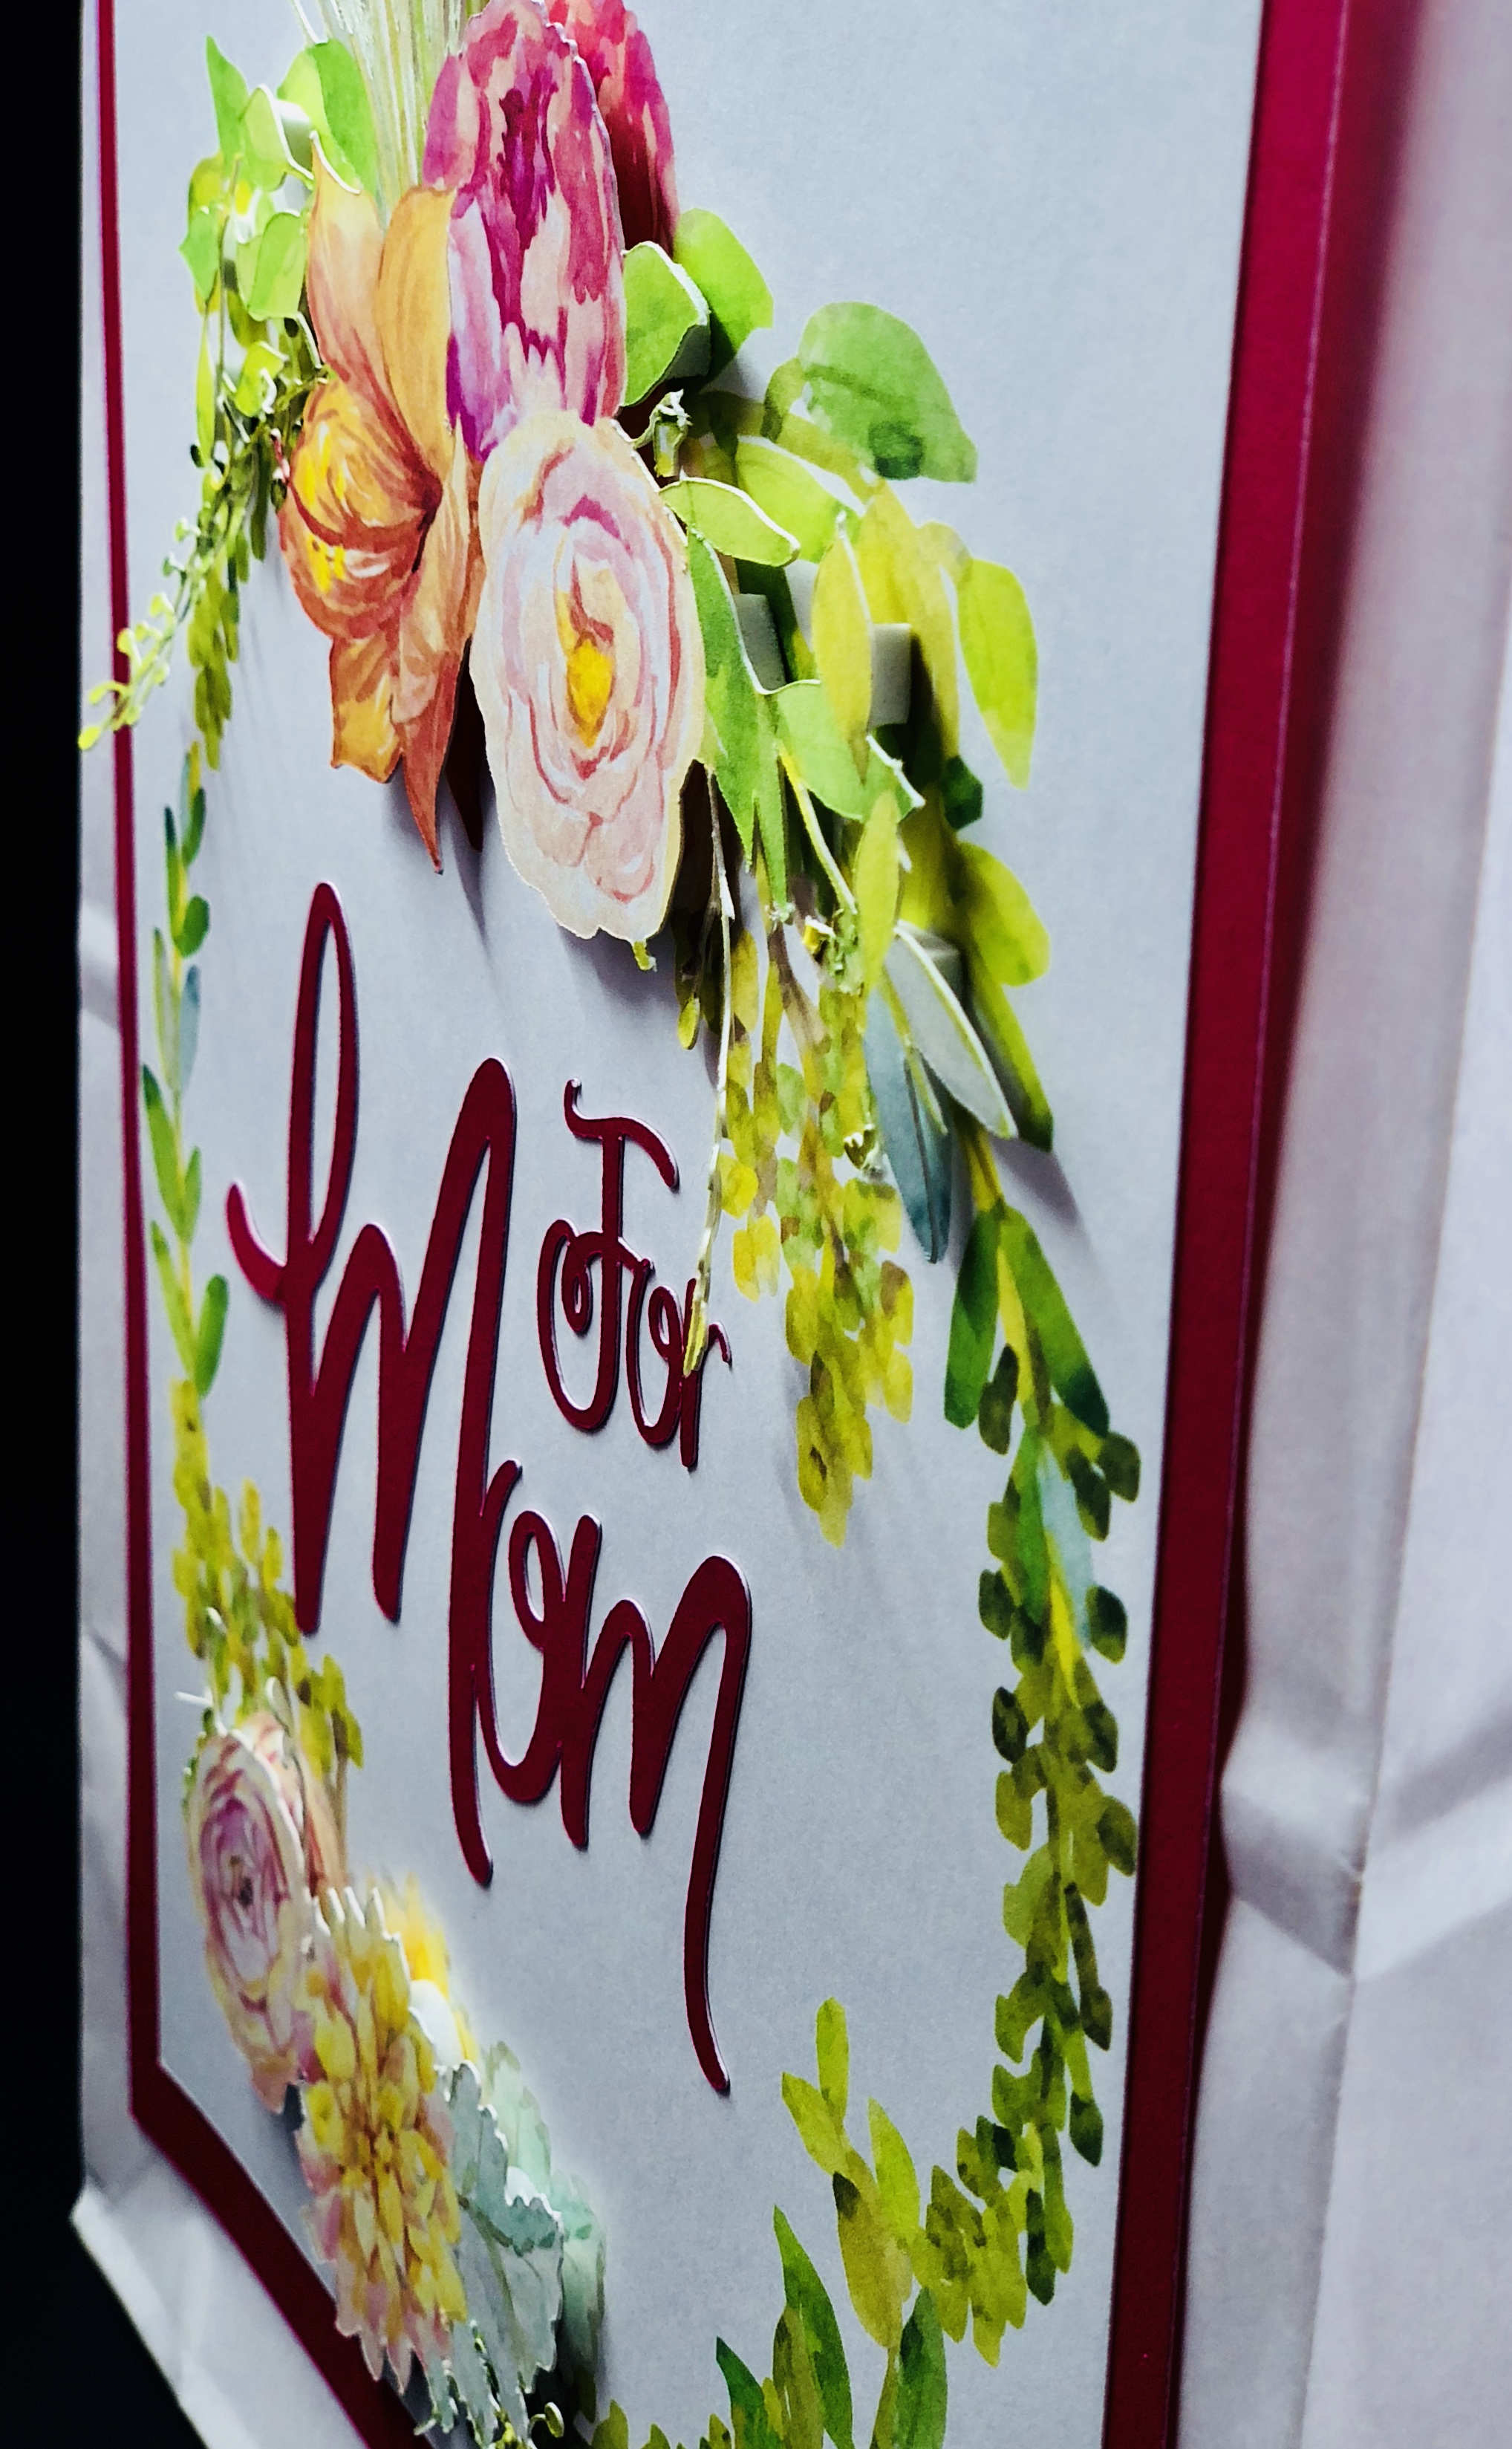
By adding the cut out images to the printed wreath image, it adds dimension to your project and gives it that added WOW factor.

You can use this technique on lots of different types of projects for tags, cards, home décor items. And its so easy to do using the lovely images and fonts found in The Impressive April Bundle.
Happy Crafting !
Debbie
scrapmequickdesigns.com